


Creating a custom power system is a significant step toward achieving energy independence in your camper van. A DIY lithium battery pack sits at the heart of this system, offering a powerful, lightweight, and long-lasting energy storage solution. This project allows you to tailor the power supply directly to your needs, providing a deeper connection to the energy you use on the road. Building your own pack can be a rewarding experience that balances cost and custom performance.
Understanding the Core Components of a Lithium Battery Pack
A reliable battery pack is built from high-quality individual parts. Each component has a specific function that contributes to the overall safety and efficiency of your Camper Van Battery Storage. Familiarizing yourself with these elements is the first step in a successful build.
Choosing the Right Lithium Cells: LiFePO4 vs. Other Chemistries
The foundation of your battery pack is the individual cells. For camper van applications, Lithium Iron Phosphate (LiFePO4) cells are the superior choice. They offer exceptional thermal stability, reducing the risk of overheating. Their long cycle life, often exceeding 3,000 cycles, means they will serve you for many years. Compared to other lithium-ion chemistries like those used in consumer electronics, LiFePO4 is less energy-dense but significantly safer and more durable, which are critical attributes for a mobile environment. When sourcing cells, look for 'Grade A' prismatic cells, as they provide the best performance and longevity.
The Brains of the Operation: The Battery Management System (BMS)
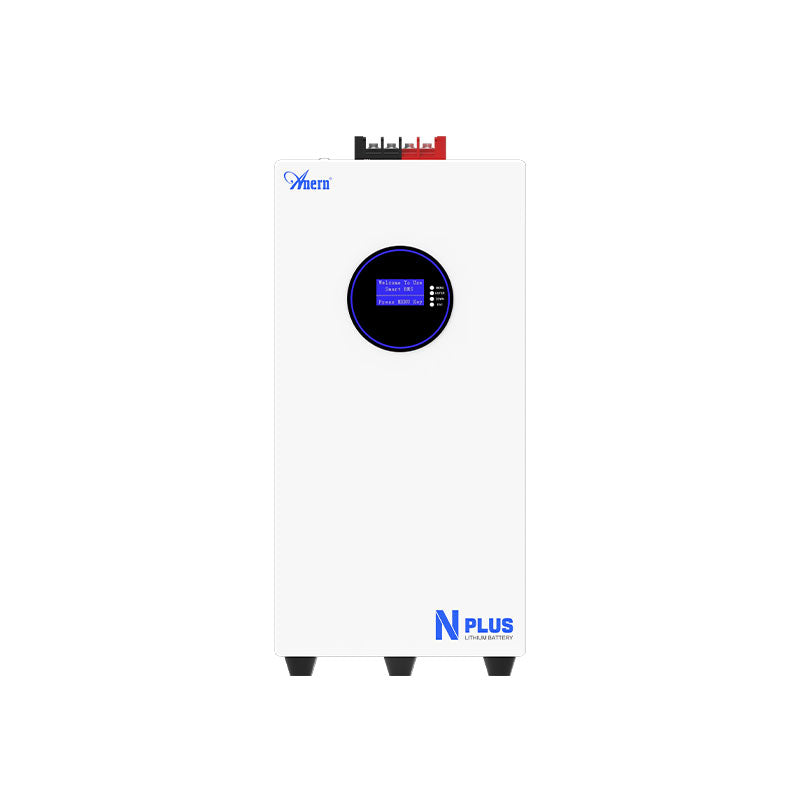
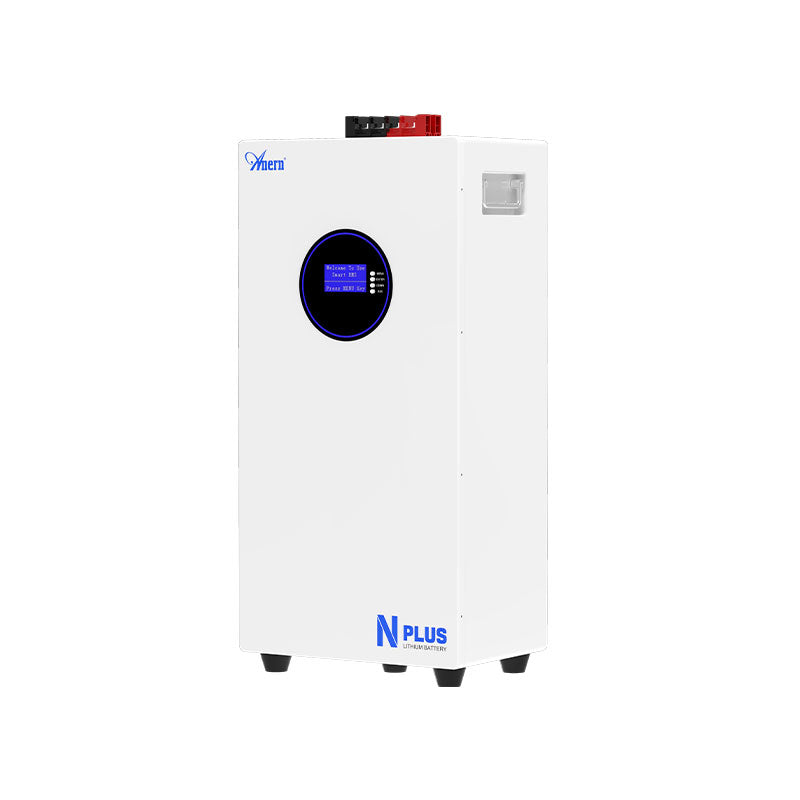
A Battery Management System (BMS) is a non-negotiable safety component. This electronic circuit board acts as the pack's guardian, protecting the cells from damaging conditions. Its primary functions include preventing over-charging, over-discharging, and short circuits. A crucial function is cell balancing, which ensures all cells in the pack maintain an equal state of charge, maximizing capacity and lifespan. When selecting a BMS, ensure its voltage rating matches your system (e.g., 12V) and its current rating can handle the demands of your inverter and appliances.
Essential Hardware and Enclosure
Several other pieces of hardware are necessary to complete the assembly. Busbars, typically made of copper or aluminum, connect the cells. High-gauge wiring is needed for the main connections, while fuses and a master switch provide critical overcurrent protection and a way to isolate the system. All these components must be housed in a robust and non-conductive enclosure. The case should protect the battery from physical damage and moisture while allowing for adequate ventilation to dissipate any heat generated during operation.
Step-by-Step Guide to Assembling Your Battery Pack
Assembling the pack requires precision and a methodical approach. Safety should be your priority throughout the process. This guide outlines the primary stages of the Lithium Battery Pack Build.
Disclaimer: This information is for educational purposes only. Building a battery pack involves risks, including the potential for fire or electric shock. You should have a solid understanding of electrical principles before starting. This content does not constitute professional advice.
Preparing and Testing Your Cells
Before assembly, all cells must be 'top-balanced'. This process involves connecting all cells in parallel and charging them together until they reach their maximum voltage. This ensures every cell starts at the exact same state of charge, which is vital for the health of the pack and the proper functioning of the BMS. For added quality assurance, you can perform a capacity test on each cell to verify they meet the manufacturer's specifications.
Assembling the Pack and Connecting the BMS
Once balanced, arrange the cells in your desired configuration. For a 12V system, you will typically connect four 3.2V LiFePO4 cells in series (4S). Use the busbars to create these series connections, ensuring all nuts are tightened to the correct torque specification to prevent loose connections. Next, carefully connect the BMS. The balance leads are attached to each series connection point, allowing the BMS to monitor individual cell voltages. The main negative wire from the battery connects to the 'B-' terminal on the BMS, and the main negative load/charger wire connects to the 'P-' (or 'C-') terminal.
Final Assembly and Enclosure
With the cells and BMS wired, secure the assembly inside your chosen enclosure. Use non-conductive materials like high-density foam to prevent movement and vibration. Route the main positive and negative cables to external terminals on the enclosure. Install a catastrophic fuse on the main positive line as close to the battery as possible. This is a final layer of protection for your entire electrical system.
Integrating the Battery into Your Camper Van's Power System
Your newly built battery is the core of your DIY Camper Van Power System. Proper integration ensures it charges efficiently and delivers power reliably to all your devices.
Charging Your DIY Lithium Battery
You can charge your LiFePO4 battery pack from multiple sources, and often a combination is best. A solar charge controller manages power from solar panels, a DC-to-DC charger draws power from the vehicle's alternator while you drive, and a shore power converter charges the battery from a standard AC outlet. It is critical that each charging device is configured with a specific LiFePO4 charging profile to ensure the battery's health and longevity. The table below compares these common methods.
| Charging Method | Pros | Cons | Best For |
|---|---|---|---|
| Solar Panels | Renewable, quiet, no running costs | Weather dependent, higher initial investment | Off-grid camping, daytime power replenishment |
| DC-to-DC Charger | Reliable charging while driving | Uses vehicle's fuel, can add load to alternator | Long-distance travel, supplementing solar on cloudy days |
| Shore Power Converter | Fast, consistent, and powerful charging | Requires access to a grid power outlet | Pre-trip charging, use at powered campsites |
Powering Your Appliances: Inverters and DC Loads
To run standard household electronics, you will need a pure sine wave inverter to convert the battery's 12V DC power to 120V or 230V AC power. For efficiency, power 12V devices like lights, fans, and refrigerators directly from the DC system. Sizing your system correctly is key to its performance. For a deeper analysis of system sizing and performance metrics, you can reference this ultimate reference on solar storage performance, which provides valuable data for planning your setup.
Safety Protocols and Long-Term Maintenance
Adhering to strict safety protocols during the build and performing minimal maintenance afterward will ensure your Compact Camping Battery provides years of reliable service.
Critical Safety Measures During the Build
Always use insulated tools to prevent accidental short circuits, which can be extremely dangerous. Wear safety glasses and gloves. Work in a clean, dry, and well-ventilated space, free from flammable materials. Never work on a battery pack that is simultaneously connected to a charger and a load. Double-check all wiring polarity before making final connections.
Ongoing Maintenance for Longevity
LiFePO4 batteries are remarkably low-maintenance. Once installed, your primary task is to periodically inspect all electrical connections to ensure they remain tight and free of corrosion. Monitor the battery's performance through your BMS or a battery monitor, and try to operate it within a 20% to 90% state of charge to maximize its lifespan. Avoid exposing the battery to extreme temperatures whenever possible.
A Look Ahead: The Future of Battery Technology
The technology behind battery storage is advancing rapidly. According to a report by the International Energy Agency (IEA), battery storage deployment is growing exponentially, driven by falling costs and technological maturity. This trend benefits stationary applications and mobile power systems alike. Innovations originally developed for electric vehicles often find their way into other sectors. As the International Renewable Energy Agency (IRENA) notes, progress in EV batteries can benefit stationary storage technologies. This synergy suggests that van lifers can look forward to even more powerful, compact, and efficient energy storage solutions in the future.
Final Thoughts on Your DIY Power Project
Building your own lithium battery pack is more than just a technical project; it's an investment in freedom and self-sufficiency. It provides a custom solution perfectly matched to your energy habits. By prioritizing safety, using high-quality components, and following a methodical process, you can construct a robust power system that will fuel your adventures for years to come. The result is a reliable source of power that you understand completely, built by you, for you.
Frequently Asked Questions
Is building a DIY lithium battery pack cheaper?
A DIY pack can offer significant cost savings compared to a pre-built battery of similar capacity, primarily because you are not paying for labor and brand markups. However, it's important to invest in high-quality components, such as Grade A LiFePO4 cells and a reliable BMS, to ensure safety and longevity.
What size battery do I need for my camper van?
The ideal battery size depends entirely on your daily power consumption. You should conduct a comprehensive energy audit by listing all your electrical appliances, their power draw (in watts), and the estimated hours you will use them each day. This will give you a total watt-hour figure that informs your battery capacity requirement.
How long will a DIY LiFePO4 battery last?
A well-built LiFePO4 battery pack using quality cells is designed for a very long life. It can typically endure several thousand charge-discharge cycles. For most users, this translates to a service life of 10 years or more, far exceeding that of traditional lead-acid batteries.
