Going solar is an exciting step toward energy independence and lower bills. But before a single panel goes up, the most important work happens with a clipboard and a flashlight on your roof. As someone who has planned and overseen countless residential solar installations, I can tell you that skipping the foundational checks is the fastest way to a costly, unsafe, and frustrating project. The permit office isn't just being difficult; these codes exist to protect your home and your investment.
I want to walk you through the key roof checks I personally perform and why they are non-negotiable for a successful installation. This is the insider knowledge that ensures your system is safe, durable, and compliant from day one.

Why Your Roof's Health is the Foundation of Good Solar
Think of it this way: you wouldn't build a beautiful new room on a crumbling foundation. Your roof is the foundation for your solar array. Adding a solar system introduces new weight and dozens of attachment points. If we don't respect the engineering and codes designed for this, we're not just risking the system; we're risking the integrity of your home. A properly installed system should perform flawlessly for over 20 years, and that starts with ensuring your roof is ready for the job.
My 10-Point Roof Checklist for Every Solar Project
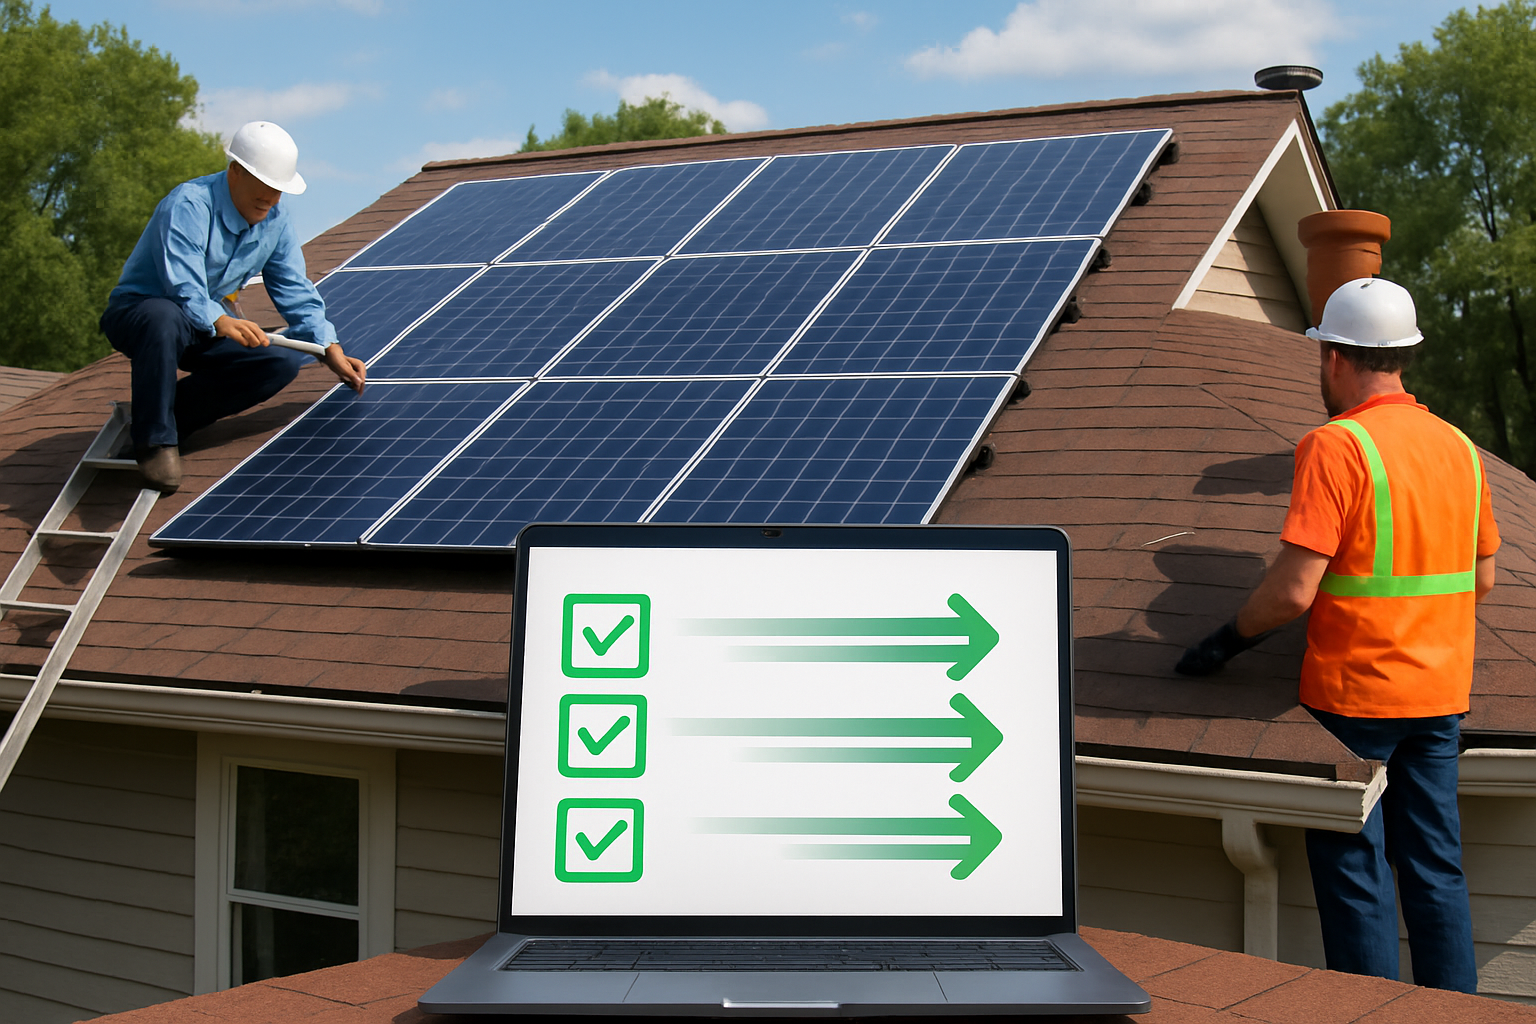
Here are the 10 things I absolutely must verify before my team and I move forward with an installation.
-
1. Roof Age and Condition Check
This is the first question I ask. If your asphalt shingle roof is over 15 years old, we need to have a serious conversation. Putting a 25-year solar system on a roof that has maybe 5-7 years of life left is a huge mistake. It means you'll pay a premium in a few years to have the entire system removed and re-installed just to replace your shingles. I always check for curling shingles, missing granules, and any signs of existing leaks.
-
2. The All-Important Structural Load Test
I can't stress this enough: your roof must be able to hold the weight. We're adding the "dead load" of the panels and racking, plus preparing for the "live load" of snow or high winds. I work with a structural engineer to analyze the rafters and supports to ensure they can handle the load specified by your local building code. It's a calculation that prevents sagging or, in the worst-case scenario, collapse.
-
3. Rafter Inspection (Size and Spacing)
During the structural assessment, I personally get into the attic to check the rafters. I'm looking at their dimensions (e.g., are they 2x6s or 2x8s?) and how far apart they are spaced. Wider spacing or undersized rafters for the span might mean we need to reinforce the structure before we can proceed. It's a simple check that tells us everything about the roof's backbone.
-
4. Fire Safety Setbacks for First Responders
Imagine there's an emergency. Firefighters need to be able to get onto and around your roof safely. That's why fire codes mandate clear pathways. Typically, we have to leave a 3-foot setback from the ridge of the roof, giving them a clear path to walk and work. It's a critical safety rule we never bend.
-
5. Electrical Grounding and Wiring Pathways
While this is about the National Electrical Code (NEC), it has huge implications for the roof. We have to plan exactly how the wiring will run and how the entire system will be grounded. A poor grounding job is a major safety hazard. We ensure all metal components, from the racking to the panels themselves, are properly bonded and grounded to prevent shock or fire.
-
6. Waterproofing Every Single Penetration
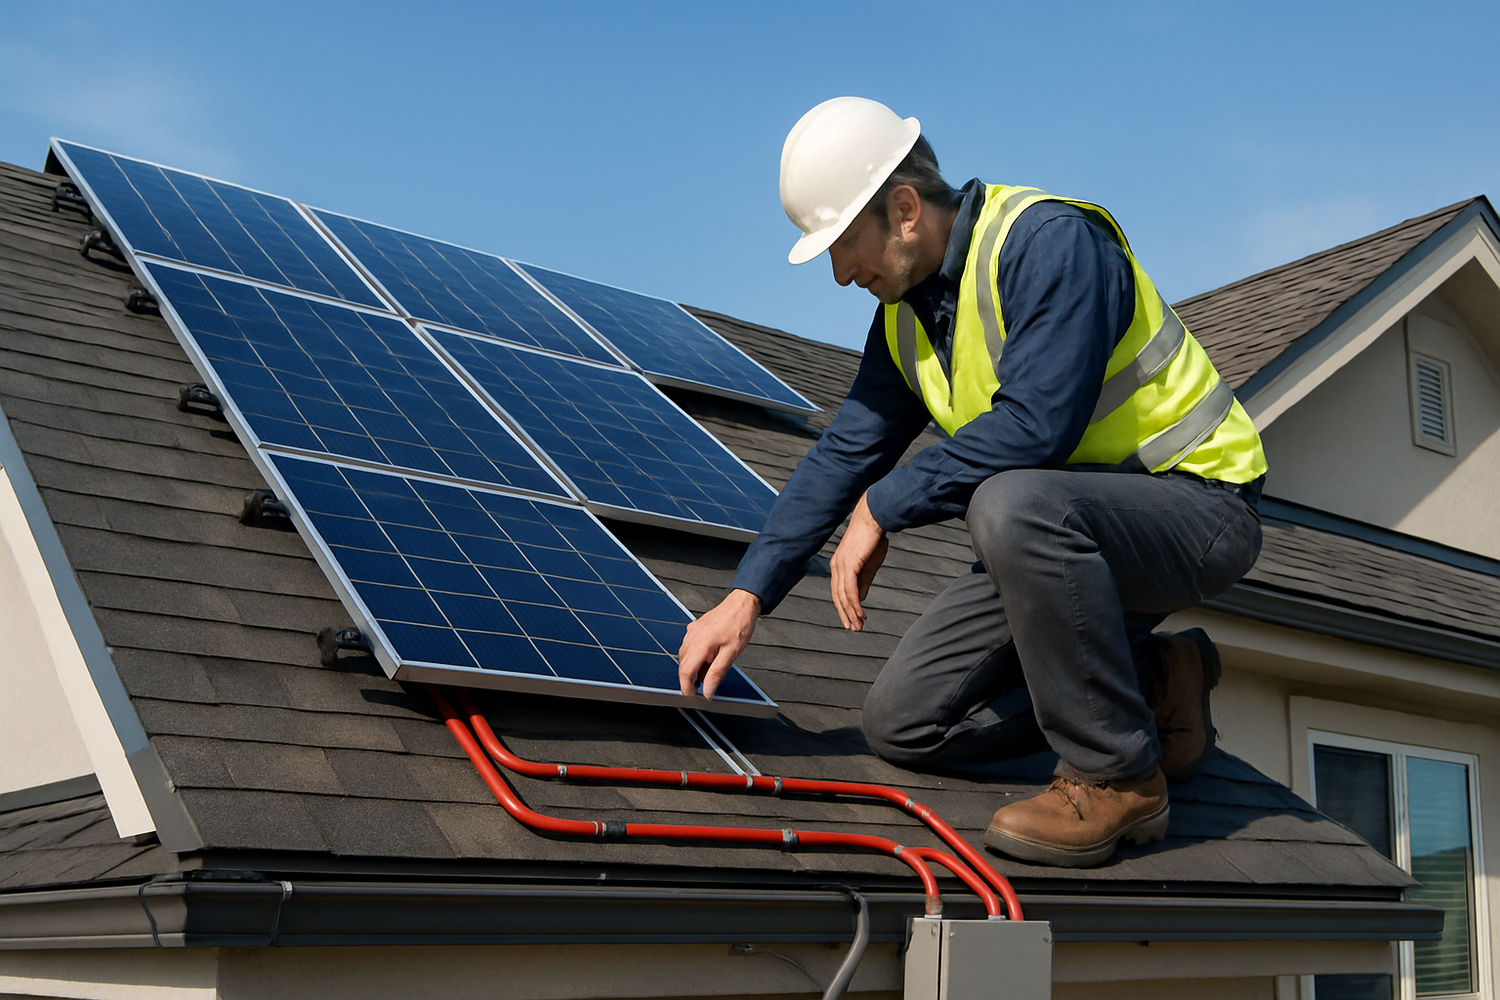
Every hole we make in your roof is a potential leak. That's why we use high-quality, code-compliant flashing—a metal plate that sits under the shingle and diverts water away from the attachment point. I insist on using top-tier sealants and flashing on every single bolt. Cutting corners here is a recipe for water damage down the road.
-
7. Wind Resistance Engineering
Where you live determines how we attach the system. A home in a hurricane-prone area has vastly different wind uplift requirements than a home in a calmer region. The mounting system we choose is engineered and rated to withstand the specific wind speeds for your area, ensuring the panels stay on your roof, not in your neighbor's yard.
-
8. Shading and Optimal Placement
This isn't a structural code, but it's critical for performance. I conduct a thorough shading analysis to see how trees or neighboring buildings will affect your panels throughout the day and year. Poor placement can kill your return on investment, so we find the perfect spot that maximizes sun exposure while respecting all the necessary setbacks.
-
9. Clear Access for Future Maintenance
Like any equipment, solar systems may need service one day. We have to plan the layout to ensure a technician can safely access the panels, wiring, and inverters without navigating a dangerous obstacle course. This foresight saves you headaches and service costs later.
-
10. Navigating Local Zoning and Permitting
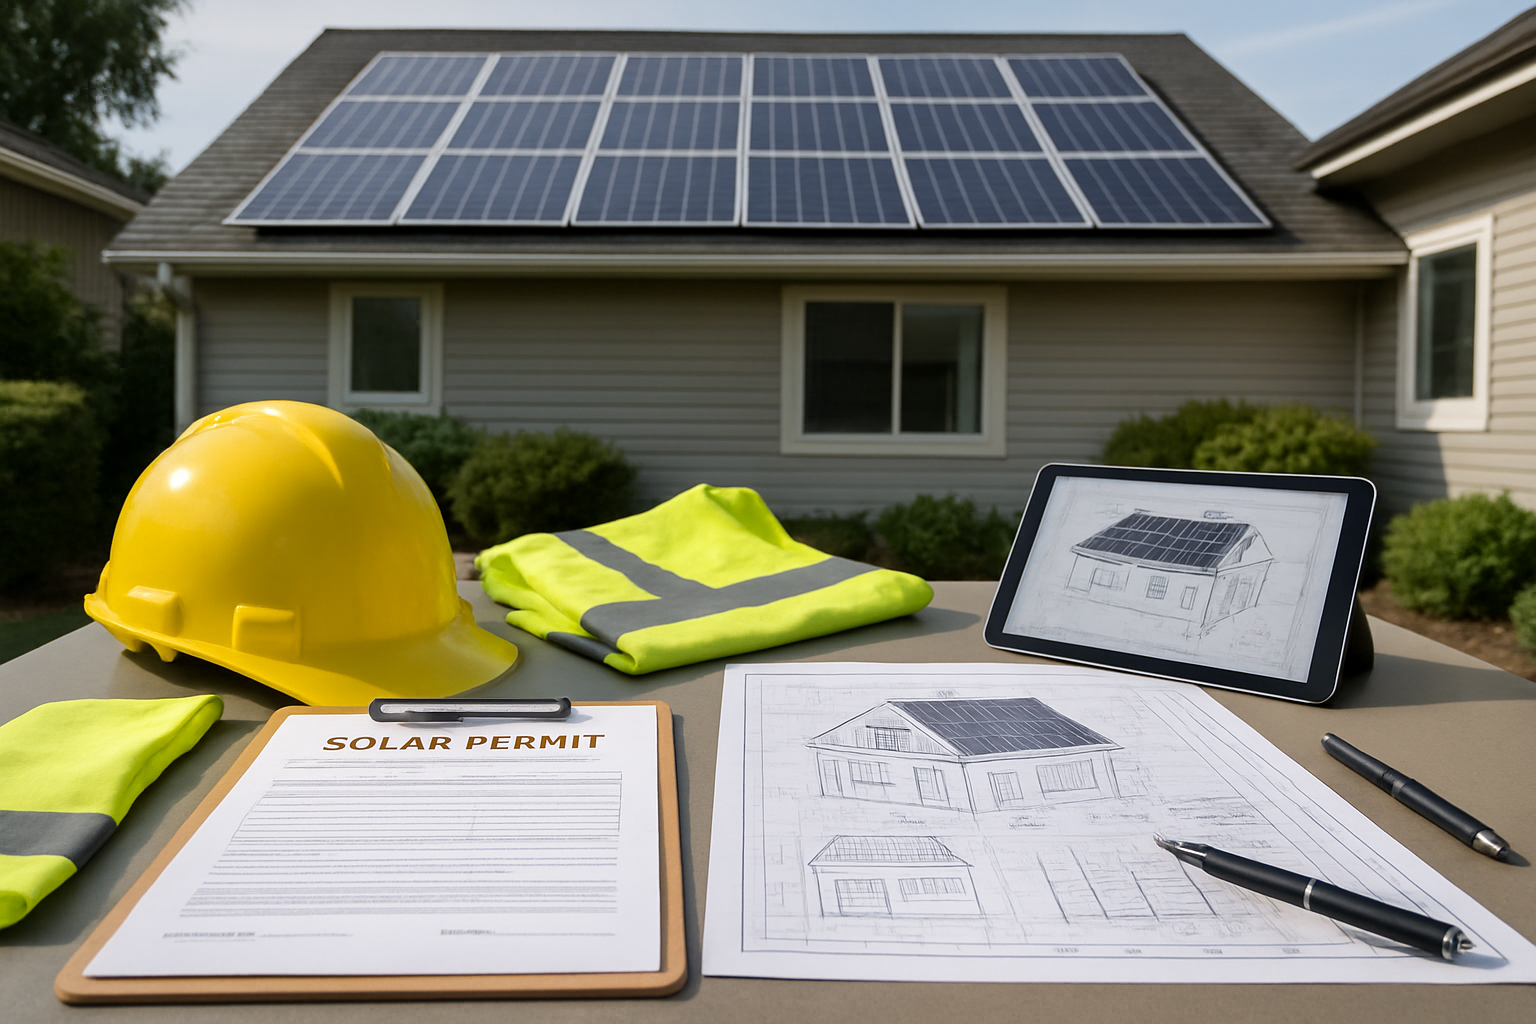
Finally, I always check the specific rules for your city or county. Some have unique requirements for aesthetics, height, or the permitting process itself. Knowing these local quirks upfront prevents weeks of delays and back-and-forth with the building department. It's about doing the homework to ensure a smooth approval process.
Your Partner in a Safe and Compliant Solar Journey
Going through these checks isn't just about passing an inspection; it's about peace of mind. A properly vetted and code-compliant solar installation is a safe, reliable, and powerful asset for your home. By understanding these critical steps, you can ask informed questions and ensure your chosen installer is committed to the highest standards of quality and safety. This attention to detail is the true foundation of achieving energy independence.


Leave a comment
All comments are moderated before being published.
This site is protected by hCaptcha and the hCaptcha Privacy Policy and Terms of Service apply.