
Transitioning to solar energy is a significant step towards energy independence. The path from receiving an initial quote to activating your system involves a series of well-defined stages. Understanding this solar installation timeline helps you know what to expect and ensures a smooth process. Here are the nine key milestones that mark your solar project's phases.
Phase 1: Consultation and System Design
The first part of the process is about gathering information and creating a plan tailored to your specific needs.
1. Initial Quote & Consultation
This is the starting point. A solar professional will discuss your energy consumption habits, analyze your electricity bills, and evaluate your property using satellite imagery. The goal is to understand your energy needs and determine if your home is a good candidate for solar. You will receive a preliminary estimate of system size, cost, and potential savings.
2. On-Site Assessment
Following the initial consultation, a technician will visit your home for a detailed site assessment. They will inspect your roof's condition, take precise measurements, and evaluate your electrical panel to ensure it can support a solar installation. This technical survey is crucial for creating an accurate and efficient system design.
3. Final System Design & Proposal
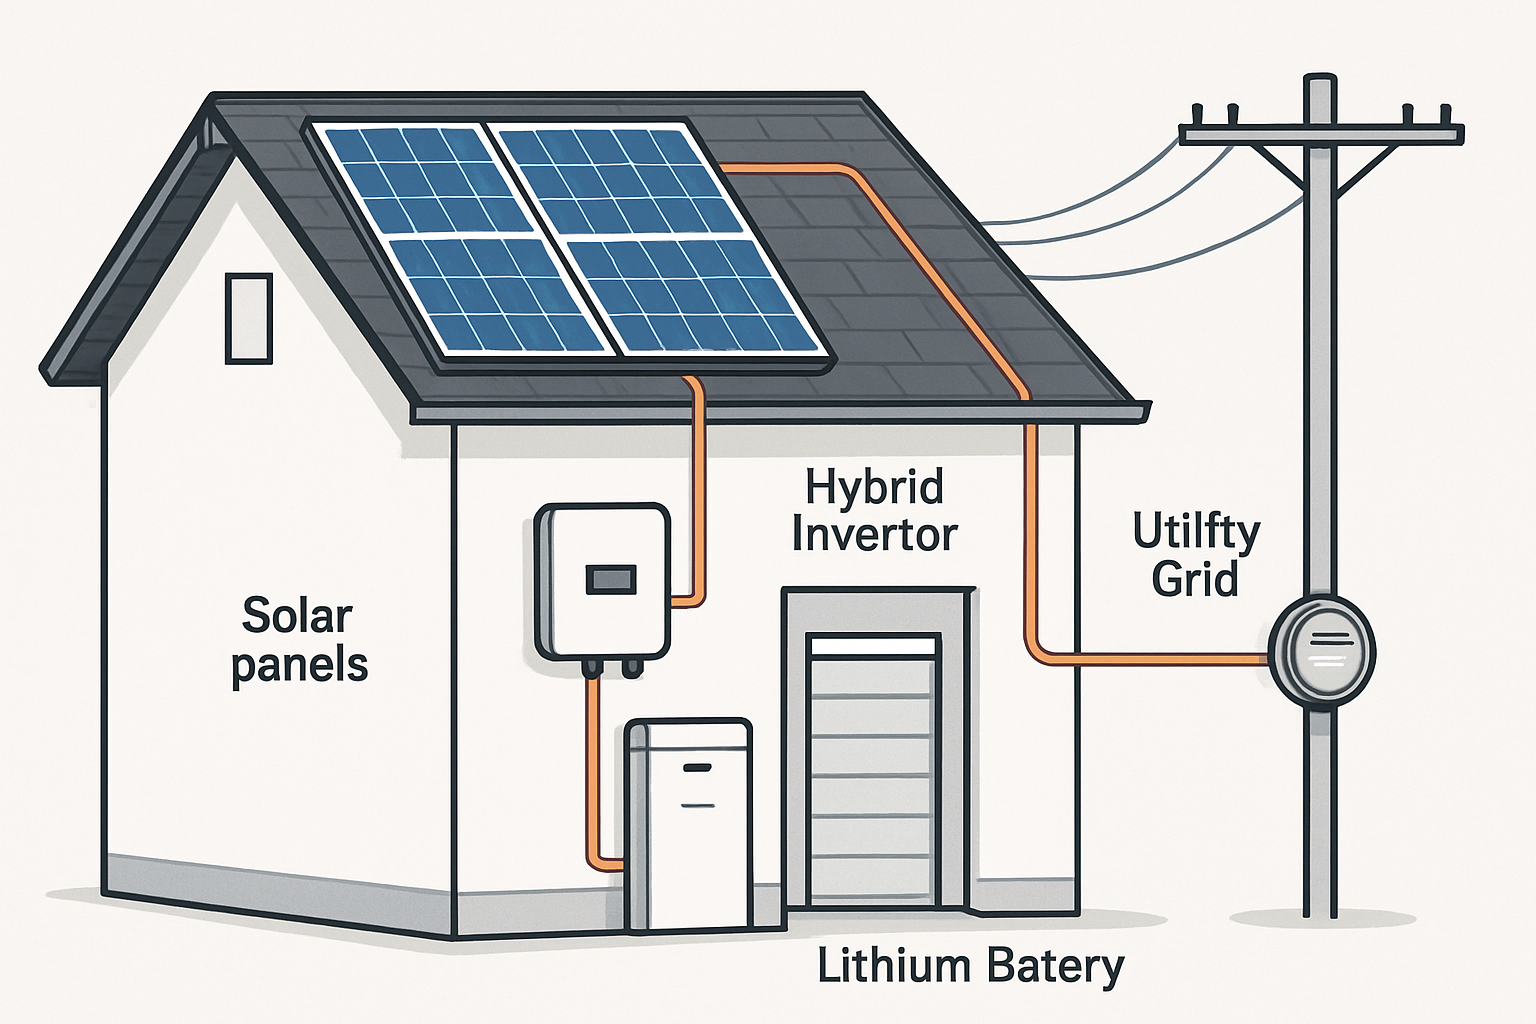
Using the data from the on-site assessment, engineers will create a final, customized design. This detailed proposal includes the precise layout of the solar panels, the specific equipment to be used (like LiFePO4 batteries and a hybrid inverter if you're adding storage), and a firm quote. It will also project your system's energy production and provide a comprehensive financial breakdown.

Phase 2: Agreements and Approvals
Once the design is finalized, the next steps involve formalizing the agreement and securing the necessary permissions to build.
4. Signing the Contract
After reviewing the final proposal, you will sign a contract. This legal document locks in the price, equipment, warranties, and the scope of work. It is important to read this agreement carefully. At this stage, you will also discuss financing options. Different providers offer various payment solutions, from cash purchases to solar loans.
Disclaimer: This information does not constitute financial advice. Please consult with a financial advisor to determine the best option for your situation.
5. Permitting
Before any physical work can begin, your installer must obtain permits from your local Authority Having Jurisdiction (AHJ), which could be your city or county. The installer will submit the detailed engineering plans for review. The permitting process duration can vary significantly depending on the municipality. As noted in an International Energy Agency report, making information available and streamlining the permitting process is important to facilitate project development.
Phase 3: Installation and Inspection
With permits in hand, your project moves into the construction phase. This is when the hardware is physically installed on your property.
6. Equipment Procurement
Your installer will order all the necessary components for your system. This includes the solar panels, inverters, racking equipment, and if applicable, your home energy storage system. Sourcing high-quality, reliable equipment is fundamental to the long-term performance of your solar array.
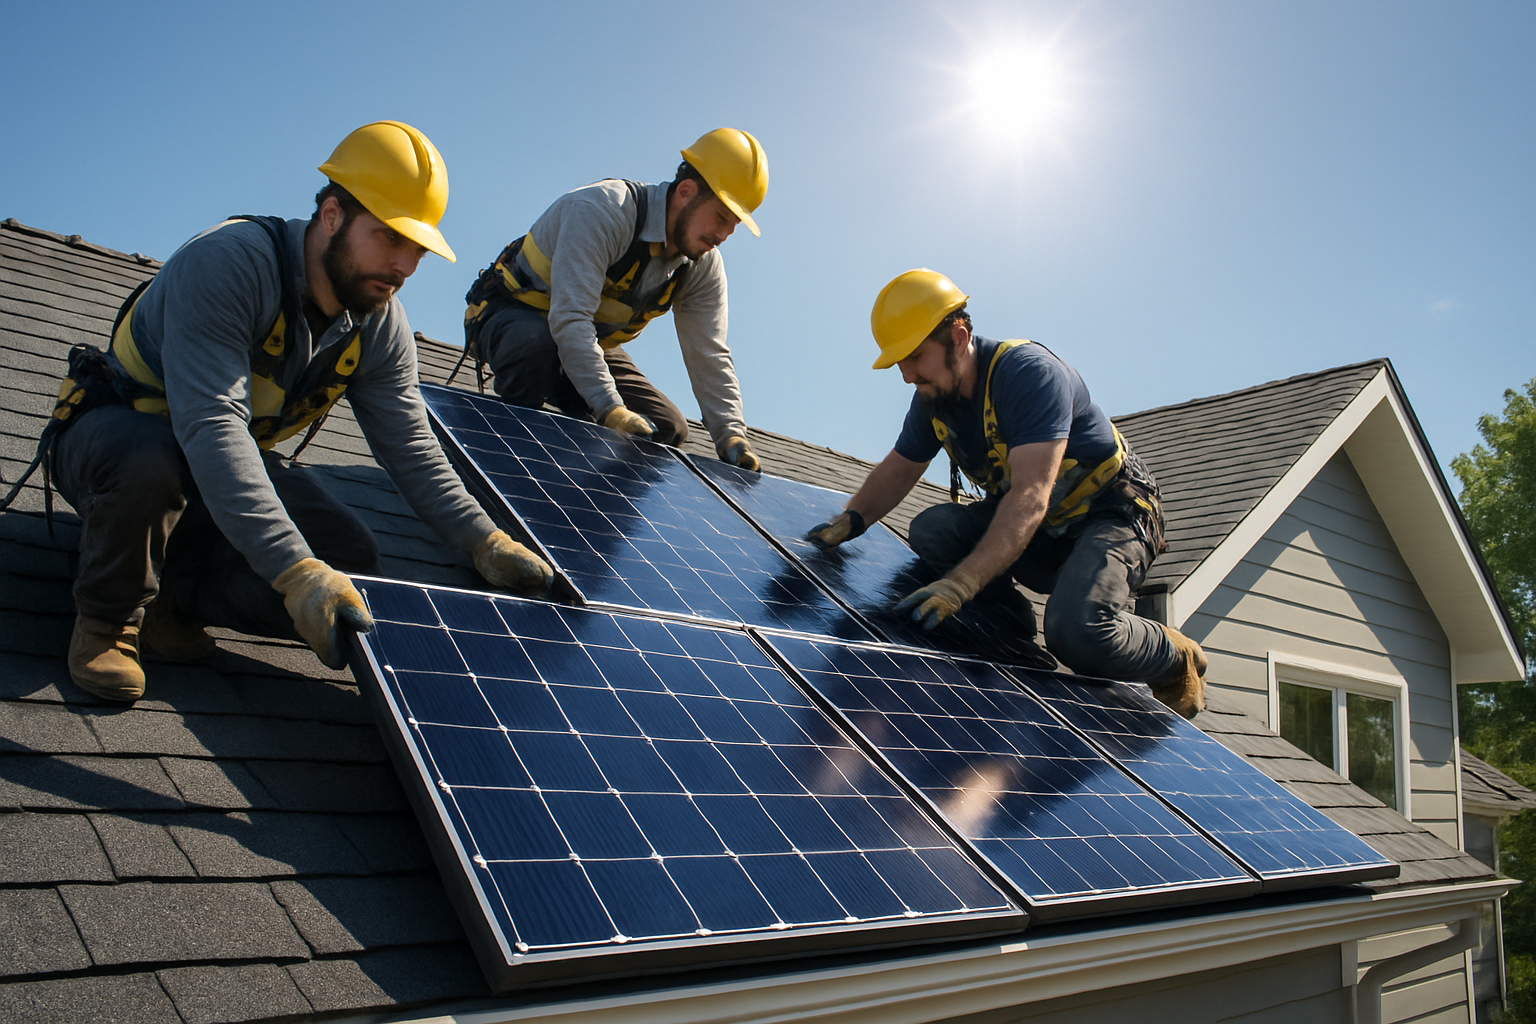
7. Installation
The installation team will arrive to bring your solar system to life. For a typical residential solar process, this takes one to three days. The crew will first install the mounting hardware on your roof, then secure the solar panels to the racks. Finally, they will run the wiring and connect the panels to the inverter, which converts the DC electricity from the panels into the AC electricity your home uses.
Phase 4: Commissioning and Activation
The final phase involves getting official approval from both your local government and your utility company to turn the system on.
8. City and Utility Inspection
After the installation is complete, it must be inspected by the AHJ to ensure it complies with all local building and electrical codes. The inspector will verify that the work was done correctly and safely. Policy makers recognize that verifying grid code compliance is a key part of the process, as outlined in manuals designed to help get wind and solar onto the grid. Once the system passes this inspection, the results are sent to your utility company.
9. Permission to Operate (PTO)
This is the final milestone. The utility company will review the inspection results and your interconnection agreement. They may also install a new net meter that can track the electricity you send back to the grid. Once everything is approved, they will issue the Permission to Operate (PTO). Your installer will then guide you on how to power up your system. You are now officially producing your own clean energy.
The Solar Installation Timeline at a Glance
While every project is unique, this table provides a general idea of the timeline for each major phase.
| Milestone | Typical Duration |
|---|---|
| Consultation & Design (Milestones 1-3) | 1-2 Weeks |
| Contract & Permitting (Milestones 4-5) | 2-8 Weeks |
| Installation (Milestones 6-7) | 1-3 Days |
| Inspection & PTO (Milestones 8-9) | 2-6 Weeks |
Your Next Steps Toward Energy Control
Navigating the quote-to-PTO process is straightforward when you know the key milestones. From the initial design to the final activation, each step is a deliberate move toward reducing your reliance on the grid and controlling your energy costs. By partnering with an experienced installer, you can ensure that every phase, from permitting to inspection, is handled professionally, leading to a reliable and powerful solar energy system for your home.
Leave a comment
All comments are moderated before being published.
This site is protected by hCaptcha and the hCaptcha Privacy Policy and Terms of Service apply.