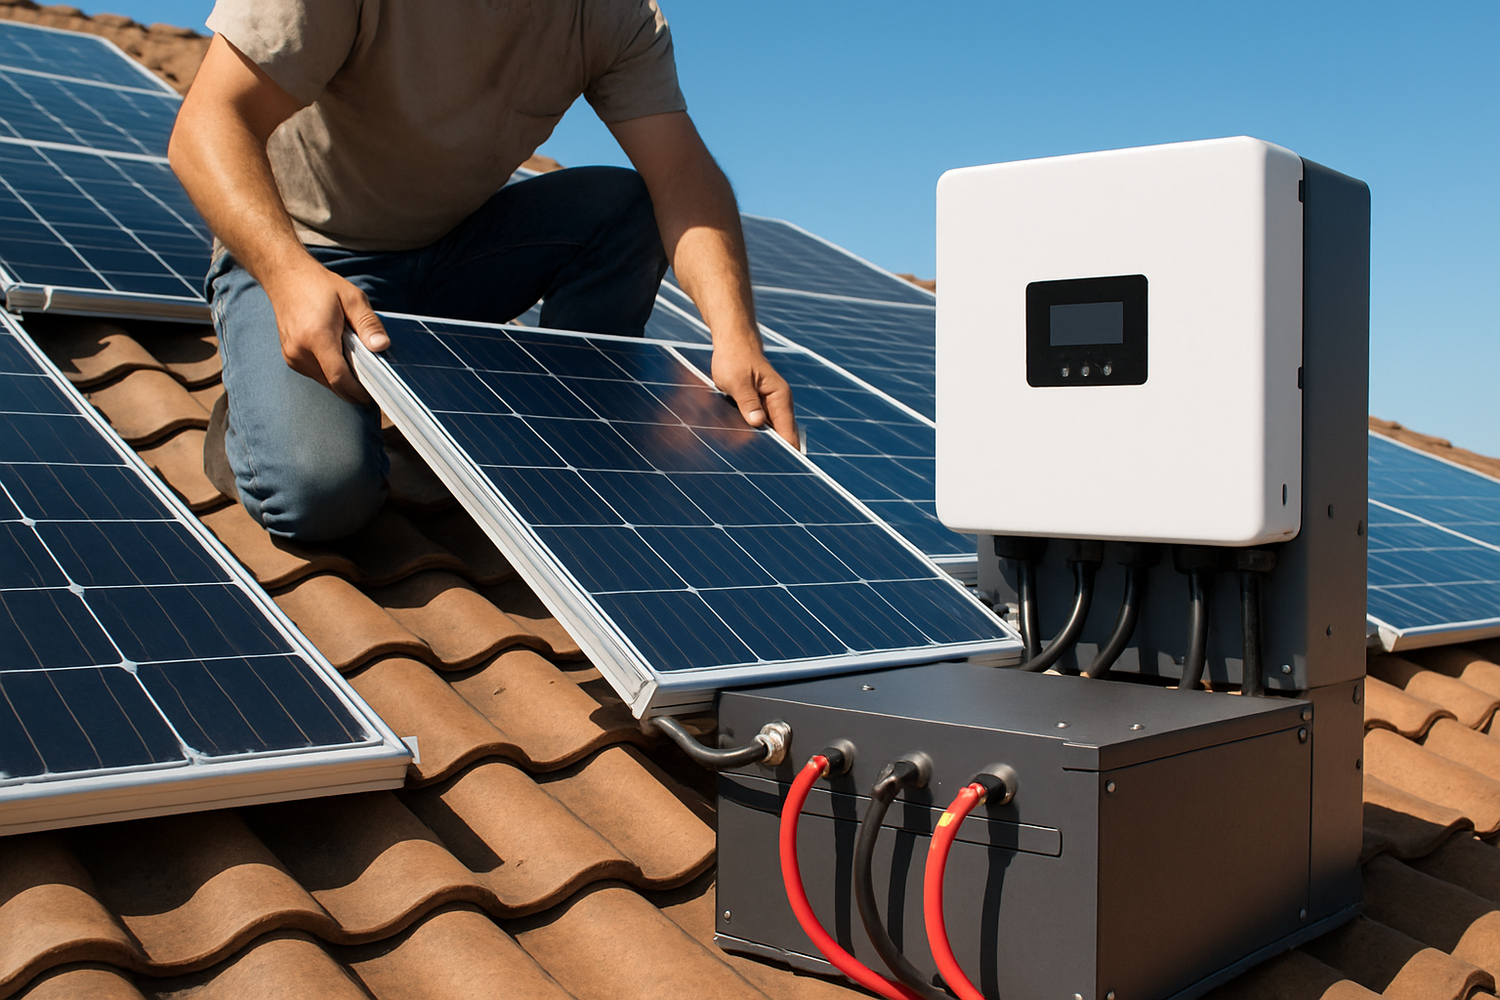
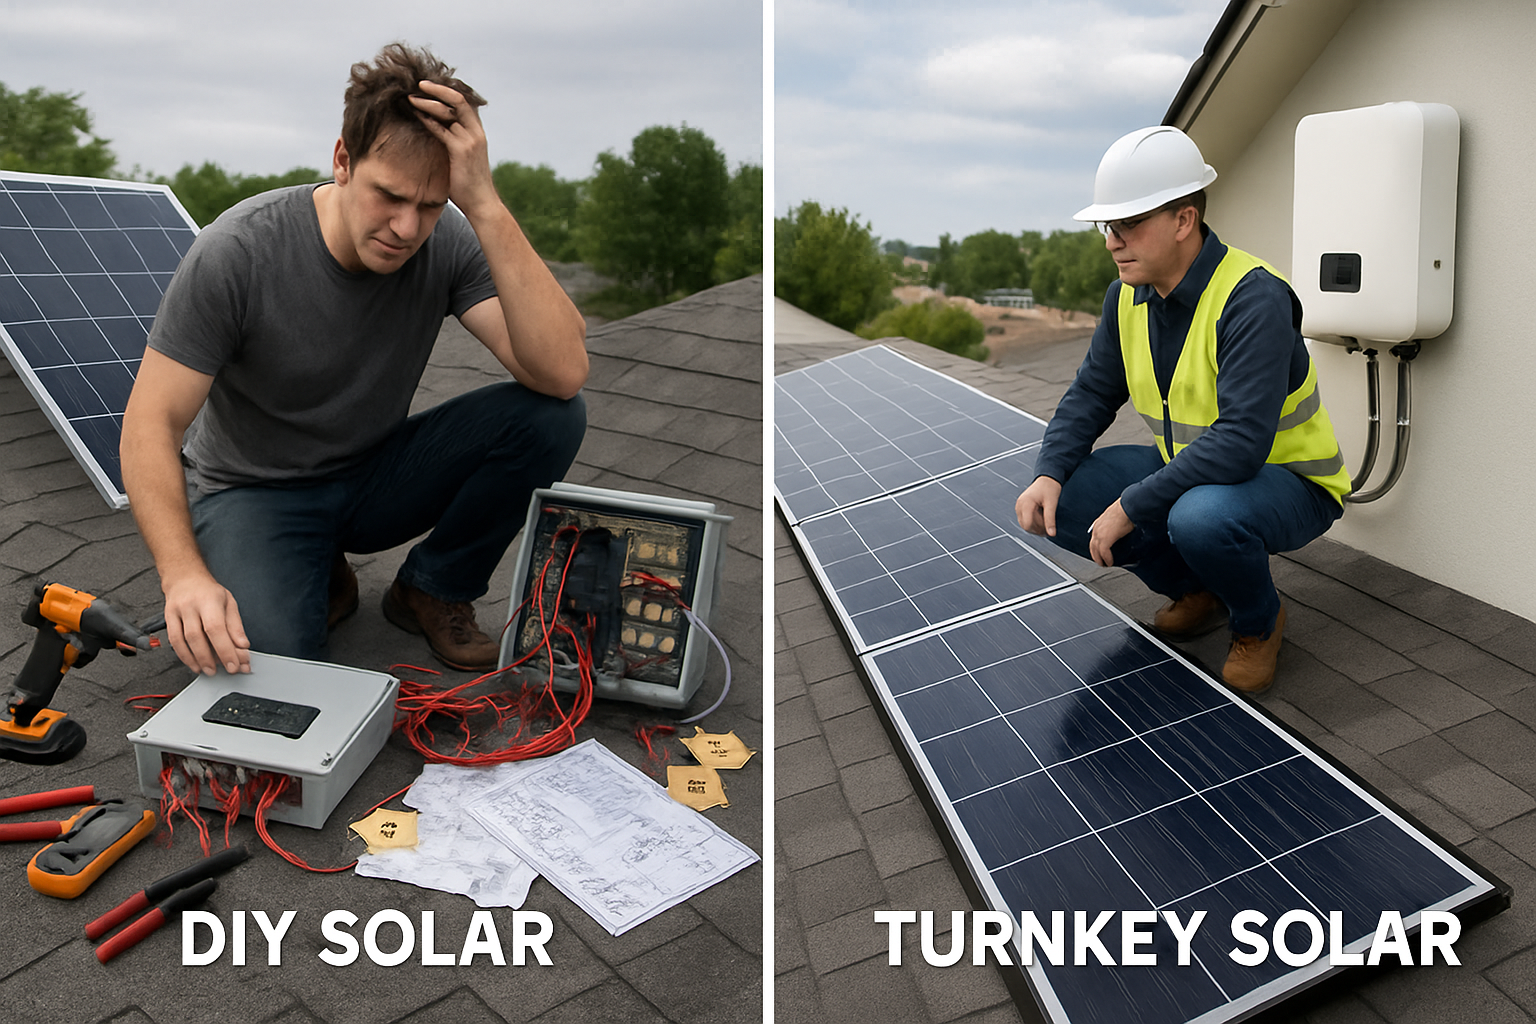
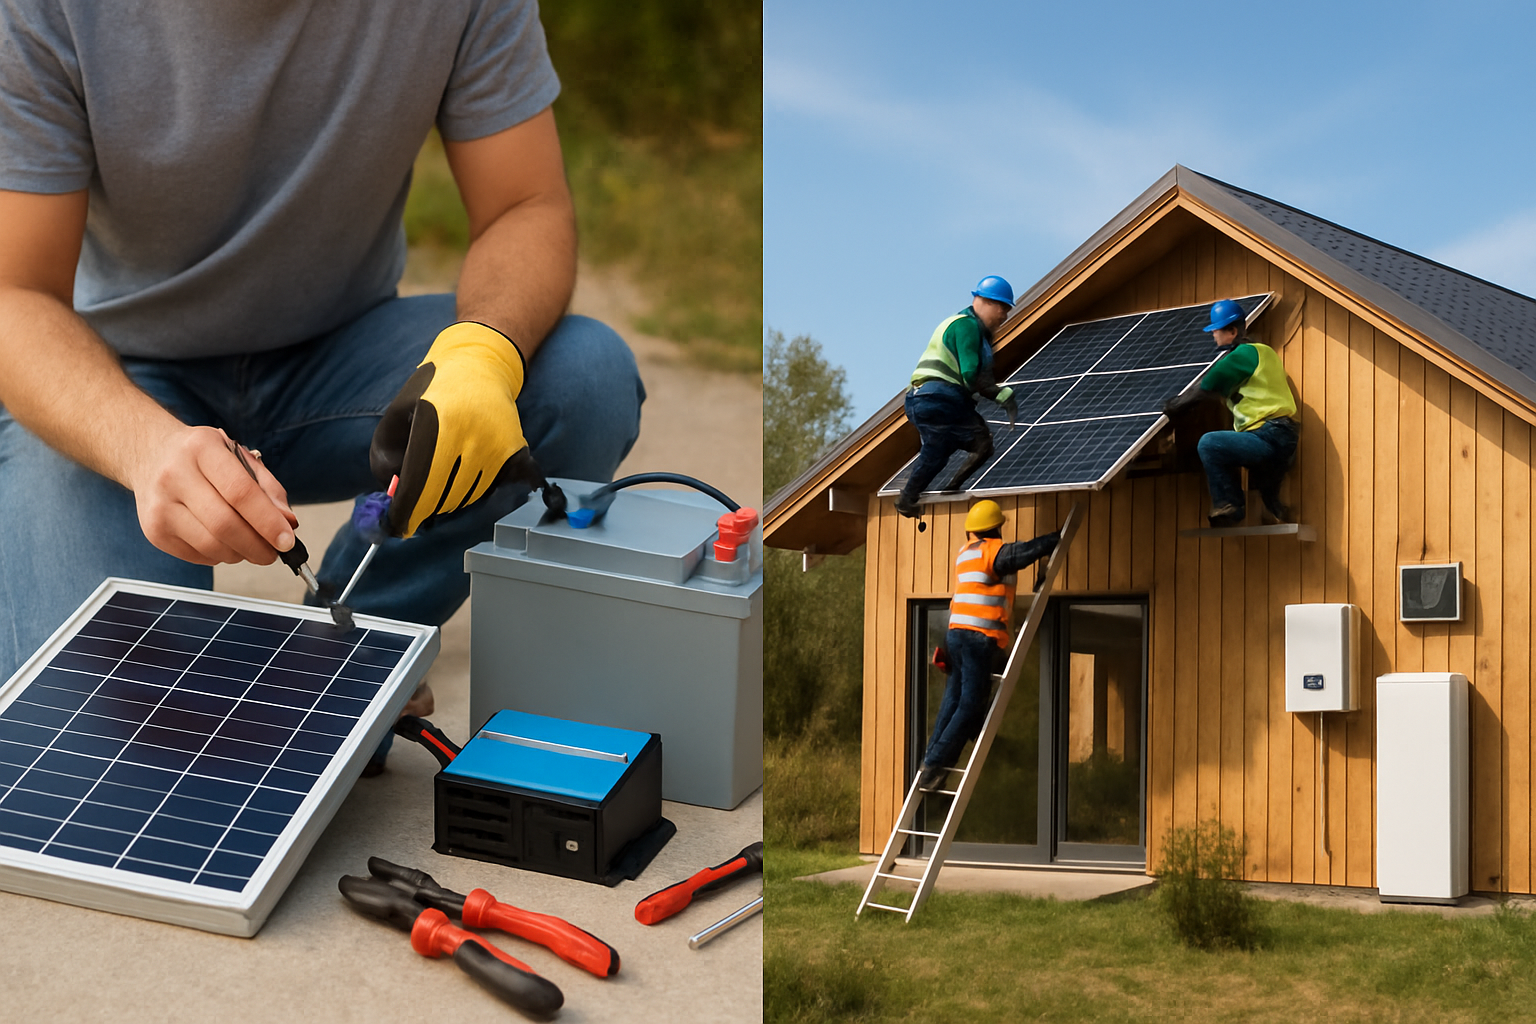
Achieving energy independence through solar power is a goal for many. While turnkey solutions offer convenience, building your own solar and storage system can significantly reduce costs and provide greater control over your energy infrastructure. This blueprint provides practical steps for sourcing key components – LiFePO4 batteries, inverters, and photovoltaic (PV) panels – to construct an efficient, reliable, and more affordable DIY setup.

Understanding Your Core Components: LiFePO4, Inverter, and PV
A successful DIY solar system relies on carefully chosen components. Each plays a distinct role in converting sunlight into usable electricity and storing it for consistent access.
The Power of LiFePO4 Batteries
Lithium Iron Phosphate (LiFePO4 or LFP) batteries are a superior choice for solar energy storage. They offer exceptional safety, a long operational life, and high energy density. LiFePO4 batteries are known for their stable chemical structure, which makes them less prone to thermal runaway or combustion, enhancing safety for your home system.
These batteries also excel in efficiency and can handle deep discharge cycles without significant degradation, ensuring consistent performance and a longer lifespan. They are a robust alternative to traditional lead-acid batteries, requiring less maintenance and offering superior performance.
Selecting the Right Solar Inverter
The solar inverter is a critical device that converts the direct current (DC) electricity generated by your solar panels into alternating current (AC) electricity, which powers your appliances. Choosing the correct inverter type and size is crucial for system efficiency and reliability.
- Pure Sine Wave Inverters: These are highly efficient and produce a clean waveform, suitable for sensitive electronics.
- Hybrid Inverters: These combine the functions of string inverters and battery inverters, making them well-suited for systems with energy storage and grid backup capabilities.
- String Inverters: A common and budget-friendly option, connecting multiple panels in a series.
- Microinverters: These convert DC to AC at each individual panel, optimizing output even with partial shading.
When sizing your inverter, assess your total power consumption and select an inverter with a power output that matches or slightly exceeds your maximum load. Efficiency is a key factor, as it directly impacts your system's energy output. The Next Generation Wind and Solar Power report highlights that solar PV inverters can control voltage, and technical requirements, known as grid codes, are necessary to ensure their proper function and monitoring.
Choosing Photovoltaic (PV) Panels
Solar panels are the foundation of your system, converting sunlight into electricity. There are three main types:
- Monocrystalline Panels: Known for their high efficiency (typically 17-22%) and sleek appearance, they produce more power in less space.
- Polycrystalline Panels: Offer a more cost-effective option with slightly lower efficiency (around 15-17%).
- Thin-Film Panels: Lightweight and flexible, they are often a good choice for portable or DIY setups, like those on RVs.
The objective for distributed rooftop solar PV projects often involves maximizing overall energy production. Consider the available space and your budget when selecting panel types. An important design parameter is the DC/AC ratio, also called the inverter loading ratio. This ratio compares the installed DC capacity of your PV modules to the maximum AC output of your inverter. For economic and engineering reasons, the DC capacity is often 10% to 30% higher than the AC operating capacity. Data from 2010 to 2016 shows the average DC/AC ratio for utility-scale PV projects increased from below 1.2 to over 1.3. Designing your system with a DC/AC ratio between 1.2 and 1.5 is a common practice, helping to maximize energy generation without needing excessive inverter capacity.
Sourcing Components for Cost Efficiency
Sourcing components effectively is where significant cost savings for your DIY project begin. Strategic purchasing can impact your overall budget.
Navigating the LiFePO4 Market
When sourcing LiFePO4 batteries, focus on reputable manufacturers and suppliers known for quality and reliability. Compare specifications such as cycle life, depth of discharge, and warranty periods. While the upfront cost of LiFePO4 batteries can be higher than other battery types, their extended lifespan and performance often result in lower long-term costs.
Smart Inverter Procurement
For inverters, look for models that offer high efficiency ratings, robust safety features, and compatibility with your chosen battery voltage (e.g., 12V, 24V, or 48V). Some inverters include built-in battery chargers and solar charge controllers, which can simplify installation and reduce overall costs. Prioritize pure sine wave inverters for compatibility with all household appliances and to ensure their longevity.
Optimizing PV Panel Acquisition
To optimize PV panel acquisition, balance panel efficiency with the available space and your budget. For smaller spaces, higher-efficiency monocrystalline panels may be more suitable. For larger areas, polycrystalline panels can offer a more cost-effective solution. Consider purchasing from wholesalers or directly from manufacturers to potentially secure better pricing. Remember that the scope of solar PV includes modules, cells, wafers, and polysilicon, with values expressed in direct current (DC) terms.
The DIY Advantage: Cost Savings and Control
Building your own solar and storage system offers distinct advantages, primarily in financial savings and the direct control you gain over your energy production.
Financial Benefits of Self-Assembly
A primary appeal of DIY solar is the significant reduction in costs. By taking on the installation yourself, you eliminate labor, sales, and marketing expenses that are typically included in turnkey solutions. For example, a typical 10-kilowatt (kW) residential system might cost between $2.50 and $3.50 per watt for a professional installation, but only $1 to $2 per watt for a DIY kit before incentives. This can translate into savings of $5,000 or more for homeowners.
The U.S. Department of Energy defines “soft costs” as non-hardware expenses related to going solar, including permitting, financing, installation labor, customer acquisition, and overhead. While hardware costs have decreased significantly, soft costs have become a growing share of total system costs, making up to 65% of the total cost for a residential PV system as of late 2023. By handling many aspects yourself, you directly mitigate a large portion of these soft costs.
Technical Considerations and Best Practices
Undertaking a DIY solar project requires careful planning and some electrical knowledge. You will need to calculate your daily energy consumption, assess available roof or ground space, and understand local solar radiation data. Proper sizing of all components, from panels to batteries and inverters, is critical for an efficient and safe system. If you are not confident in certain technical aspects, consulting with professionals for specific tasks like system design or electrical connections can be a wise decision. (Non-legal advice: Always consult with qualified professionals for electrical work and ensure compliance with local building codes.)
Ensuring System Reliability and Longevity
A well-designed and installed DIY system can provide reliable power for many years. Focus on quality components and meticulous execution.
Proper Installation and Maintenance
Adhere strictly to manufacturer guidelines for all components. Correct wiring, secure mounting of panels, and proper ventilation for batteries and inverters are paramount for safety and performance. Regular maintenance, such as cleaning solar panels and checking battery connections, helps ensure optimal output and extends the system's lifespan. Remember that PV modules degrade over time, a factor to consider in long-term performance.
Integrating for Optimal Performance
System integration involves ensuring all components work together seamlessly. Your inverter's input voltage must match your battery bank's voltage. When incorporating batteries, a solar charge controller is an important addition. It manages the power flow from your solar panels to your batteries, preventing overcharging and extending battery life.
| Cost Category | DIY System (per Watt) | Turnkey System (per Watt) | ||
|---|---|---|---|---|
| Hardware (Panels, Inverter, Battery) | $1.00 - $1.50 | $1.00 - $1.50 | ||
| Installation Labor | $0.00 (Your Time) | $0.50 - $1.00 | ||
| Permitting & Inspection | $0.10 - $0.20 | $0.15 - $0.25 | ||
| Sales & Marketing / Overhead | $0.00 (Your Effort) | $0.40 - $0.80 | ||
| Total Estimated Cost | $1.10 - $1.70 | $2.05 - $3.55 | ||
Note: These are approximate ranges and can vary based on component quality, system size, location, and market conditions. DIY savings are primarily from eliminating labor and overhead costs. |
||||
Your Path to Energy Independence
Building your own solar and energy storage system is a rewarding endeavor. It provides substantial cost savings and grants you direct control over your energy production and consumption. By carefully selecting and sourcing LiFePO4 batteries, inverters, and PV panels, you create a robust system tailored to your specific needs. This hands-on approach empowers you to achieve true energy independence with reliable, scalable energy solutions.
Frequently Asked Questions
Is DIY solar truly cheaper than a professionally installed system?
Yes, DIY solar can be significantly cheaper. You save on labor, sales, and marketing costs, which can account for a large portion of a turnkey system's price. Many homeowners report savings of $5,000 or more on residential systems.
What are the main risks of a DIY solar project?
The primary risks include potential safety hazards from incorrect electrical wiring, system underperformance due to improper sizing or installation, and the possibility of not qualifying for certain solar incentives. It requires a good understanding of electrical systems and local building codes. If you are unsure, consult professionals for critical steps.
How do I size my battery bank and inverter for an off-grid system?
To size your battery bank, calculate your daily energy consumption (in Watt-hours or kWh) and determine how many days of autonomy you need. For the inverter, sum the wattage of all appliances you plan to run simultaneously, including surge capacities for motor-driven devices. Your inverter's continuous output should meet or slightly exceed this peak load. Your battery bank's voltage should also be compatible with your inverter.
References
- IEA (2018), System Integration of Renewables
- IEA (2024), Energy Technology Perspectives 2024
- IEA (2016), Next Generation Wind and Solar Power
- IEA (2010), Technology Roadmap - Solar Photovoltaic Energy 2010
- U.S. Energy Information Administration (EIA) (2018), Solar plants typically install more panel capacity relative to their inverter capacity
- U.S. Department of Energy (DOE), Solar Soft Costs Basics


Leave a comment
All comments are moderated before being published.
This site is protected by hCaptcha and the hCaptcha Privacy Policy and Terms of Service apply.