An off-grid solar power system allows you to generate and store your own electricity, operating completely independently of the public utility grid. According to Solar-Estimate.org, these are often the most expensive type of solar setup because they require a substantial number of panels and a large battery bank to meet power needs 24/7, especially during winter or overcast weather. However, for those in remote locations or seeking energy independence, a DIY installation can be a rewarding and cost-effective project.
This guide provides a practical, step-by-step approach to planning, designing, and installing your own off-grid solar system.
Phase 1: Planning and System Design
Careful planning is the most critical part of building a successful off-grid system. According to ResidentialSolarPanels.org, the process should begin with a thorough home energy audit to understand your consumption patterns. Accurately sizing your system ensures it will meet your needs efficiently and reliably.
Step 1: Calculate Your Energy Needs (Load Calculation)
The first step is to determine how much energy your system needs to produce. This involves creating a detailed list of every appliance and device you plan to power. For each item, find its power rating in watts (W) and estimate the number of hours it will run per day.
Energy (Watt-hours) = Power (Watts) x Hours of Use (h)
Sum the watt-hours for all appliances to get your total daily energy requirement. Remember to account for inverter self-consumption and efficiency losses, which can range from 5% to 15%. According to a guide from Renogy, it's wise to add a buffer for system inefficiencies to ensure your system can fully meet your energy demands.
Step 2: Sizing Your System Components
With your daily energy needs calculated, you can now size the core components of your system.
Battery Bank
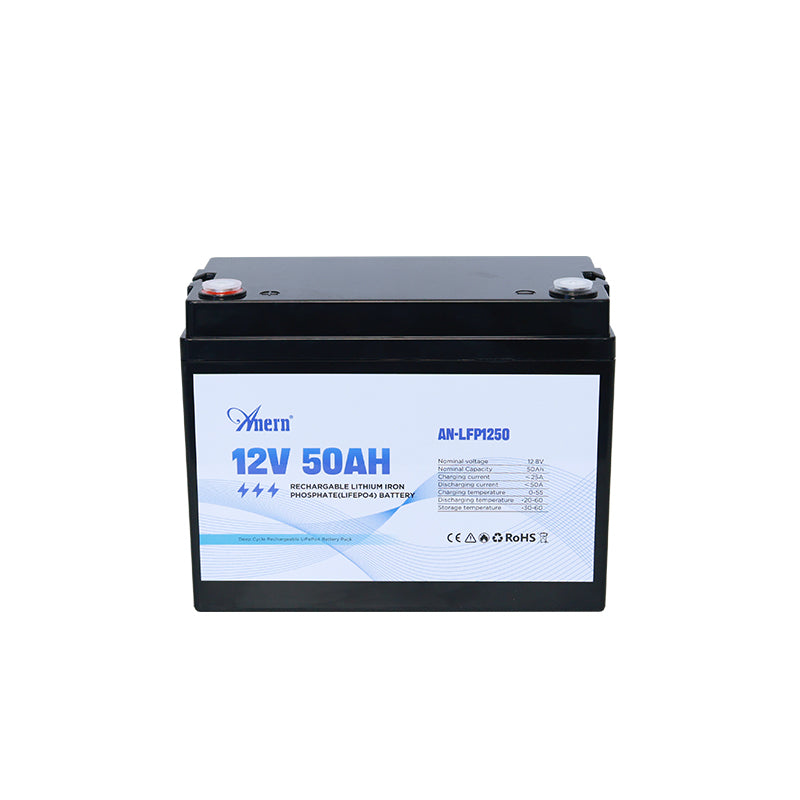
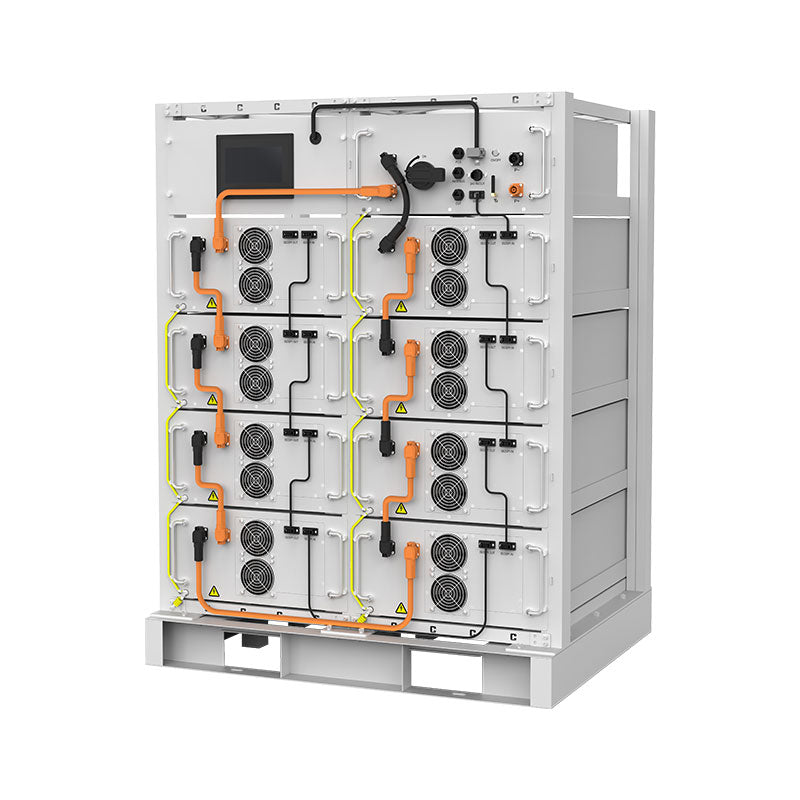
The battery bank stores energy for use at night and during periods of low sunlight. According to experts at Clean Energy Reviews, you must decide on the "days of autonomy"—the number of consecutive days your system can run without sun. For off-grid homes, a minimum of two to three days is typical. You will also need to decide on a system voltage—12V, 24V, or 48V. For larger systems powering a home, a 48V system is often more efficient and cost-effective as it reduces the required wire thickness.
Experts from GreenCoast note that battery capacity is significantly reduced in freezing temperatures, so if your batteries will be in a cold location, you may need to increase your bank size to compensate.
Solar Panel Array
To size your solar panel array, divide your total daily energy requirement (in Wh) by the average "peak sun hours" for your location. This value, available from sources like the National Renewable Energy Laboratory (NREL), represents the equivalent number of hours of peak sunlight and varies by geography and season. The calculation gives you the total solar panel wattage required.
Solar Panel Size (W) = Total Daily Energy (Wh) / Peak Sun Hours (h)
It is generally recommended to oversize the array slightly to account for cloudy weather and ensure the batteries can be fully recharged.
Charge Controller
A charge controller regulates the voltage and current from the panels to the batteries, preventing overcharging and extending battery life. There are two main types: PWM (Pulse Width Modulation) and MPPT (Maximum Power Point Tracking). MPPT controllers are more efficient, especially when the solar panel voltage is different from the battery bank voltage, making them the preferred choice for most off-grid systems. To size the controller, ensure its voltage rating matches your system voltage (e.g., 48V) and its amperage capacity exceeds the total short-circuit current of your solar array.
Inverter
The inverter converts DC electricity from your batteries into AC electricity for your household appliances. The inverter's continuous power rating (in watts) must be higher than the total power of all AC appliances you might run simultaneously. It's also crucial to select an inverter that matches your system's battery voltage (e.g., 48V) and produces the correct AC output for your region (e.g., 120/240V split-phase in the U.S.).
Phase 2: Gathering Equipment and Tools
Once your system is designed, it's time to gather all the necessary components and tools.
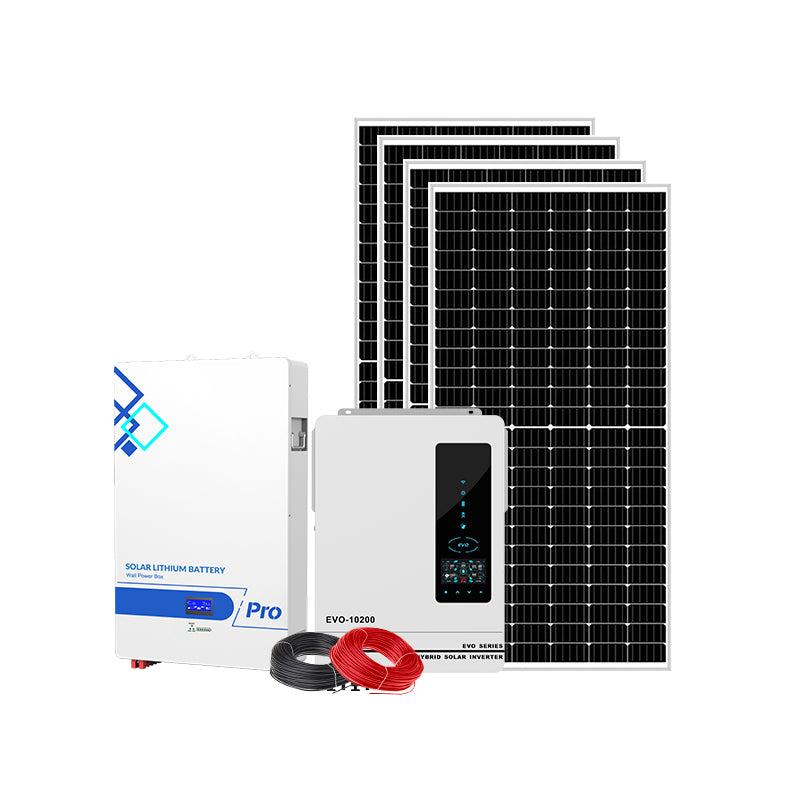
- Core Components: Solar Panels, Deep-Cycle Batteries (Lead-Acid or Lithium-Ion), Charge Controller, and an Inverter.
- Balance of System: Mounting Racks, PV Wires, Battery Cables, Fuses or Circuit Breakers, MC4 Connectors, and a DC disconnect switch.
- Tools: Wire strippers, crimping tool, wrenches, screwdriver set, pliers, and a multimeter for testing.
Phase 3: Installation
With all components on hand, you can begin the physical installation. Safety is paramount throughout this process.
Step 1: Mount the Solar Panels
Choose a location that receives maximum direct sunlight with minimal shading. In the Northern Hemisphere, panels should ideally face south. The optimal tilt angle often corresponds to your geographical latitude.
- Securely install mounting brackets to your roof rafters or a ground-mounted frame, using weatherproof flashing to prevent leaks.
- Attach the mounting rails to the brackets, ensuring they are level and parallel.
- Carefully lift and secure the solar panels onto the rails using the provided clamps. It's recommended to work with a partner for this step.
Step 2: Set Up the Battery Bank
Your battery bank should be in a dedicated, well-ventilated, and temperature-controlled space. Proper ventilation is critical, especially for flooded lead-acid batteries, to safely vent any gases produced during charging.
- Place batteries on a sturdy, elevated platform to protect against moisture.
- Connect the batteries using heavy-duty cables to achieve your desired system voltage (series connection) and capacity (parallel connection). A wiring diagram is essential here.
- Install a Battery Monitoring System (BMS) to protect against overcharging and deep discharging, which is vital for battery longevity.
Step 3: Wire the System Components
Proper wiring is crucial for safety and system efficiency. Always create or follow a detailed wiring diagram.
- Connect Charge Controller to Battery First: This allows the controller to calibrate to the system voltage. Connect the negative wire first, then the positive.
- Connect Solar Panels to Charge Controller: Before making this connection, cover the panels with a dark cloth to prevent them from generating voltage, which could damage the controller. Ensure correct polarity (+ to + and - to -). Use UV-resistant PV wire and MC4 connectors.
- Connect Inverter to Battery: Use thick, short cables to connect the inverter directly to the battery bank. Install a fuse or circuit breaker on the positive line for protection. According to insights from a video guide by Andy Arthur, using a pre-charge resistor when connecting the inverter can prevent a damaging current surge.
- System Grounding: Implement proper system grounding to protect against electrical faults and lightning. The National Electric Code (NEC) requires connecting each solar module frame and the mounting rack to an earth ground rod.
Phase 4: System Testing and Maintenance
Step 1: Initial System Test
Before fully commissioning the system, conduct a thorough check.
- Use a multimeter to verify the voltage and polarity at each connection point.
- Power on the inverter and test it with a small AC load, like a lamp.
- Check the charge controller display to confirm it is receiving power from the panels and charging the batteries.
If you encounter any issues, power down the system and double-check all connections against your wiring diagram.
Step 2: Regular Maintenance
To ensure your system operates efficiently for years, perform regular maintenance.
- Quarterly: Clean solar panels with water and a soft brush to remove dirt and debris that can reduce output.
- Semi-Annually: Inspect all wiring and connections for tightness and signs of corrosion. Check battery fluid levels if you have flooded lead-acid batteries.
- Annually: Test your backup system to ensure it functions as expected and that all critical loads receive power.
Keeping a maintenance log can help you track system performance over time.


Leave a comment
All comments are moderated before being published.
This site is protected by hCaptcha and the hCaptcha Privacy Policy and Terms of Service apply.