Adding a battery to your solar energy system is a powerful step toward energy independence and resilience. It allows you to store the clean energy your panels produce for use at night or during a power outage. However, a successful residential solar energy storage system relies on more than just advanced technology; it requires careful planning and preparation. A flawless installation ensures your system operates safely, efficiently, and delivers value for years to come.
Foundational Steps: Sizing and Site Assessment
Before any equipment arrives, two preliminary steps are crucial: determining your energy needs and selecting the right location for the battery. These decisions will influence every other aspect of your project.
Calculating Your Energy Needs
Properly sizing your solar battery is the most critical part of the planning process. An undersized battery won't provide enough power for your needs, while an oversized one leads to unnecessary expense. Start by reviewing your monthly utility bills to understand your average daily electricity consumption, measured in kilowatt-hours (kWh). Next, identify the 'critical loads'—the essential appliances and devices you want to power during an outage, such as your refrigerator, lights, internet router, and medical equipment. This calculation helps determine the ideal battery capacity to ensure you have reliable backup power when you need it most.
Evaluating the Installation Location
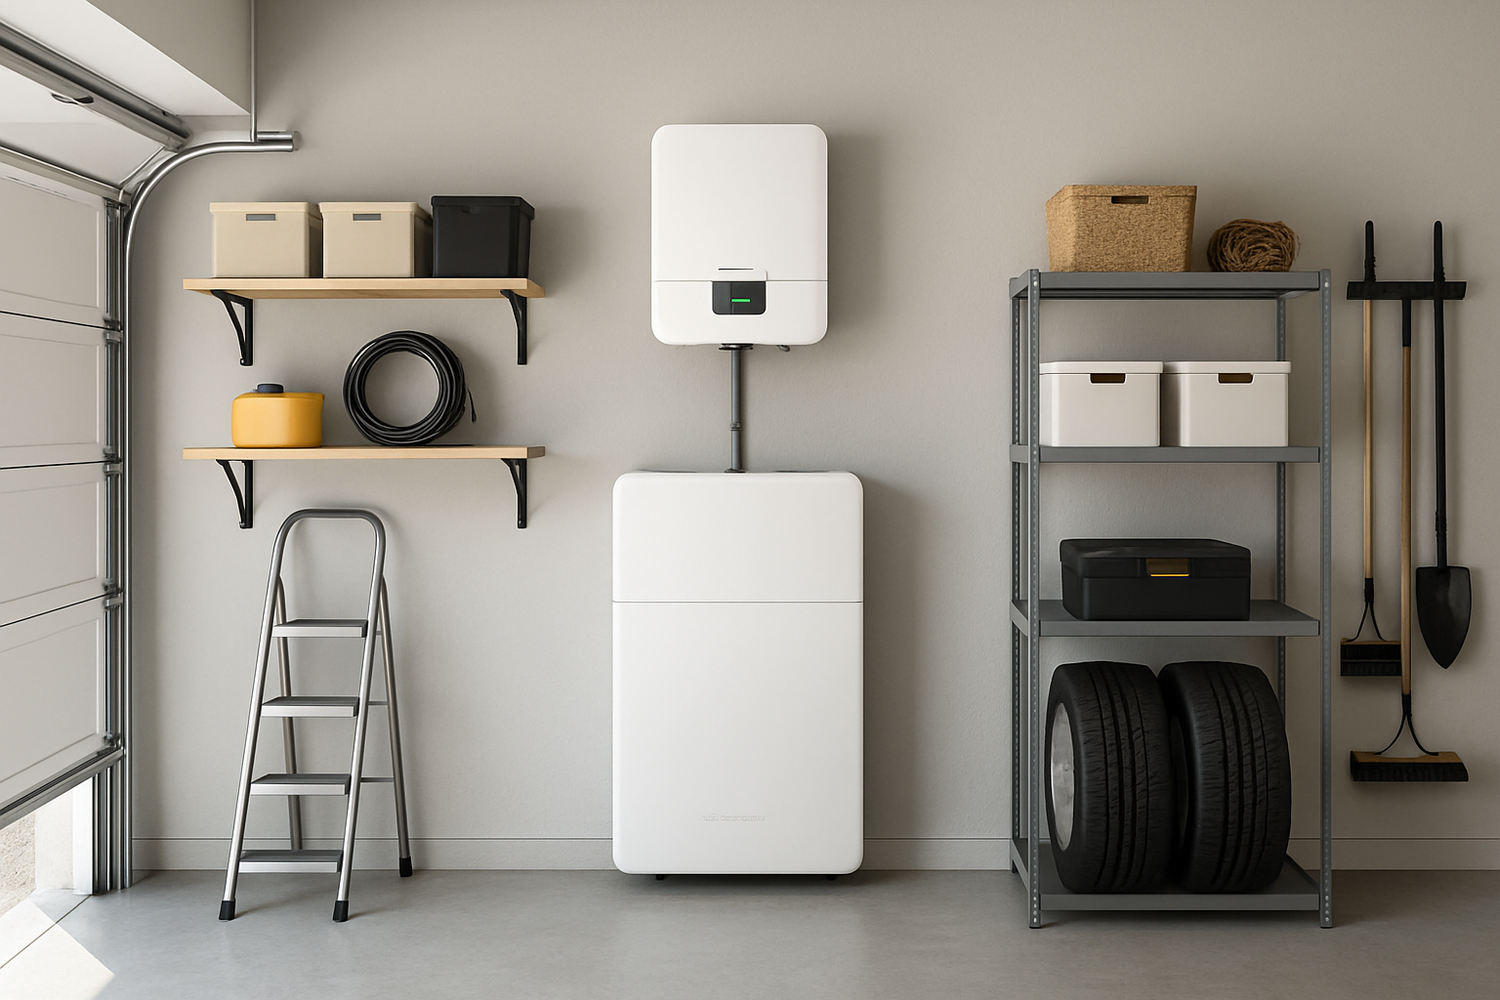
The physical placement of your home battery impacts its performance and lifespan. The ideal spot is a clean, dry, and well-ventilated area that is protected from extreme temperatures and direct sunlight, such as a garage or basement. The battery needs to be installed on a flat, stable surface, and the location must meet all local safety codes, including clearance requirements around the unit. A professional installer will conduct a thorough site assessment to confirm the best placement, plan the wiring route, and inspect your main electrical panel.
Assembling the Right Components and Team
With a clear understanding of your needs and location, the next phase involves selecting the hardware and the professionals who will bring your system to life.
Choosing Your Core Equipment
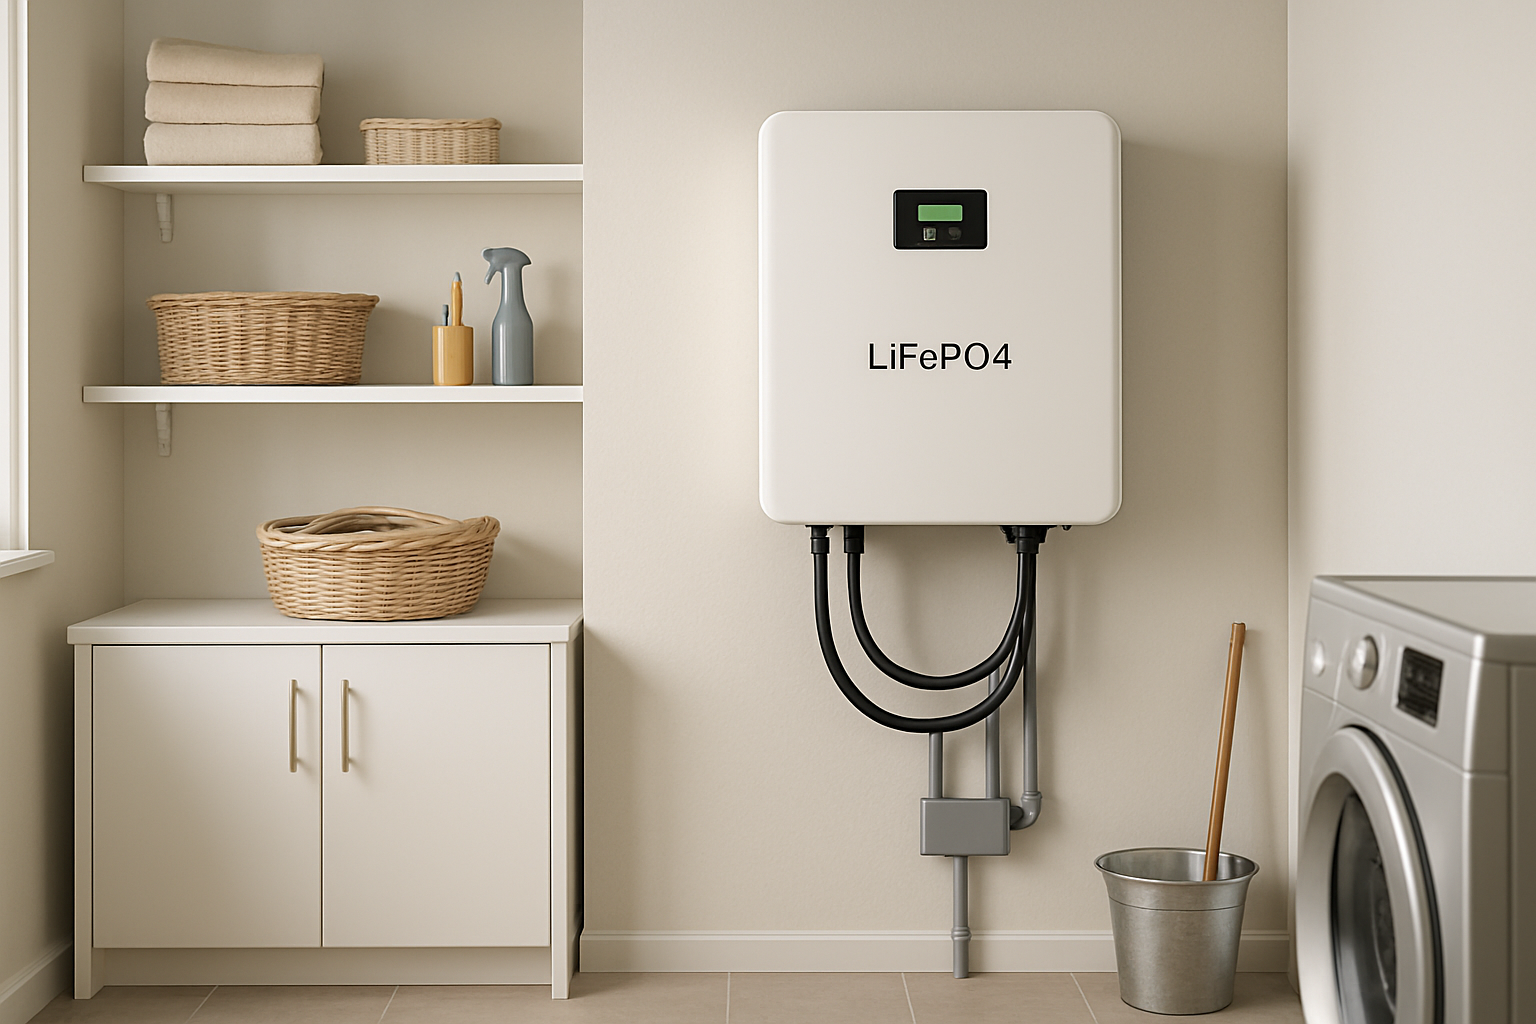
A home energy storage system consists of three main components: the battery, an inverter, and a monitoring system. Many modern systems utilize Lithium Iron Phosphate (LiFePO4) batteries, a type of lithium-ion battery known for its excellent safety profile, long cycle life, and thermal stability. The inverter is another key component, converting the battery's direct current (DC) electricity into the alternating current (AC) that powers your home. A hybrid inverter can manage power flow between your solar panels, battery, home, and the grid, making it a versatile choice for new installations. Ensuring all components are compatible is vital for a smoothly operating system.
Selecting a Qualified Installer
A solar battery installation is not a DIY project. It involves high-voltage electrical work and requires certified professionals. When choosing an installer, look for proper licensing, insurance, and industry certifications. Ask about their experience with residential solar energy storage and request references from past clients. A reputable installer will handle the entire process, from design and permitting to installation and commissioning, ensuring your system is safe and code-compliant.
The Pre-Installation Checklist: Paperwork and Practicalities
Before the installation day, several administrative and practical tasks must be completed. A good installer will guide you through this process, but it helps to know what to expect.
Navigating Permits and Utility Agreements
Nearly all solar battery installations require permits from your local building authority to ensure they meet safety standards. Additionally, you will need an interconnection agreement with your utility company. This agreement outlines the terms under which your system can connect to the grid. Your installation partner typically manages all this paperwork, streamlining the process for you.
Preparing the Physical Space
Your main responsibility before installation day is to prepare the designated area. This means clearing any clutter and ensuring there is a wide, unobstructed path for the installation team to move equipment. Depending on the assessment, your electrical panel might need an upgrade to handle the additional power from the solar and battery system.
| Task | Description | Status |
|---|---|---|
| Clear Installation Area | Remove boxes, tools, and other items from the battery location. | ☐ |
| Ensure Access Path | Clear a path from the driveway to the installation spot. | ☐ |
| Confirm Electrical Panel Access | Make sure the main service panel is easily accessible. | ☐ |
| Schedule Time for Walkthrough | Be available on installation day for the final system overview. | ☐ |
Understanding System Performance and Integration
To get the most out of your investment, it's helpful to understand a few key performance metrics and how the battery integrates with your solar panels.
Key Performance Metrics to Know
Three important terms related to battery performance are Depth of Discharge (DoD), Round-Trip Efficiency, and C-Rate. DoD refers to the percentage of the battery's total capacity that is used in a cycle; a higher DoD means you use more of the stored energy. Round-trip efficiency measures how much energy you get out of the battery relative to the amount put in. C-rate defines how quickly the battery can be charged or discharged. For a deeper look at these metrics, the Ultimate Reference for Solar Storage Performance provides detailed explanations and data.
Integrating with Your Solar Array
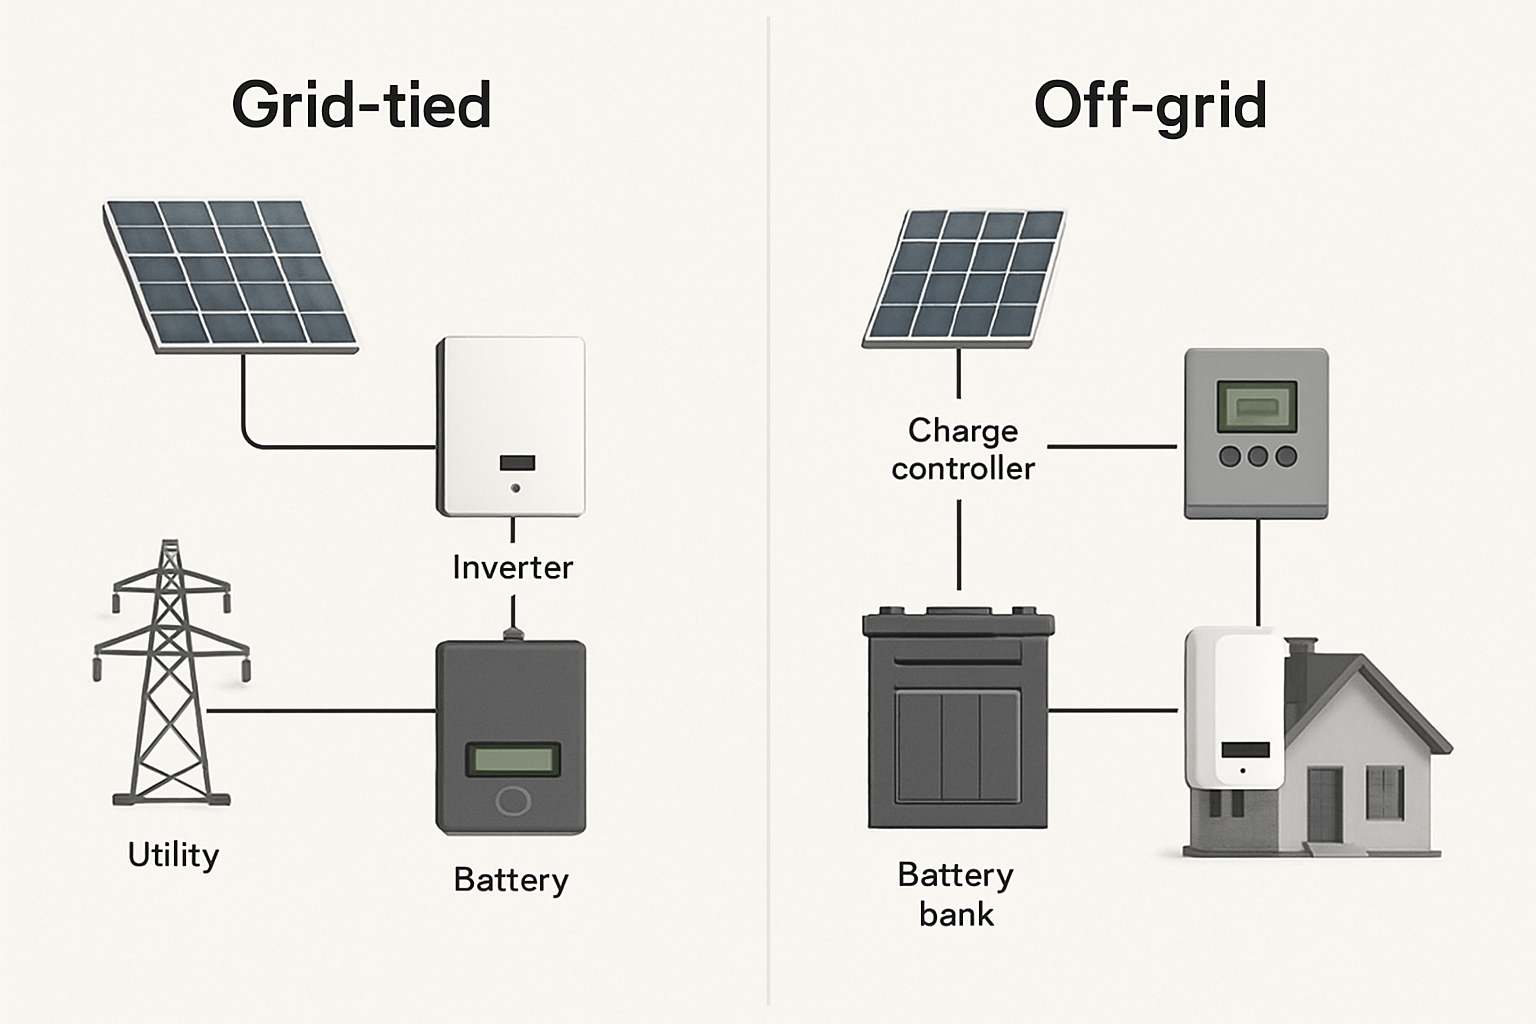
A battery can be added to a new or existing solar panel system. The method of connection is referred to as 'coupling'. DC-coupled systems are generally more efficient for new solar-plus-storage installations because the power only needs to be converted once. AC-coupled systems are often used to add a battery to an existing solar array, as they are easier to retrofit. According to the IEA's Special Report on Batteries and Secure Energy Transitions, battery storage is a critical and fast-growing technology for enabling clean energy transitions. By storing excess solar power, you maximize self-consumption and reduce your reliance on the grid. As the U.S. Department of Energy explains, pairing solar with storage is a key strategy for enhancing community and household resilience.
Your Role on Installation Day and Beyond
With all the preparation complete, you can look forward to a smooth installation and the beginning of your energy independence.
What to Expect During Installation
On installation day, the team will mount the battery and inverter, run the necessary wiring, and connect the system to your electrical panel. The process typically takes one to two days. Plan to be home to provide access and answer any questions. Once the physical installation is complete, the team will power up and test the system.
Post-Installation System Commissioning
The final step is commissioning, where the installer verifies that everything is operating correctly and safely. They will walk you through the system's operation, explain how to use the monitoring software or app, and hand over all the necessary documentation, including warranty information. This is your opportunity to ask final questions and feel confident in managing your new home energy storage system.
Final Thoughts
Thorough preparation is the foundation of a successful solar battery installation. By carefully sizing your system, selecting the right location, choosing quality components, and working with a qualified professional, you set the stage for a seamless transition to greater energy resilience. This upfront planning ensures your residential energy storage system will provide reliable, clean power for many years, helping you save on electricity costs and achieve true energy independence.
Frequently Asked Questions
How long does a solar battery installation take?
The physical installation can often be completed in one to two days. However, the entire process, from signing the contract to receiving final permission to operate, can take several weeks or even months due to paperwork for permits and utility interconnection.
Where is the best place to install a home battery?
The ideal location is a cool, dry, and well-ventilated area like a garage, basement, or utility room. It should be protected from direct sunlight and extreme temperatures to ensure optimal performance and a long lifespan. The location must also comply with all local safety codes.
Do I need to upgrade my home's electrical panel?
It depends on your current panel's capacity and the size of your solar and battery system. During the site assessment, an installer will evaluate your panel to determine if an upgrade is necessary to safely handle the additional energy flow.
Can I add a battery to my existing solar panel system?
Yes, you can add a battery to an existing solar installation. This process is known as retrofitting and is typically done using an AC-coupled configuration, which connects the battery to your home's wiring via its own inverter. An installer can determine the best method for your specific setup.
Leave a comment
All comments are moderated before being published.
This site is protected by hCaptcha and the hCaptcha Privacy Policy and Terms of Service apply.