


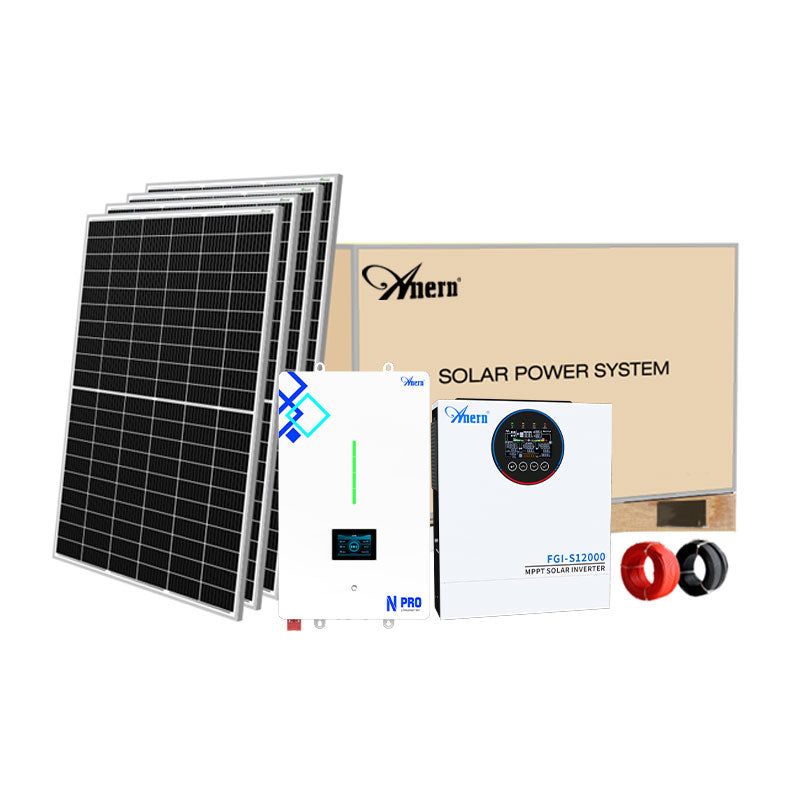
Transitioning to an off-grid solar system offers true energy independence, but it comes with a critical responsibility: ensuring your system is large enough to meet all your energy needs without the safety net of a utility grid. Unlike grid-tied systems where underestimating your needs is less risky, an off-grid system must be meticulously planned to provide reliable power day and night, through sunny and cloudy weather. This guide will walk you through the essential steps to accurately calculate your energy requirements and size the core components of your off-grid system.
Practical Check Before You Decide
Before applying this guidance, confirm your system voltage, expected daily energy use, continuous load, startup surge, battery chemistry, and local electrical requirements. For related Anern references and a non-commercial technical source, compare 12V LiFePO4 batteries, 12V 100Ah LiFePO4 battery, LiFePO4 battery lifespan guide, NREL energy storage research. This keeps the recommendation tied to real solar, battery, and inverter decisions rather than a one-size-fits-all rule.
Battery Planning Note
Keep power and energy separate: watts describe the load, while watt-hours or kilowatt-hours describe stored energy. For LiFePO4 systems, charging below 0°C (32°F) is generally not recommended unless the battery has low-temperature charge protection or a self-heating design.
Step 1: Calculate Your Daily Energy Consumption (Load Analysis)
The first and most important step is to determine how much energy your household consumes daily. This process, known as a load analysis, forms the foundation for sizing every other component of your system. According to Midwest Renewable Energy Association, a proper load analysis is critical for designing any energy storage system, as it dictates how everything else must be sized. There are a few ways to approach this:
- Analyze Utility Bills: If you have past electricity bills, you can find your average monthly kilowatt-hour (kWh) usage. Divide this number by 30 to get a rough estimate of your average daily energy consumption. This provides a good starting point, but it may not reflect efforts to become more energy-efficient.
- Create an Appliance Inventory: The most accurate method is to list every appliance and electrical device you plan to power. For each item, note its wattage, the number of hours you'll use it per day, and how many days per week. As detailed by Rimstar.org, creating a spreadsheet to multiply wattage by hours and days will give you the total watt-hours (Wh) per week for each device. Summing these values gives you a precise total energy need.
- Use a Watt Meter: For appliances where the power draw isn't constant (like refrigerators), a kill-a-watt meter is an invaluable tool for measuring actual energy consumption over a 24- or 48-hour period to get an accurate average.
Once you have your total daily energy usage in watt-hours (Wh), you have the baseline number for the rest of your calculations. For example, a 150W refrigerator running for 8 hours a day uses 1,200 Wh daily (150W x 8h = 1,200 Wh).
Step 2: Determine Your Battery Bank Size
Your battery bank is your energy reservoir, storing power for nighttime use and cloudy days. Sizing it correctly is crucial for system reliability. Key factors include:
- Days of Autonomy: This is the number of consecutive days you want your system to run without any solar input. A standard recommendation is between three to five days of autonomy to ensure power during extended periods of bad weather.
- Depth of Discharge (DoD): This refers to the percentage of the battery's total capacity that is used. To extend battery life, especially for lead-acid types, it's recommended not to discharge them beyond 50%. Lithium-ion batteries can typically handle a much deeper discharge, often around 80-90%.
- Temperature: Cold temperatures can reduce the effective capacity of lead-acid batteries, so you may need to increase your battery bank size if it will be stored in a cold environment.
- System Voltage: Off-grid systems are typically configured at 12V, 24V, or 48V. Larger systems (over 2000W) generally benefit from a higher voltage like 48V to improve efficiency and reduce wire size and cost.
To calculate your required battery capacity in amp-hours (Ah), use this formula:
(Daily Energy Usage in Wh × Days of Autonomy) ÷ (DoD × System Voltage × Inverter Efficiency Loss) = Required Battery Capacity (Ah)
For instance, if your daily usage is 4,000 Wh, you want 3 days of autonomy, have a 48V system with lithium batteries (80% DoD), and account for 10% inverter inefficiency, the calculation would be: (4000 Wh * 3) / (0.80 * 48V * 0.90) ≈ 347 Ah. Therefore, a 400Ah, 48V battery bank would be a safe choice.
Step 3: Calculate the Required Solar Array Size
Next, you need to determine how many solar panels are required to fully charge your battery bank and power your daytime loads. The primary factor here is the number of "peak sun hours" your location receives. This isn't just the number of daylight hours, but the average daily hours of intense, direct sunlight, which varies significantly by location and time of year. You should always size your array based on the month with the least amount of sun (typically winter) to ensure year-round reliability.
The basic formula is:
(Total Daily Energy Usage in Wh) ÷ (Peak Sun Hours) = Required Solar Array Wattage
For example, if you need 4,000 Wh per day and your location gets 4 peak sun hours in the winter, you would need a 1,000W solar array (4000 Wh ÷ 4h = 1000W). However, as recommended by Euro Inox, it's wise to add a buffer of 20-30% to account for real-world inefficiencies like dust on panels, wiring losses, and high temperatures, which can reduce panel output. So, a 1,200W to 1,300W array would be more appropriate.

Step 4: Size Your Inverter
The inverter converts the DC power from your batteries into AC power for your appliances. Its size is determined not by your total energy usage, but by your *peak power demand*—the maximum wattage you might draw at any single moment.
To calculate this, add up the wattages of all the appliances that could potentially run simultaneously. For example, if you might run a 1,500W microwave, 300W TV, and 100W of lights at the same time, your peak load is 1,900W. It is crucial to select an inverter that can handle this continuous load. Many appliances, especially those with motors like refrigerators or pumps, also have a "surge" rating, which is a higher power draw required for a few seconds on startup. Ensure your inverter's surge capacity can handle these spikes. It’s a good rule of thumb to choose an inverter rated slightly higher than your calculated peak load.
Step 5: Select a Charge Controller
A charge controller regulates the voltage and current coming from your solar panels to prevent overcharging and damaging your batteries. Its size depends on the total output of your solar array and your system's battery voltage.
To size the controller, divide the total wattage of your solar array by the battery bank voltage. For example, a 1,200W solar array charging a 48V battery bank would require a charge controller that can handle at least 25 amps (1200W ÷ 48V = 25A). It's best practice to oversize the controller by at least 25% to accommodate potential power surges from the panels and allow for future system expansion.
Step 6: Don't Forget the Backup Generator
For true energy security, especially during long periods of poor weather or for running exceptionally heavy loads, incorporating a backup generator is a wise decision. The generator should be sized to cover your critical loads or your peak power demand, allowing you to run essentials like a well pump or refrigerator while also charging your batteries.
The Importance of Energy Efficiency
Finally, remember that the most affordable watt is the one you don't have to produce. Investing in energy-efficient appliances and lighting can dramatically reduce your overall energy needs. This allows you to build a smaller, less expensive, and more manageable off-grid system, making your transition to energy independence both easier and more affordable.
