


Right-sizing turns sunlight into dependable charge and longer cycle life. A small array leaves the bank hungry and invites deep cycles. An oversized array raises cost and can push the controller into its limits. Aim for balance. Match local sun, daily loads, and safe charge rules for the chemistry so the system reaches full charge on typical days and still performs in winter.
Step 1: Gather Inputs for Your LiFePO4 Solar System
Clear inputs keep every later choice clean. Write them in one place and hold the same values through the first pass so you can see what moves the result.
Inputs and Why They Matter
| Input | Why It Matters |
| Battery voltage and amp-hours | Sets stored energy and charge-voltage window |
| Planned depth of discharge | Balances usable energy and the life of the LiFePO4 battery bank |
| Daily load energy in Wh | Sets the daily refill target |
| Days of autonomy | Guides reserved for cloudy spells |
| BMS charge and temperature limits | Caps safe rate for the lithium battery |
| Array tilt and shading notes | Affects string layout, wire length, and losses |
Record real daily load energy from a meter or a simple device list. Note the BMS sheet for max charge current and low-temperature charge rules. These items link one-to-one with solar and battery sizing choices in later steps.
Inputs Mini-Checklist
- Battery voltage and amp-hours
- Planned depth of discharge
- Daily load energy in Wh
- Days of autonomy
- BMS charge current and temp rules
- Peak Sun Hours for the design month
Step 2: Find Peak Sun Hours and Set System Losses
Local sun anchors the whole plan. Peak Sun Hours compress a day of changing light into an equal number of full-power hours. Read the monthly PSH for your city or coordinates from a trusted solar map. Choose the month that fits your reliability goal. Many off-grid users plan with a lower seasonal value to hold charge targets in winter.
Set one system loss factor and keep it steady in the first pass. A practical planning range is ten to twenty percent. Fourteen percent is a common middle value that covers dust, mismatch, wiring, and heat. Keep a short note about tilt, shade windows, and roof temperature so later wiring and controller checks reflect real conditions. These steps sit at the core of solar array sizing.
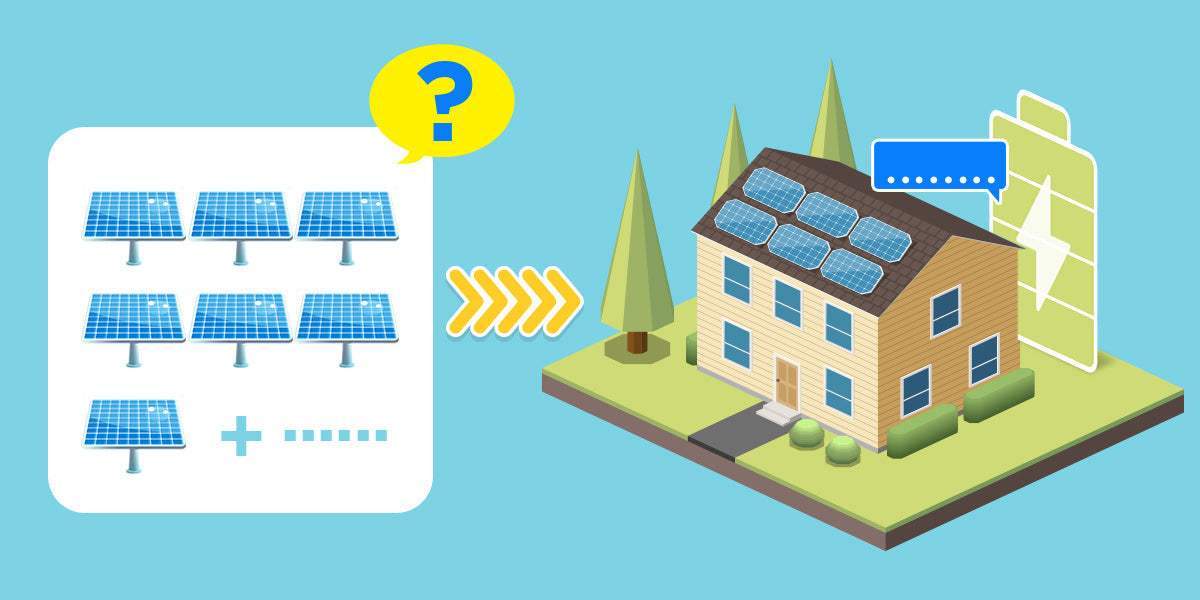
Step 3: Calculate the Solar Panel to LiFePO4 Battery Ratio
Turn energy needs into array watts. Use a simple equation that ties daily refill targets to site sun and efficiency.
Array watts ≈ Energy to refill per day ÷ (PSH × system efficiency)
Base the daily refill target on measured daily loads. Use battery capacity times planned depth of discharge for autonomy planning and reserve checks. System efficiency equals one minus your loss factor. If losses are fourteen percent, efficiency is 0.86.
Use measured daily loads for the refill target; reserve and autonomy come from capacity × planned DoD.
Solve the equation with your numbers and write down the first result. Add a modest seasonal and soiling margin after this first pass. Many small systems add twenty to thirty percent. That margin reduces generator hours and helps on hazy or cold days. The result also fixes the solar panel to LiFePO4 battery ratio for later review.
Step 4: Check Charge Current against C-Rate and BMS Limits
Energy math alone is not enough. The array must charge within safe current limits for the chemistry and the BMS.
Estimate charge current as array watts divided by battery voltage, and then multiply by controller efficiency. Compare the result to both the C-rate plan and the BMS maximum charge current. Use the lower limit. A common planning value for LiFePO4 is 0.2C for daily charging. A 100 Ah bank would use a 20 A target. Some packs accept higher current, yet the BMS sheet is the final authority for the lithium battery.
Cold mornings add one more check. Many LiFePO4 packs block charge below freezing. If your site sees low temperatures, plan a warm-up step, a charge delay, or a controlled heater pad. Protect the cells and keep the bank inside the chemistry window during each charge.
Step 5: Size MPPT and PV Strings with Proper Wiring and Protection
Good hardware turns numbers into reliable charging. The controller, strings, and conductors must stay safe in heat and cold while protecting the lithium battery.
Design Targets
| Check | What to Verify |
| Cold string Voc | Lowest-temperature string Voc stays below the controller PV input limit |
| PV input current | All strings lit. PV input current rating is not exceeded (use module Isc) |
| Controller output | Output rating is above the estimated charge current with headroom |
| MPPT window | String Vmp keeps the controller in a healthy tracking range |
| Voltage drop | About 3% or less on the array run and the battery run |
| Protection | PV disconnect, string fusing if paralleled, battery-side breaker sized to the conductor |
Controller Input
The real ceiling on string voltage appears on the coldest days, because open-circuit voltage rises as temperature falls. That cold-weather Voc needs to remain under the controller’s PV input limit with a margin. On the current side, the total is set by how many parallel strings are present and each module’s short-circuit current. The sum should still fit within the PV input current rating. Module datasheets provide the temperature coefficients and Isc values that make these checks straightforward.
Controller Output
Array wattage implies a charge current once battery voltage and controller efficiency are considered. This current should sit comfortably below the controller’s continuous output rating. Thermal derating curves matter here, since hot enclosures reduce available current. A unit that holds the target current in summer conditions avoids nuisance cutbacks and keeps daily charging predictable.
String Planning
Series wiring raises operating voltage and helps the controller sit in a stable MPPT window across seasons. Cold days still push Voc upward, so the same input ceiling check applies. Parallel strings add current and make sense when one series string cannot meet energy goals, or the roof layout dictates separate blocks. Matching module models and orientations keeps mismatch losses and shade effects in check.
Conductors and Protection
Copper size follows ampacity and length. Most builds aim for about a three percent voltage drop per run to protect daily efficiency. Short, tidy routes waste less power and simplify service. A reachable PV disconnect improves safety. String fuses are used when strings are paralleled, while a battery-side breaker is sized to the conductor. Proper crimping and torque keep terminations cool; clear labels, strain relief, and drip loops support long-term reliability.
Controller and Wiring Quick Check
- Cold-string Voc below PV input limit
- Parallel Isc within PV input current
- Output rating above charge amps with margin
- The array and battery run near 3% voltage drop
- PV disconnect, string fusing, and battery breaker in place

Worked Example: 12V 100Ah LiFePO4 Battery Bank
Inputs
The bank is 12 V and 100 Ah. Planned depth of discharge is 60 percent on typical days. The site has five Peak Sun Hours in the season that matters. The loss factor is fourteen percent, so efficiency is 0.86. The controller's peak efficiency is about 98 percent. The safe plan is 0.2C °C, so 20 A is the current cap from the BMS and the chemistry.
Math Result
Measured daily loads equal about 720 Wh in this small setup. Array watts equal 720 divided by the product of 5 and 0.86. That is roughly 167 W. Add thirty percent as a modest seasonal and soiling margin. The working target becomes about 220 W.
Current Check
The estimated charge current equals 220 divided by 12 and then multiplied by 0.98. The result is near 18 A. That sits under the 20 A cap from the C-rate plan and the BMS sheet. The current check passes. The energy target also refills the bank on a typical five-hour sun day.
MPPT and Strings
Two 110 W modules in series produce a clean operating voltage for a small MPPT controller. Cold open-circuit voltage remains below the PV input rating in mild climates. Always verify with the exact module datasheet and your coldest day. A controller in the 30 A class provides output headroom.
What to Remember
The array meets the daily refill goal. The charge current stays inside safe limits for the lithium battery. The controller and string plan respect input and output ratings. If your site sees long cloudy runs, either add storage, increase array watts, or plan a brief generator hour. The sizing method does not change.
Conclusion: Accurate Solar Array Sizing for Your LiFePO4 System Starts Here
List real daily loads. Choose a depth of discharge that fits your cycle plan. Read local Peak Sun Hours for the month that matters. Pick a fair loss factor and hold it steady in the first pass. Convert energy to array watts, add a modest margin, and check charge current against the C-rate plan and the BMS sheet. Confirm controller limits, string layout, and conductor sizes so the system protects the lithium battery in heat and cold. Update the numbers each season and record changes. With this routine, solar array sizing becomes repeatable, the LiFePO4 battery bank charges predictably, and everyday power feels easy.
FAQs
Q1. Can I size the array smaller if I’m grid-tied and only want backup?
Yes. Size for the backup target, not your full daily load. Calculate the energy you must recover after a typical outage, then run the same PSH and efficiency math. Use a DC-coupled controller for direct battery charging and set charge windows to avoid peak utility rates.
Q2. Do optimizers or microinverters help with a LiFePO4 battery bank?
In heavy shade or complex roofs, optimizers can reduce mismatch on DC strings feeding an MPPT. Microinverters make AC, which does not charge a DC battery bank through a standard controller. For DC-coupled systems, keep matched modules in strings and use optimizers only where shading is unavoidable.
Q3. Can an alternator or shore charging let me use fewer panels on an RV or boat?
Yes. Treat engine alternator or shore charger output as guaranteed daily energy, subtract it from your refill target, then size the array for the remainder. Verify alternator duty cycle, wire ampacity, fusing, and temperature sensors. A DC-DC charger with current limits protects the alternator and the lithium battery.
Q4. What charge voltages and times work best for LiFePO4 packs?
Follow the battery datasheet first. Typical 12 V packs use about 14.2–14.4 V absorption with a short hold once tail current drops, then 13.4–13.6 V float or even no float for storage. Disable equalization. Recheck settings after the first week with a shunt meter to confirm full charge is reached.
Q5. How do I verify my sizing after installation?
Install a shunt-based monitor and log daily kWh from the array. Check the morning state of charge after several clear days. If SOC drifts down, revisit PSH assumptions, tilt, and losses, then add panels or reduce loads. Confirm the controller never hits voltage or current limits during the best sun hour.
