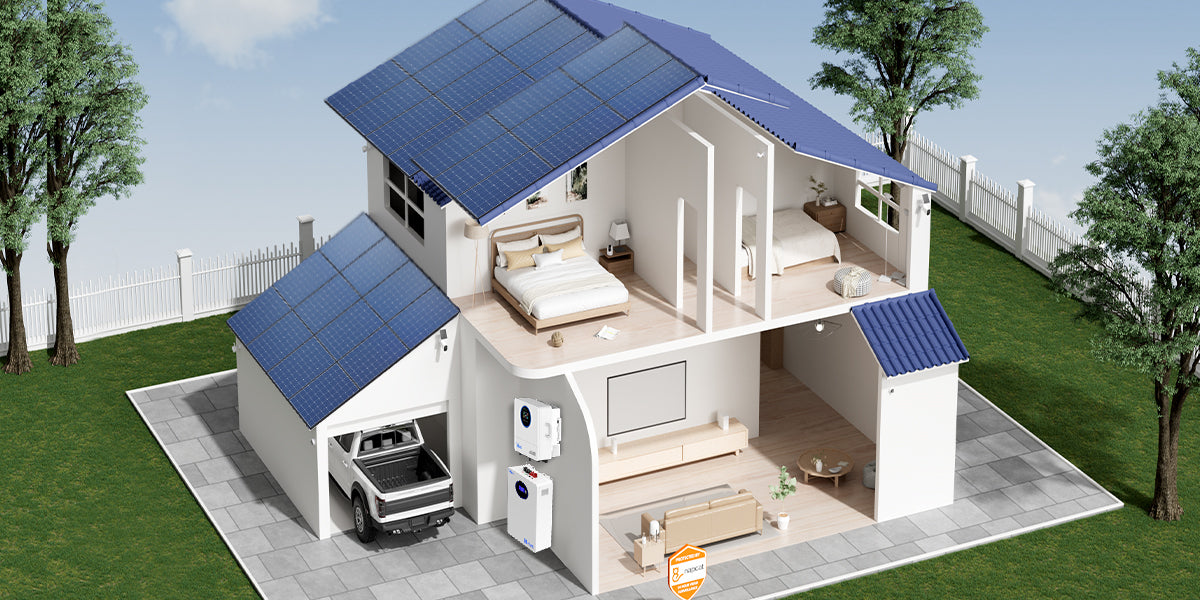
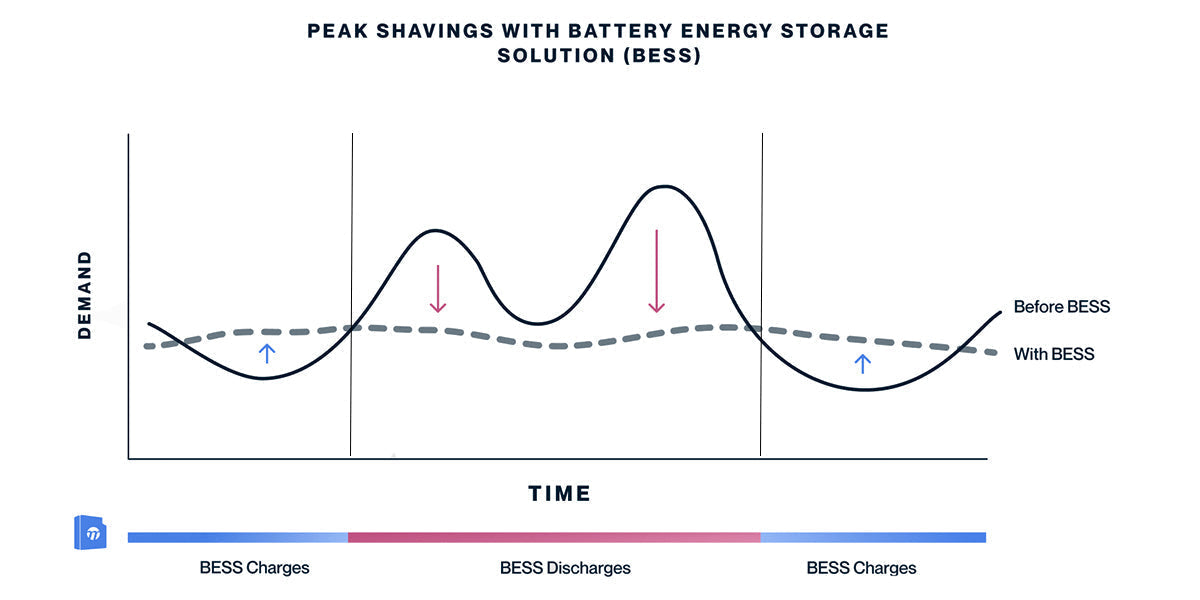
The lights flicker when the fridge starts. The router reboots during source transfer. Charging pauses on cold mornings. These headaches point to a mismatch between the inverter-charger and the LiFePO4 battery. Here is a clear path to selection. You will set firm rules first, size the unit with simple math, apply precise settings, and confirm the result with quick checks. The goal is steady power and long service life.
Step 1: Check LiFePO4 Compatibility
Start with hard filters. Remove poor candidates fast, then compare what remains. Each item below protects a LiFePO4 battery system in daily use.
- Wave quality: Pure sine wave for any mixed or sensitive load, such as computers, studio audio, fridges, and variable-speed drives. Low THD keeps the gear quiet and cool.
- Charge profile control: Adjustable absorption and float voltages. Adjustable absorption time or a tail-current stop. Equalize is disabled by default.
- Temperature behavior: Low-temperature charge lockout. Block charge at 0 °C (32 °F) when packs have no heaters. Use a probe or a BMS signal to control this lockout.
- Pack protection: Low-voltage disconnect with a defined recovery point. This prevents deep discharge and bounce cycling near empty.
- Communication: Prefer CAN or RS485 so the inverter-charger can follow BMS limits in real time. Closed-loop control reduces alarms during cold starts and heavy sessions.
- AC-side capability: Input current limit for grid or generator charging. Transfer or bypass for critical loads with short transfer time. Reasonable standby draw during light-load hours.
Keep only models that pass every rule. This is the real start of how to select the right inverter-charger for your LiFePO4 battery system.
Step 2: Size The Inverter-Charger For Your Load
Now do the load math. Use four quick actions. This is the practical core of sizing an inverter-charger.
- List the live set: Write the devices that run at the same time. Add their rated watts. The sum is your base load.
- Set a continuous target: Multiply the base load by 1.25 for headroom. This number is the continuous rating you aim for.
- Check surge seconds: Apply start multipliers to motors and compressors. The inverter-charger must carry these peaks for two to five seconds without alarms or deep sag.
Surge Multipliers For Common Loads
| Load Type | Typical Start Multiplier | Practical Note |
| Fridge or AC compressor | 3 to 7x | Plan for 2 to 5 seconds of support |
| Water pump | 2 to 5x | A higher head needs extra headroom |
| Power tools | 2 to 4x | Corded tools spike higher |
| Audio amplifier | 2 to 3x | Live rigs often need longer surge seconds |
| Electronics with SMPS | 1 to 1.5x | Close to the nameplate drawer |
Choose DC bus and DC hardware
Past 2000 W select 24 V. Past 4000 W select 48 V. Estimate DC current with I ≈ Pout ÷ (Vdc × efficiency). Use that current to pick a cable gauge, then place a main DC fuse or breaker near the LiFePO4 battery.
Finish these four actions, then lock the rating with confidence. This protects the pack from harsh inrush and prevents nuisance trips at start.
Step 3: Apply LiFePO4 Inverter Settings And Configuration
You have a candidate. Now set values that match the chemistry. Use these starting points for LiFePO4 inverter settings and configuration. The table uses one 12 V nominal block as the unit. Scale for 24 V and 48 V systems.
Starter Settings Per 12 V Nominal Block
| Parameter | Starting Value | Typical Range | When To Adjust |
| Absorption voltage | 14.3 V | 14.2 to 14.4 V | The tail current does not fall as expected |
| Absorption time | 20 minutes | 10 to 30 minutes or tail 0.02 °C | Reduce if the top cell voltage rises fast |
| Float voltage | 13.5 V | 13.4 to 13.6 V or off | Turn off for daily cycling |
| Charge current limit | 0.2 C | Up to 0.5 °C short bursts per spec | Lower if cables or the case feel warm |
| Low-temp charge | Block at 0 °C (32 °F) | Charge 5 to 45 °C | Enable probe or BMS signal |
| Low-voltage disconnect | 11.1 V | 11.0 to 11.2 V | Raise if loads reboot often |
| Recovery voltage | 12.2 V | 12.0 to 12.4 V | Tune for cable drop and rebound |
Communication and order of setup
Enable CAN or RS-485 when supported. Set baud rate, address, and termination. Sync the clock or logging if available. In open loop, use alarms to trigger a clean derate, then stop charge or stop inversion if limits persist. These settings keep a LiFePO4 battery inside a safe window through seasons.
Step 4: Plan AC Source Install Cleanly And Validate Before Full Load
Selection is complete only when the system behaves under real conditions. Use three short parts. They confirm the choice and prevent service calls.
AC source integration
Set the AC charge current so the upstream breaker stays below eighty percent of its rating during charge. Choose a generator at 1.25 to 1.5 times the maximum charge power plus live AC loads. Keep transfer time under 10 ms on circuits that feed screens, routers, and controls. Define one neutral-to-ground bond in line with local code. Add surge protection on the AC side in storm regions.
Installation checklist
- Equal-length battery cables of the same gauge
- Lugs torqued to spec with insulation on exposed copper
- Main DC fuse or breaker close to the LiFePO4 battery
- Chassis bonded to the site ground, and DC negative reference confirmed
- Shielded twisted pair for CAN or RS-485 with correct termination and routing away from AC lines
Validation tests
Measure idle draw with no loads. A home system reads near 20 to 40 W. Start the largest motor or compressor and hold for two to five seconds. No alarms and no deep sag. Switch between the inverter and the AC source, and confirm that the screens and routers stay on. Watch absorption end on the tail current. Float appears only when needed. Pull to the low-voltage cutoff under a controlled load and confirm the recovery point. Save the numbers. The log proves the inverter-charger for LiFePO4 is tuned for real conditions.
Lock In Your Inverter-Charger Choice Today
You now have a clear path. Filter models for LiFePO4 compatibility, size the inverter-charger with your real loads, apply the starter settings, and verify performance with a short test session. Keep a simple log of setpoints and results, then revisit it after a week and at each season change. Take these steps now and enjoy quiet, steady power from your LiFePO4 battery all year.
FAQs
Q1: Which certifications matter when I buy an inverter-charger for a LiFePO4 battery?
Look for safety and grid labels that fit your region. Typical signals include UL 1741 or IEC 62109 for inverter safety, CE or FCC for emissions, and documentation that matches the exact model and firmware. Ask for the test report or certificate number and verify the lab and date before purchase.
Q2: How loud are inverter-chargers and where should I mount one?
Fan-cooled units are audible in quiet rooms, so place them in a utility area with good airflow. Follow the manual for clearances and keep AC and DC conductors tidy and separate. Use a solid backboard, short cable runs, and, for audio rigs, ferrite cores to reduce interference.
Q3: Can I expand later with a second inverter-charger or higher loads?
Choose models that support parallel or split-phase operation with matching firmware. Confirm the required kits and communication settings in advance. Plan the DC side with busbars and protection sized for the combined current. Ensure the LiFePO4 battery and BMS allow higher charge and discharge limits after expansion.
Q4: How do efficiency and idle draw affect my bill in the long run?
Two numbers matter most: partial-load efficiency and standby watts. Annual cost is roughly idle watts times hours per year divided by one thousand times your energy rate. Example: 30 W idle for a full year at 0.15 dollars per kilowatt hour adds a modest annual cost.
Q5: Should I choose a hybrid inverter-charger or a separate MPPT with an inverter?
If you build off-grid from scratch, a DC-coupled MPPT feeding the LiFePO4 battery gives direct charging and simple control. For sites with existing AC-coupled arrays, an inverter-charger with grid support may integrate faster. Check PV voltage windows, daily kilowatt hours, and charge current limits before deciding.


Leave a comment
All comments are moderated before being published.
This site is protected by hCaptcha and the hCaptcha Privacy Policy and Terms of Service apply.