In any high-performance energy storage system, the batteries get most of the attention. But the network of cables and protection devices that connects everything is just as important. Proper battery wiring is the backbone of a safe, efficient, and reliable solar energy setup. Get it right, and you build a robust system that powers your life for years. Get it wrong, and you risk poor performance, equipment damage, or even serious safety hazards.
This guide provides a comprehensive overview of battery wiring and protection circuits. We will cover the fundamental principles of wiring configurations, how to select the correct components, and the best practices for installation and maintenance. With this knowledge, you can build a system that not only works, but works exceptionally well, helping you achieve true energy independence.
Understanding the Fundamentals of Battery Wiring
Before you connect a single cable, it's crucial to understand the basic configurations. How you wire your batteries together directly impacts your system's voltage and capacity. The two primary methods are series and parallel connections.
Core Concepts: Series vs. Parallel Connections
Series Wiring: Increasing Voltage
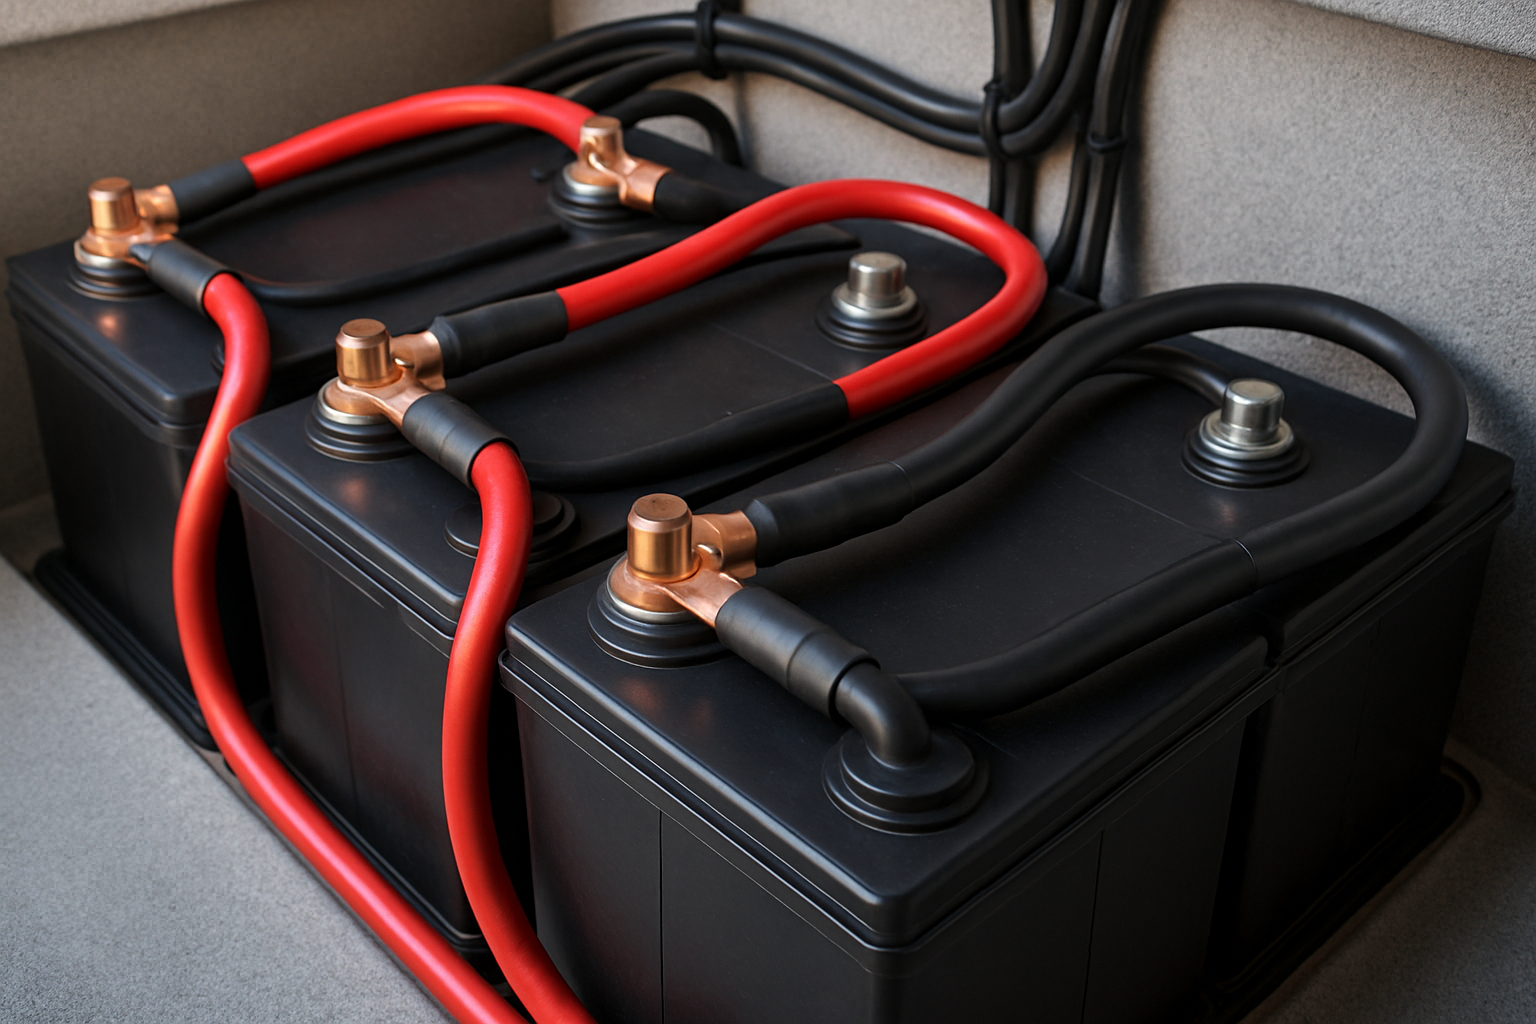
Connecting batteries in series is done to increase the total voltage of the battery bank while keeping the capacity (Amp-hours or Ah) the same. To do this, you connect the positive terminal of one battery to the negative terminal of the next, creating a chain. Think of it like stacking blocks—each block adds to the total height.
For example, connecting two 12V 100Ah batteries in series results in a 24V 100Ah battery bank. This is common in systems that use higher voltage inverters, which can improve overall system efficiency by reducing current and allowing for smaller wire sizes.
Parallel Wiring: Increasing Capacity
If your goal is to increase the total energy storage capacity (runtime) while maintaining the same voltage, you'll use a parallel connection. In this setup, you connect the positive terminals of all batteries together and all the negative terminals together. This creates a single, larger-capacity bank.
For instance, wiring two 12V 100Ah batteries in parallel gives you a 12V 200Ah system. You get double the runtime, which is ideal for off-grid applications requiring more energy storage.
Series-Parallel Combinations
For larger or more customized systems, you can combine these methods. A series-parallel configuration allows you to increase both voltage and capacity. For example, you could create two pairs of 12V 100Ah batteries wired in series to make two 24V 100Ah banks. Then, you would connect those two banks in parallel to create a final 24V 200Ah system.
Choosing the Right Wire Gauge (AWG)
Selecting the correct wire size, or gauge, is a critical safety step. A wire that is too small for the current flowing through it will overheat, causing a voltage drop and creating a fire hazard. The American Wire Gauge (AWG) standard is used to measure this, where a lower AWG number means a thicker wire.
Three main factors determine the right wire gauge:
- Amperage: The maximum current the wire will need to handle.
- Length: The total distance the cable runs (round trip). Longer runs cause more voltage drop and require thicker wires.
- Temperature: Higher ambient temperatures can reduce a wire's ability to carry current.
Always consult a wire sizing chart to ensure you choose a gauge that can safely handle your system's load. Making the right choice is fundamental to system performance. For more on this, see our guide to Unlock Peak Performance: Pro Wiring for Energy Storage Systems.
| Amperage | 5 ft (1.5m) Run | 10 ft (3m) Run | 15 ft (4.5m) Run |
|---|---|---|---|
| 50A | 6 AWG | 4 AWG | 2 AWG |
| 100A | 4 AWG | 2 AWG | 1/0 AWG |
| 150A | 2 AWG | 1/0 AWG | 3/0 AWG |
| 200A | 1/0 AWG | 3/0 AWG | 4/0 AWG |
Essential Protection Circuits for Your Battery Bank
A battery bank is a significant energy reservoir. Without proper protection, that energy can be released in dangerous ways. Protection circuits are not optional; they are essential for safeguarding your investment and ensuring safety. Even advanced batteries like LiFePO4, which have an internal Battery Management System (BMS), require external protection for the overall system.
According to the International Energy Agency (IEA), electrical protection devices are a critical part of the "balance of system" (BOS) for any solar installation, ensuring its safe operation.
Fuses and Circuit Breakers: Your First Line of Defense
The primary role of fuses and circuit breakers is to protect against overcurrent events, such as a short circuit. An overcurrent protection device should be installed on the positive cable, as close to the battery terminal as possible.
The Role of Fuses
A fuse is a simple, one-time-use device containing a wire designed to melt and break the circuit if the current exceeds a safe level. They are reliable and come in various types, like ANL or Class T fuses, which are rated for high DC currents.
The Role of Circuit Breakers
A circuit breaker is a resettable switch that automatically trips to interrupt current flow during an overload or short circuit. Their main advantage is convenience—you can simply reset them after clearing a fault. They can also serve as a manual disconnect switch for maintenance. The choice between these two devices is important, and you can learn more in our comparison: Fuses vs. Circuit Breakers for Your LiFePO4 Battery Bank.
Beyond Fuses: Disconnect Switches and Surge Protection
In addition to overcurrent protection, a complete system should include a master disconnect switch. This allows you to safely de-energize the entire system for maintenance or in an emergency. Surge Protection Devices (SPDs) are also a consideration, as they can protect your sensitive electronics from voltage spikes caused by lightning or grid fluctuations.
Step-by-Step Installation Guide
Disclaimer: This guide is for informational purposes only. Working with battery systems involves high currents and potential electrical hazards. If you are not experienced and confident, please consult a qualified professional. Always follow manufacturer instructions and local electrical codes.
Pre-Installation Checklist
Before you begin, gather your tools and prioritize safety.
- Tools: Wire strippers, a high-quality crimper for lugs, torque wrench, multimeter, and socket set.
- Safety Gear: Wear insulated gloves and safety glasses. Work in a well-ventilated area away from flammable materials.
- Component Inspection: Check all batteries, cables, and terminals for any signs of damage before installation.
The Wiring Process: A Practical Walkthrough
Step 1: Planning Your Layout
Arrange your batteries to keep cable runs as short and direct as possible. This minimizes voltage drop and makes the installation cleaner. Ensure you have clear access to all terminals and protection devices for future maintenance.
Step 2: Making Secure Connections
Loose connections are a primary source of failure and a significant safety risk. They create resistance, which generates heat and can lead to a fire. Use a quality crimper to attach lugs to your cables, and ensure the connection is solid. When attaching lugs to battery terminals, use a torque wrench to tighten them to the manufacturer's specifications. Over-tightening can damage the terminals, while under-tightening creates a poor connection.
Step 3: Installing Protection Devices
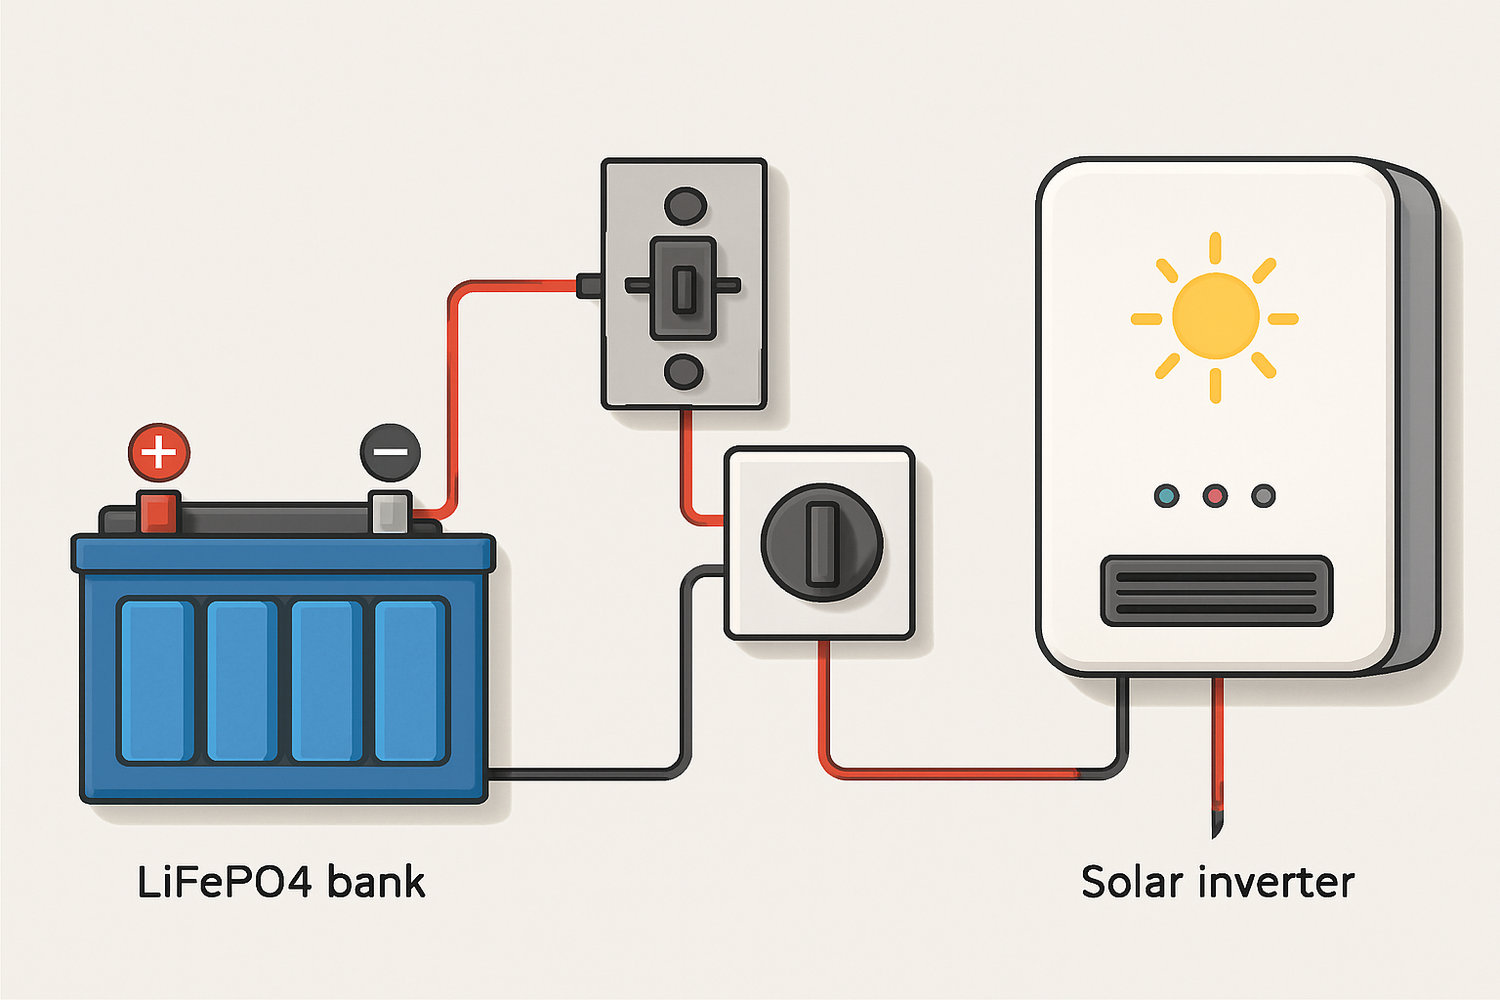
The correct installation order is critical for safety. The current should flow from the battery, through the protection devices, and then to your loads (like an inverter). The sequence should be:
- Battery Positive Terminal
- Fuse or Circuit Breaker
- Master Disconnect Switch
- Inverter / Loads
Always connect the battery to the charge controller before connecting the solar panels. This allows the controller to correctly detect the system voltage.
Common Mistakes to Avoid
From my years in the field, I've seen a few common errors that can compromise an otherwise great system. Avoid these pitfalls:
- Incorrect Wire Gauge: Using undersized wires is a fire hazard. Don't guess—use a chart.
- Loose Terminals: This is the most frequent issue I encounter. Always torque your connections.
- Improper Fuse Sizing: A fuse should be sized to protect the wire, not the load.
- Mixing Batteries: Avoid mixing batteries of different types, ages, or capacities in the same bank.
For a more detailed breakdown of what not to do, be sure to read about these 7 Critical Wiring Mistakes to Avoid in Home Energy Storage.
Long-Term Maintenance and Safety
Your work isn't done after the installation. Proper maintenance ensures your system operates safely and efficiently for its entire lifespan. The International Renewable Energy Agency (IRENA) emphasizes that robust system design and maintenance are key to the reliability of energy storage solutions.
Creating a Routine Inspection Schedule
A simple quarterly check can prevent most problems. During your inspection:
- Check Connections: Ensure all terminal connections are tight and secure.
- Look for Corrosion: Inspect terminals for any white or bluish powder. Clean it off with a wire brush and a baking soda solution if found.
- Inspect Cables: Look for any signs of wear, cracking, or heat damage on the cable insulation.
- Keep it Clean: Wipe down the tops of your batteries to remove any dust or debris that could cause a slow discharge.
Monitoring Your System's Health
Modern LiFePO4 batteries, like those used in our integrated ESS solutions, feature an advanced Battery Management System (BMS). The BMS automatically protects the cells from over-charge, over-discharge, and extreme temperatures. For a complete view of your system's health, a battery monitor is an invaluable tool. It provides real-time data on your battery bank's state of charge (SoC), voltage, and current draw, giving you a clear picture of your energy usage.
Safety Protocols for Battery Banks
Safety should always be your top priority. Ensure your battery bank is in a well-ventilated area to prevent the buildup of any gases (though LiFePO4 batteries do not vent gas during normal operation). Keep the area clear of flammable materials and have a Class C fire extinguisher readily accessible. For a complete overview of safety procedures, refer to our guide on How to Wire a LiFePO4 Battery System for Maximum Safety.
Building a Resilient and Reliable Energy System
Proper battery wiring and protection are the foundational elements of a powerful and long-lasting energy storage system. By understanding the principles of series and parallel connections, selecting the right components, and following meticulous installation and maintenance practices, you are not just connecting batteries—you are building a resilient system that provides peace of mind.
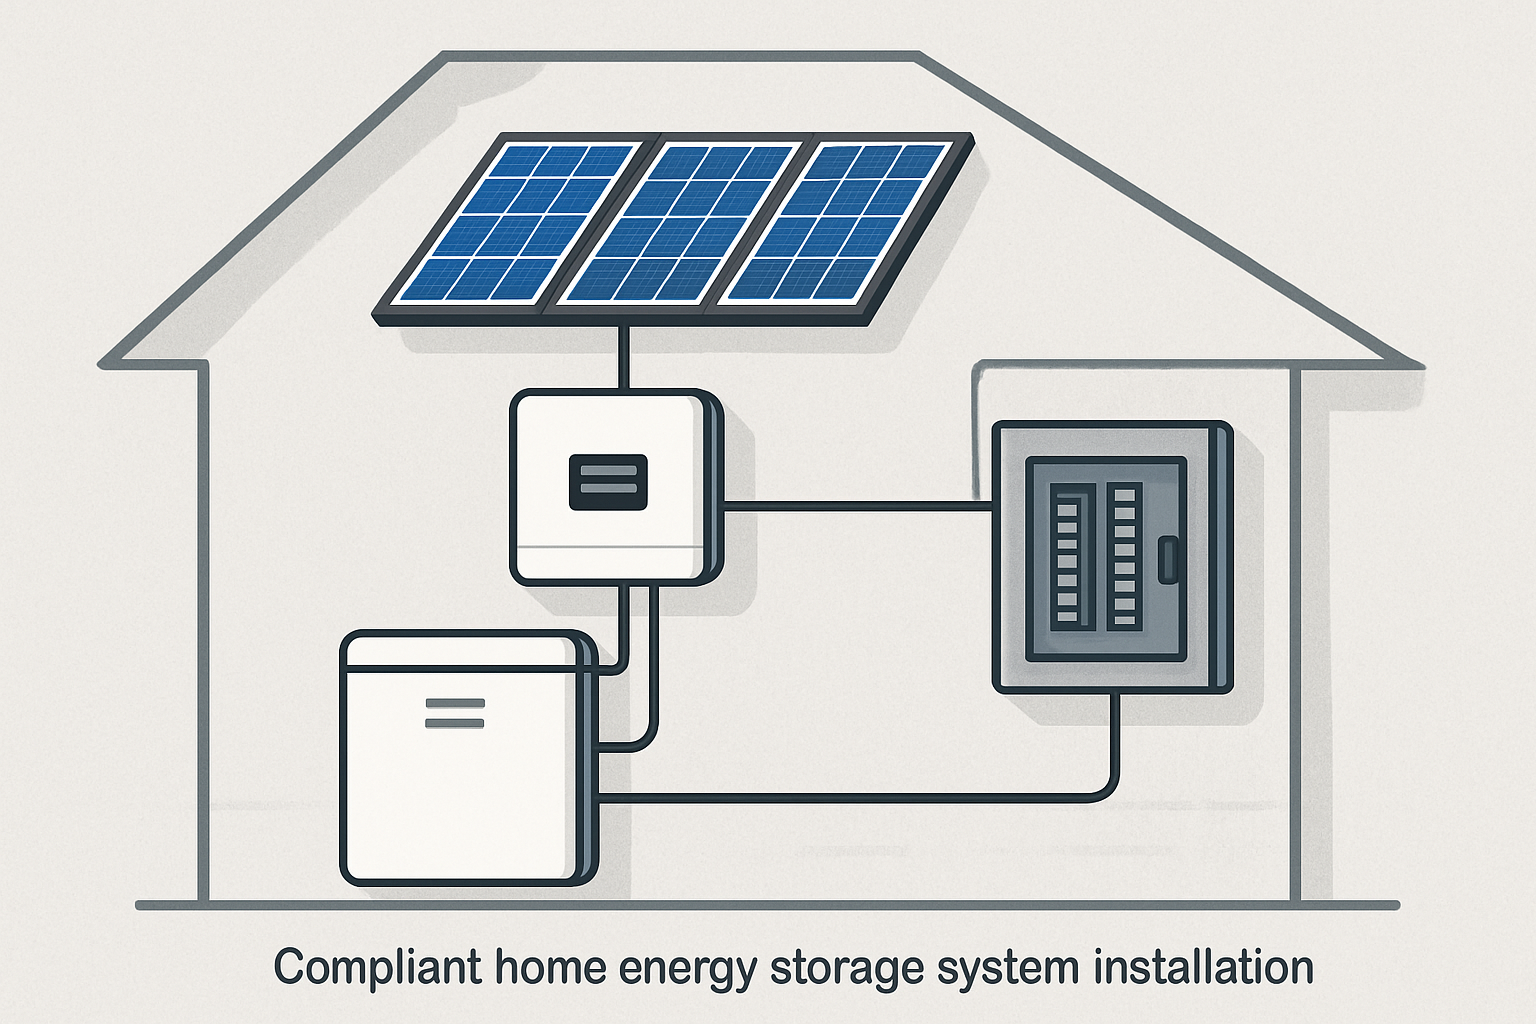
This commitment to reliability and scalability is at the core of what we do. By providing high-performance components like LiFePO4 batteries and fully integrated home energy storage systems, we empower you to take control of your energy future. A well-built system is a step toward true energy independence.
Leave a comment
All comments are moderated before being published.
This site is protected by hCaptcha and the hCaptcha Privacy Policy and Terms of Service apply.