Taking control of your power supply offers a unique sense of security and sustainability. A DIY off-grid solar system allows you to generate and store your own electricity, providing reliable power for a home, cabin, or workshop independent of the utility grid. This blueprint provides a structured, step-by-step process for planning, selecting, and installing a robust off-grid solar power system. Following these stages carefully is key to building a setup that is safe, efficient, and tailored to your specific energy needs.
Stage 1: Foundational Planning and System Sizing
Proper planning is the most critical phase of any off-grid solar installation. An undersized system will leave you without power, while an oversized one is a waste of resources. Precision at this stage ensures your system performs as expected when you need it most.
Calculating Your Energy Consumption
The first step is to perform a detailed energy audit to understand your daily electricity usage. List every appliance and device you intend to power, its wattage, and the number of hours you expect to use it each day. The calculation is straightforward: Daily Watt-hours (Wh) = Appliance Wattage (W) × Hours of Use. Summing the Watt-hours for all devices gives you your total daily energy requirement. Be thorough, as forgotten loads can lead to an undersized system.
| Appliance | Power Rating (Watts) | Daily Hours of Use | Daily Energy (Watt-hours) |
|---|---|---|---|
| LED Lights (x5) | 50 W | 6 hours | 300 Wh |
| Refrigerator | 150 W | 8 hours (cycling) | 1200 Wh |
| Laptop Charger | 65 W | 4 hours | 260 Wh |
| Water Pump | 250 W | 1 hour | 250 Wh |
| Total Daily Need | 2010 Wh |
Sizing Your Core Components
With your daily energy needs calculated, you can now size the four main components of your system: the battery bank, solar array, inverter, and charge controller.
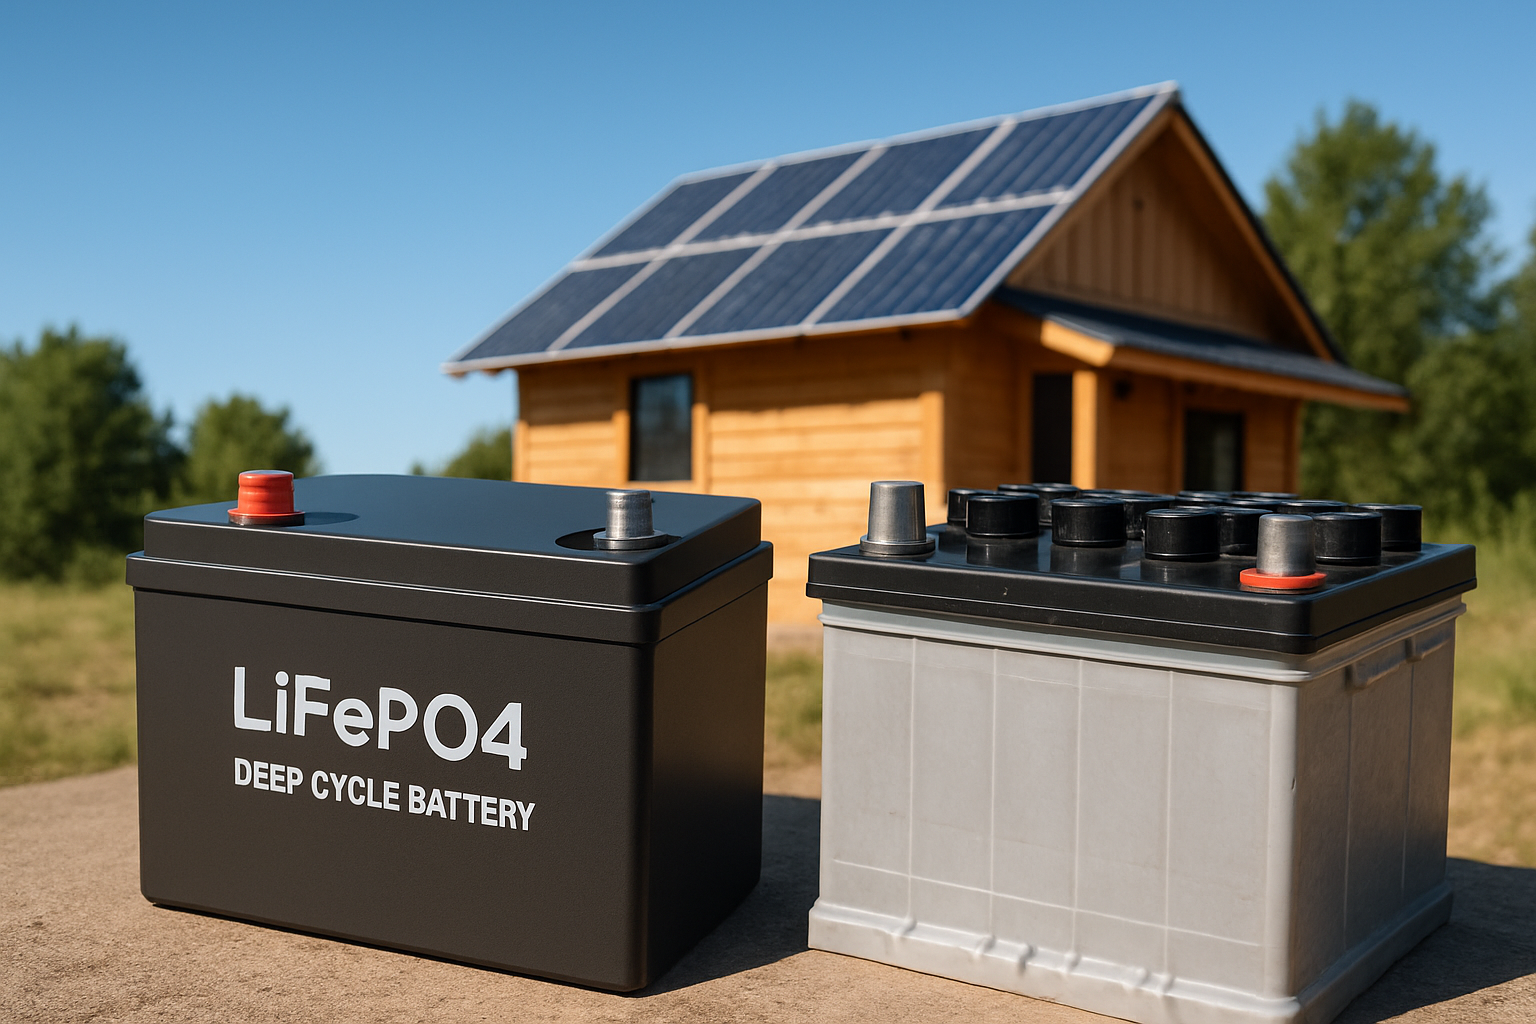
- Battery Bank: Your battery bank stores the energy for use at night or on cloudy days. To size it, multiply your daily energy needs by the number of 'days of autonomy' you require (typically 3-5 days is a safe margin). High-performance Lithium Iron Phosphate (LiFePO4) batteries are an excellent choice due to their deep discharge capabilities, long lifespan, and high efficiency.
- Solar Array: The size of your solar panel array depends on your daily energy needs and the 'peak sun hours' for your location. Peak sun hours describe the average hours per day that solar irradiance is at its peak. Data from government resources like the U.S. Energy Information Administration (EIA) can help you find this value for your area. The formula is: Solar Array Size (W) = Daily Energy Needs (Wh) / Peak Sun Hours.
- Inverter: The inverter converts DC power from your batteries into AC power for your appliances. Its size must accommodate the maximum power draw of all appliances running simultaneously. Add up the wattage of all devices you might use at once to determine the minimum continuous wattage rating for your inverter.
- Charge Controller: This device protects your batteries from overcharging. An MPPT (Maximum Power Point Tracking) charge controller is generally more efficient than a PWM controller. Its size (in amps) should be based on your solar array's total wattage divided by the battery bank voltage.
Stage 2: Selecting and Procuring Your Equipment
Once your system is sized, the next step is to select high-quality, compatible components. The reliability of your off-grid system depends entirely on the quality of its parts.
The Anatomy of an Off-Grid System
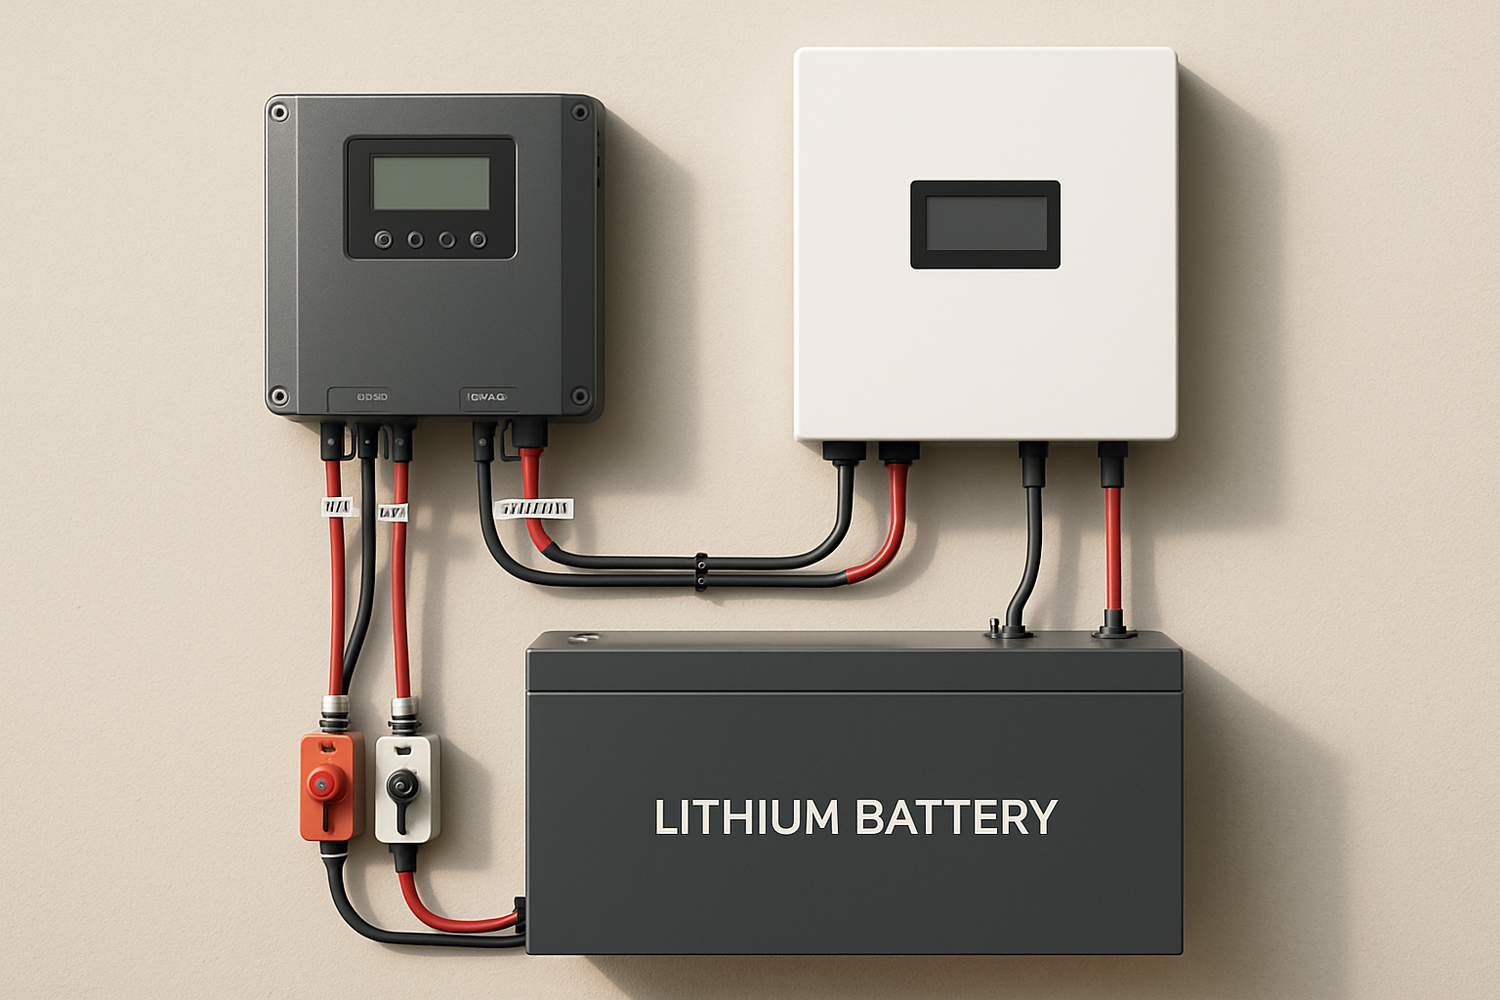
A complete off-grid solar installation includes solar panels, a charge controller, a battery bank, and an inverter. You will also need mounting hardware for the panels, appropriate wiring (PV wire, battery cables), fuses, and circuit breakers for safety. Each component must be rated for the voltage and current it will handle.
Quality and Compatibility Considerations
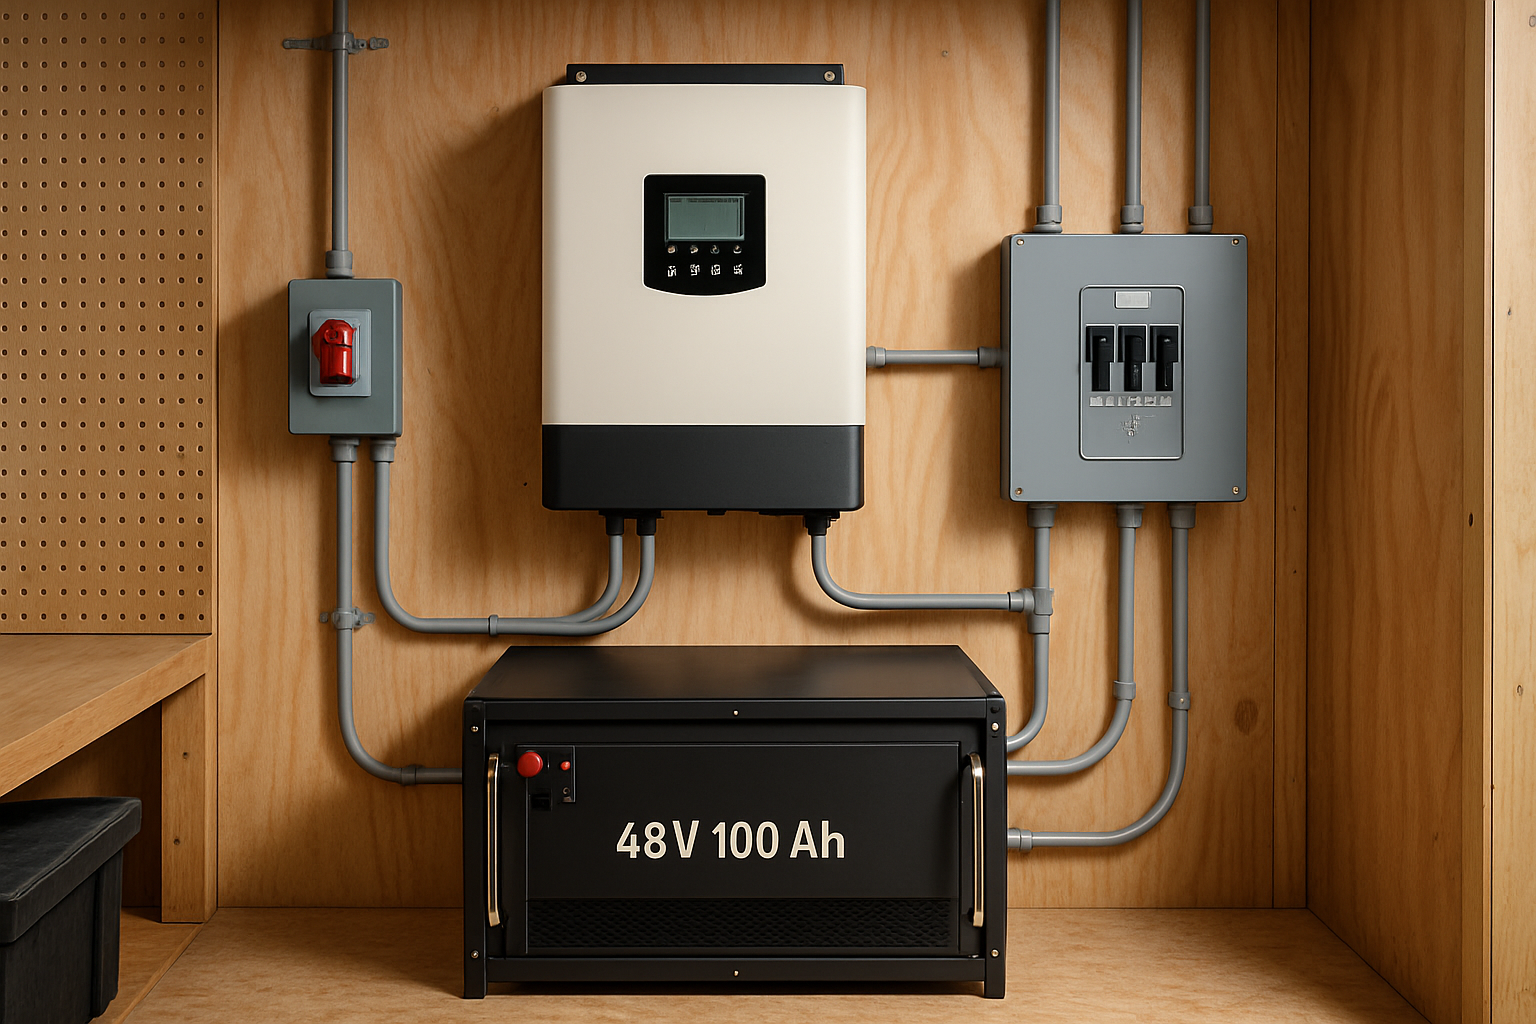
Component compatibility is non-negotiable. A 48V system requires a 48V battery bank, a 48V-compatible inverter, and a charge controller that can handle the array's voltage and charge a 48V battery bank. Look for components with certifications from recognized bodies like UL to ensure they meet safety and performance standards. When evaluating energy storage, performance metrics are key. For a deeper look into battery performance metrics, our guide on solar storage performance provides detailed benchmarks.
Stage 3: The Installation Process
With all components on hand, the installation can begin. This stage requires careful attention to detail, especially regarding electrical wiring and safety procedures.
Mounting the Solar Panels
Solar panels can be mounted on a roof or on the ground. The ideal orientation is facing toward the equator (south in the Northern Hemisphere) at an angle that optimizes sun exposure throughout the year. Ensure any roof penetrations are properly sealed to prevent leaks and that the structure can support the weight of the panels and mounting hardware.
Solar Panel Wiring Guide
Panels can be wired in series, parallel, or a combination of both.
- Series Connection: Connecting positive to negative terminals increases the voltage of the array while the amperage remains the same. This is often used to meet the voltage window of an MPPT charge controller.
- Parallel Connection: Connecting positive to positive and negative to negative terminals increases the amperage while the voltage remains the same. This is useful for staying within the voltage limits of certain charge controllers.
Connecting the System Components
Safety is paramount during the wiring phase. Always follow the correct order of connection to prevent equipment damage or injury. The standard, safe procedure is:
- Connect the charge controller to the battery bank first.
- Connect the solar array to the charge controller.
- Finally, connect the inverter to the battery bank.
Stage 4: System Commissioning and Maintenance
After the final connection is made, it's time to power up your system and establish a routine for ongoing maintenance to ensure its longevity and performance.
Powering Up and System Checks
Turn on the circuit breakers in the reverse order of the wiring process: first the battery-to-inverter and battery-to-charge-controller breakers, followed by the solar array breaker. Check the displays on your charge controller and inverter to verify that voltages are within the expected ranges and that the battery is charging. Test a few AC loads to ensure the inverter is functioning correctly.
Ongoing Maintenance for Longevity
Off-grid systems require minimal but important maintenance. According to research from the International Energy Agency (IEA), regular maintenance is essential for ensuring a PV system reaches its expected lifetime. Periodically clean your solar panels to remove dust and debris, as this can improve efficiency. Regularly inspect all wiring and connections to ensure they are tight and free of corrosion. Monitor your battery's state of charge to understand its performance and health over time.
Your Path to Energy Independence
Building your own off-grid solar system is a rewarding project that delivers true energy independence. By carefully following the stages of planning, component selection, installation, and maintenance, you can construct a reliable and efficient power source tailored to your lifestyle. The growth of off-grid solutions, as tracked by organizations like the International Renewable Energy Agency (IRENA), highlights a global shift towards decentralized, sustainable energy.
Disclaimer: This guide is for informational purposes only and is not a substitute for professional electrical advice. Always adhere to local electrical codes and regulations. If you are unsure about any aspect of the installation, consult a qualified electrician.
Frequently Asked Questions
What is the most difficult part of a DIY solar installation?
For most people, the most challenging aspects are the initial system sizing and the electrical wiring. Accurately calculating your energy needs is crucial for success, and ensuring all electrical connections are safe and compliant with local codes is a top priority. Incorrect wiring can damage components and create serious safety hazards.
How many days of autonomy should I plan for?
A common recommendation is to plan for three to five days of autonomy. This means your battery bank should be large enough to power your essential loads for that many consecutive days without any input from the solar panels. This provides a reliable energy buffer during extended periods of cloudy or stormy weather.
Is a 48V system better than a 12V system?
For larger off-grid systems, a 48V architecture is generally more efficient. Higher voltage results in lower current, which allows you to use smaller, less expensive wires and reduces power loss over longer distances. For very small, simple systems, such as powering a few lights in a shed, a 12V setup is often sufficient and easier to implement.


Leave a comment
All comments are moderated before being published.
This site is protected by hCaptcha and the hCaptcha Privacy Policy and Terms of Service apply.