Moving to an off-grid solar system is a significant step toward energy independence. It provides reliable power for homes, farms, or remote cabins, free from the constraints of the utility grid. This guide offers a detailed overview of the process, from selecting components to final installation, built on years of hands-on experience in designing and deploying solar and energy storage solutions.
Understanding the Core Components
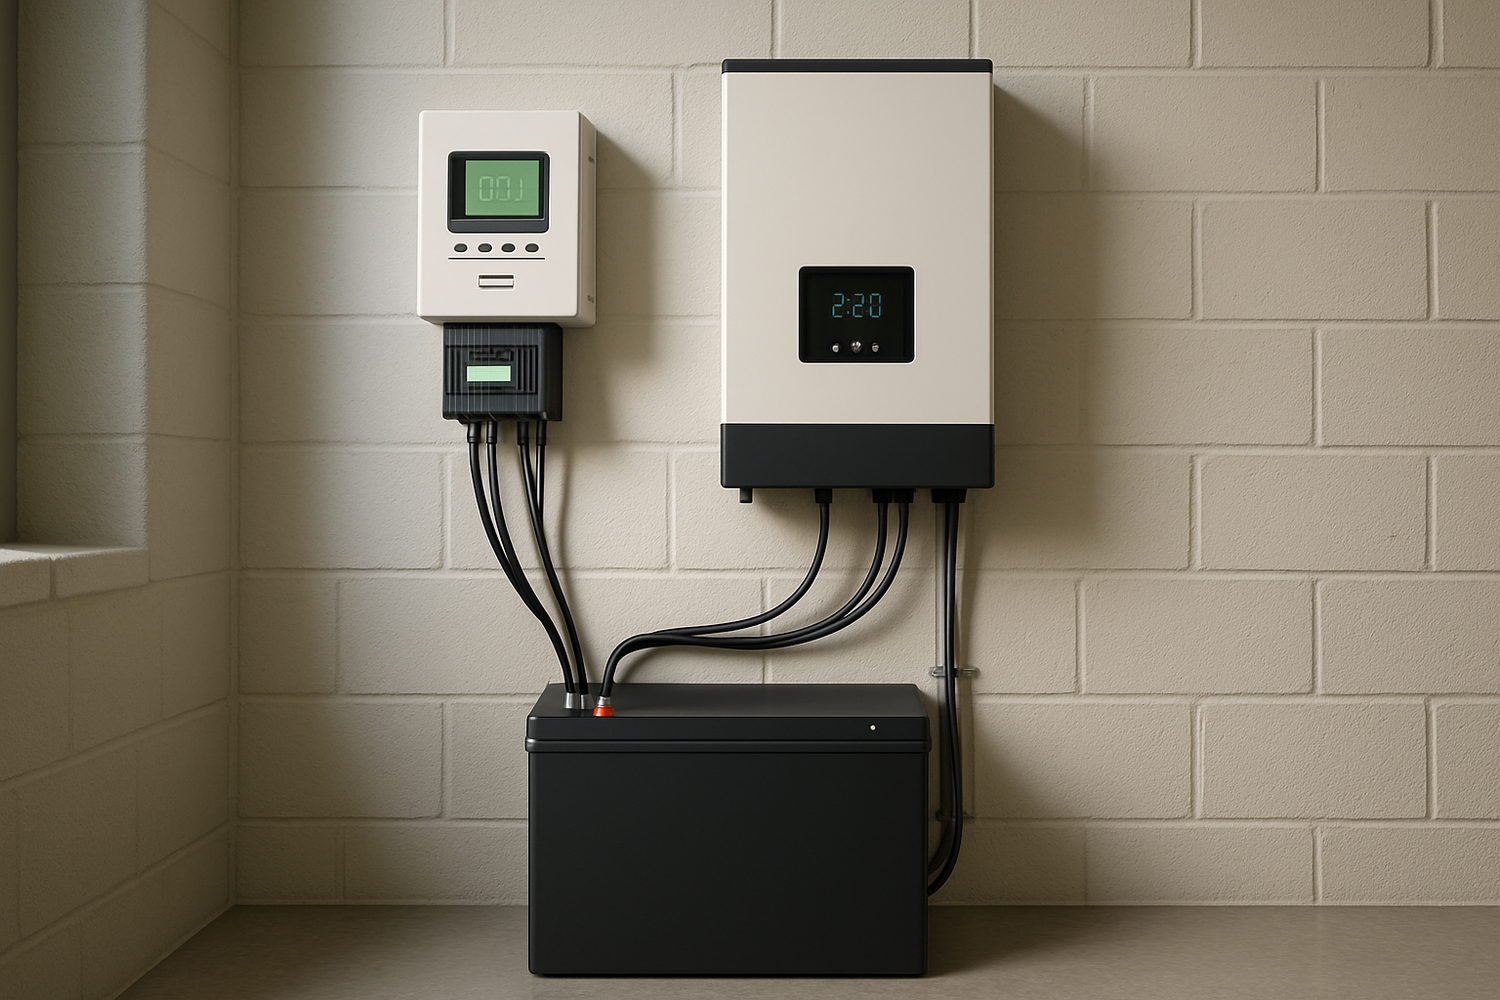
An off-grid solar system is more than just panels. It's a balanced ecosystem of components working together to provide consistent power. Understanding each part is the first step to a successful installation. A typical DC-coupled system has four main components.
Solar Panels: Capturing Sunlight
Solar panels are the foundation of your system, converting sunlight into direct current (DC) electricity. The two most common types are:
- Monocrystalline Panels: Known for their high efficiency and sleek black appearance, they perform well in low-light conditions.
- Polycrystalline Panels: A more budget-friendly option, recognizable by their blue, speckled look, with slightly lower efficiency.
Your choice will depend on your budget, available space, and aesthetic preference. The International Energy Agency (IEA) notes that solar PV generation saw a record increase of 320 TWh in 2023, a testament to its growing adoption and improving technology.
Battery Storage: The Heart of Your System
The battery bank stores the energy your panels produce for use at night or on cloudy days, making it arguably the most critical component of an off-grid setup. Deep-cycle batteries are designed for this purpose, allowing for repeated deep discharging and recharging.
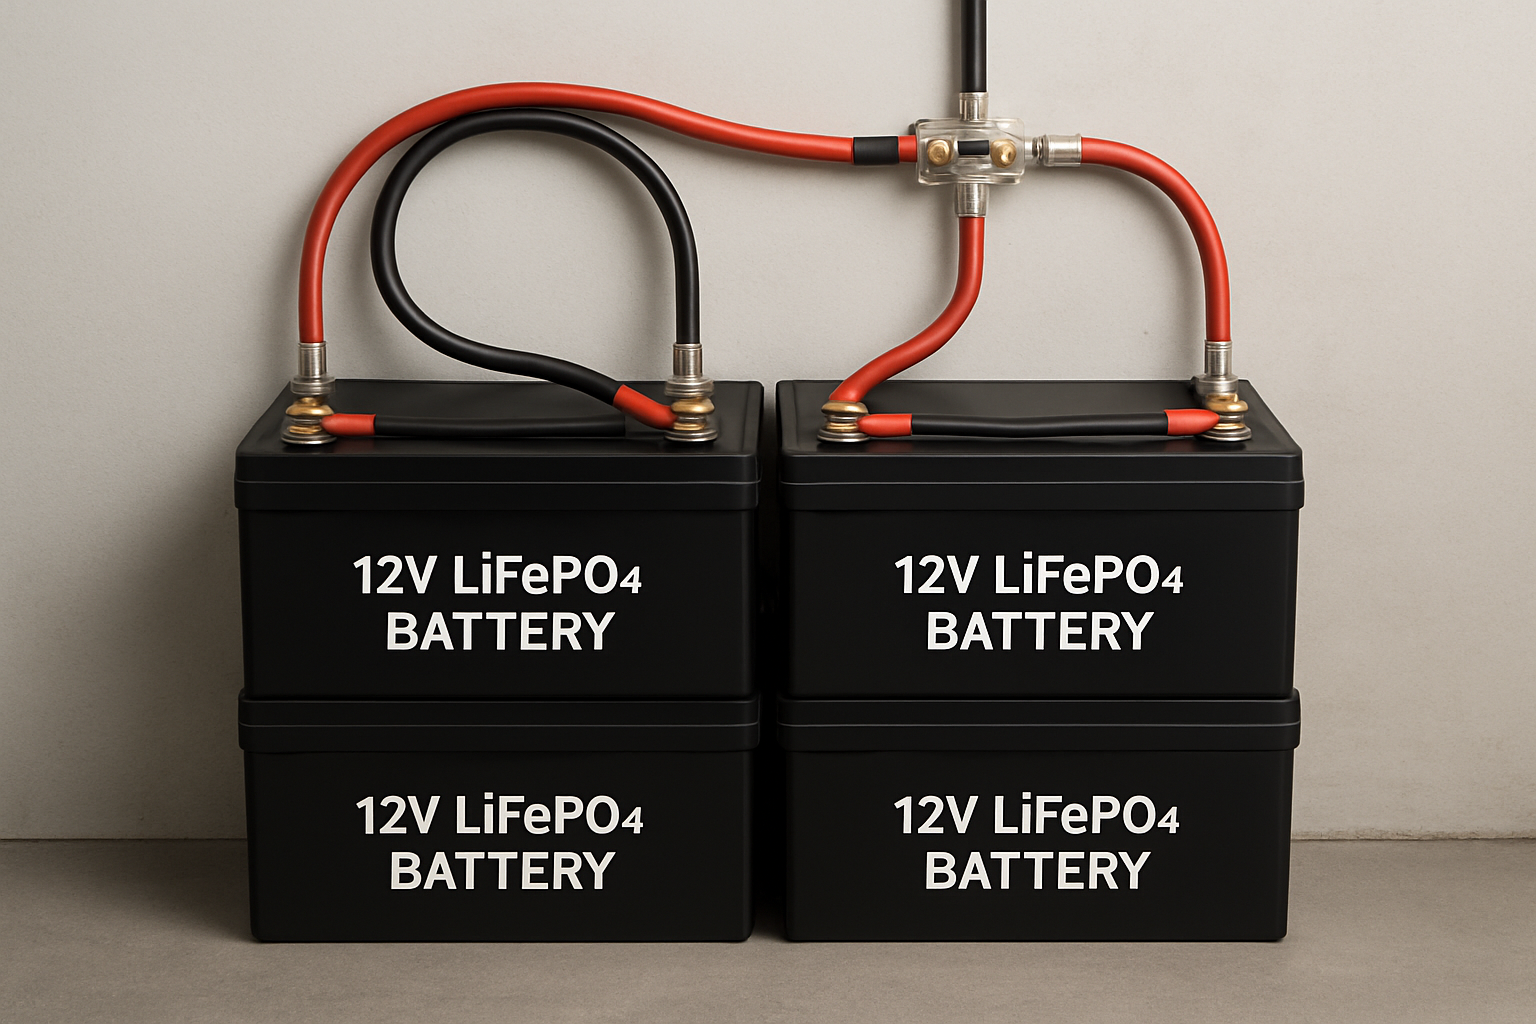
Today, Lithium Iron Phosphate (LiFePO4) batteries are a leading choice for energy storage. They offer a higher usable capacity (often 80-100% depth of discharge) compared to traditional lead-acid batteries, which are typically limited to 50%. This means you get more usable energy from a smaller, lighter battery. ANERN specializes in high-performance, reliable LiFePO4 batteries that form the core of our integrated home energy storage systems. For more on battery chemistries, see our comparison: Deep Cycle Lithium vs. Lead-Acid: Which Battery is Best?.
Charge Controller: Protecting Your Investment
A charge controller regulates the voltage and current from the solar panels to the batteries. Its job is to prevent overcharging, which can damage the battery bank and shorten its lifespan. There are two main types:
- Pulse Width Modulation (PWM): A simpler, more affordable technology that is effective when the solar panel voltage matches the battery voltage.
- Maximum Power Point Tracking (MPPT): A more advanced and efficient controller that can convert excess voltage into additional charging current. MPPT controllers can improve power harvest by up to 30%, making them ideal for larger systems or areas with fluctuating sunlight.
Inverter: Powering Your AC Appliances
The inverter converts the DC electricity stored in your batteries into alternating current (AC) electricity, the type used by most household appliances. Inverters come in two main varieties:
- Modified Sine Wave: A less expensive option suitable for simple electronics and motors.
- Pure Sine Wave: Produces a clean, high-quality waveform identical to grid power. This is necessary for sensitive electronics like computers, modern TVs, and medical equipment to prevent damage and ensure proper function.
ANERN solar inverters are designed to deliver stable and efficient pure sine wave power, ensuring compatibility with all your devices.
Sizing Your Off-Grid System Correctly
Proper system sizing is crucial for off-grid success. An undersized system will leave you without power, while an oversized one is an unnecessary expense. The process starts with a detailed understanding of your energy usage.
Calculating Your Daily Energy Consumption
The most accurate way to size your system is to perform a load analysis. Create a list of every appliance you intend to power. For each one, find its wattage and estimate how many hours it will run per day. Multiplying the watts by the hours gives you the daily watt-hours (Wh) for each device.
| Appliance | Power (Watts) | Hours of Use/Day | Daily Energy (Wh) |
|---|---|---|---|
| LED Lights (x5) | 50 | 6 | 300 |
| Refrigerator | 150 | 8 (duty cycle) | 1200 |
| Laptop | 65 | 5 | 325 |
| Water Pump | 250 | 1 | 250 |
| Total | 2075 Wh |
Summing these values gives you your total daily energy requirement.
Sizing Your Battery Bank
To size your battery bank, you need to consider your daily energy use, desired days of autonomy (how many days of backup power you want for cloudy weather), and the battery's depth of discharge (DoD).
Formula: (Daily Energy Use x Days of Autonomy) / (Battery Voltage x DoD) = Required Amp-hours (Ah)
For example, using the 2075 Wh from above, with 3 days of autonomy and a 48V LiFePO4 battery system (with a 90% DoD):
(2075 Wh x 3) / (48V x 0.90) = 144 Ah
In this case, a 48V 150Ah battery bank would be a suitable choice. To learn more about this crucial step, consult our detailed guide: How to Size Your Home Battery Storage for Off-Grid Living.
Determining Your Solar Array Size
Your solar array needs to be large enough to fully recharge your batteries while also powering your daily loads. The key factor here is the number of "peak sun hours" your location receives, which varies by geography and season. You can find this data from resources like the National Renewable Energy Laboratory (NREL).
Formula: Daily Energy Use / Peak Sun Hours = Required Solar Array Wattage
If your location gets an average of 4 peak sun hours in the winter (it's best to size for the worst-case scenario):
2075 Wh / 4 hours = 518.75 W
It's wise to oversize the array by about 25% to account for inefficiencies like dust, wiring losses, and cloudy days. So, a 650W to 700W solar array would be appropriate. The U.S. Department of Energy provides valuable resources for planning solar deployment in communities.
The Installation Process: A Step-by-Step Approach
With your components selected and sized, the installation can begin. Safety is paramount during this phase. If you are not comfortable with electrical wiring, it is highly recommended to hire a qualified professional.
Site Selection and Panel Mounting
Your solar panels should be mounted in a location that receives maximum direct sunlight, free from shading from trees or buildings, especially between 10 a.m. and 4 p.m. In the Northern Hemisphere, a south-facing orientation is generally optimal. Common mounting options include:
- Roof Mounts: The most common option for homes, using rails secured to the roof trusses.
- Ground Mounts: A great alternative if your roof is unsuitable, allowing for a perfect tilt angle.
- Pole Mounts: Elevate the panels above ground-level obstructions.
Wiring the Components
Connecting the components must be done in a specific order to prevent damage. While every system is unique, the general sequence is:
- Connect the charge controller to the battery bank first. This allows the controller to detect the system voltage.
- Connect the solar panel array to the charge controller.
- Connect the inverter to the battery bank.
- Connect your AC loads to the inverter.
Always follow the manufacturer's instructions for each component. For a more detailed walkthrough, refer to our DIY Off-Grid Solar Installation: A Step-by-Step Blueprint.
Safety First: Critical Precautions
Working with electricity and batteries requires caution. Always use insulated tools, wear appropriate personal protective equipment (PPE), and install proper fusing and circuit breakers. For a list of common pitfalls, review our guide on 7 Critical Mistakes in Off-Grid Solar System Installation.
Embracing Your Energy Independence
Installing an off-grid solar system is a rewarding project that delivers long-term energy security and sustainability. The global growth in off-grid renewables is rapidly expanding, with organizations like the International Renewable Energy Agency (IRENA) tracking its deployment to help achieve universal energy access. By carefully planning your system, selecting high-quality components like ANERN's reliable LiFePO4 batteries and inverters, and following a methodical installation process, you can build a robust power system tailored to your needs. This journey empowers you to take control of your energy future, providing clean and dependable power for years to come.
Disclaimer: This article is for informational purposes only. It is not intended as financial, legal, or professional electrical advice. Please consult with qualified professionals before making any investment decisions or undertaking any electrical work.


Leave a comment
All comments are moderated before being published.
This site is protected by hCaptcha and the hCaptcha Privacy Policy and Terms of Service apply.