The hybrid charge controller is the operational core of a modern solar energy storage system. While connecting panels to a controller and then to a battery might seem straightforward, the details of the wiring process significantly impact efficiency, safety, and the lifespan of your components. An improper connection can lead to substantial power loss, diminished battery performance, and potential safety hazards. This guide details the principles of an optimal wiring diagram for your hybrid charge controller to ensure you harness and store every possible watt.
Understanding the Hybrid Charge Controller's Role
Before diving into wiring diagrams, it's crucial to appreciate what a hybrid charge controller does. It's more than a simple regulator; it's the intelligent hub that manages power from multiple sources to efficiently charge your batteries and power your loads.
The Brain of Your Solar System
At its core, a charge controller protects your batteries. It regulates the voltage and current coming from the solar panels, preventing overcharging which can damage the battery and shorten its life. It also provides over-discharge protection by disconnecting the load when the battery is too low. A hybrid controller takes this a step further by managing inputs from the grid or a generator, providing a seamless energy supply.
Key Technologies: PWM vs. MPPT
Modern controllers primarily use one of two technologies: Pulse Width Modulation (PWM) or Maximum Power Point Tracking (MPPT). While PWM controllers are simpler and less expensive, MPPT controllers are significantly more efficient. They can convert excess voltage into amperage, harvesting up to 30% more power from your solar panels, especially in colder weather or when battery voltage is low. For any serious solar energy storage system, an MPPT controller is the recommended choice.
Core Principles of an Optimal Wiring Diagram
An optimal wiring diagram is built on a foundation of safety and efficiency. How you connect the components is just as important as the components themselves. Following these core principles is non-negotiable for a high-performing and safe system.
Prioritizing the Battery Connection
The single most important rule in charge controller installation is to connect the battery first. This allows the controller to read the battery's voltage and automatically configure its charging parameters for a 12V, 24V, or 48V system. Connecting the solar panels first can send unregulated, high-voltage power into the controller's output, potentially damaging the unit permanently.
Sizing Your Wires Correctly
Using undersized wires is a common and dangerous mistake. Wires that are too thin for the current they carry create high resistance, leading to significant voltage drop and power loss. This lost power turns into heat, which can melt the wire's insulation and create a fire hazard. Always use the correct wire gauge (AWG) based on the current and the distance of the wire run. Thicker wires (lower gauge numbers) have less resistance and ensure maximum power reaches your batteries.
| Current (Amps) | Max Distance for <3% Voltage Drop (12V System) | Recommended Copper Wire Gauge (AWG) |
|---|---|---|
| 20A | 10 ft | 10 AWG |
| 20A | 20 ft | 8 AWG |
| 40A | 10 ft | 8 AWG |
| 40A | 20 ft | 6 AWG |
| 60A | 10 ft | 6 AWG |
| 60A | 20 ft | 4 AWG |
Fuses and Breakers: Non-Negotiable Safety
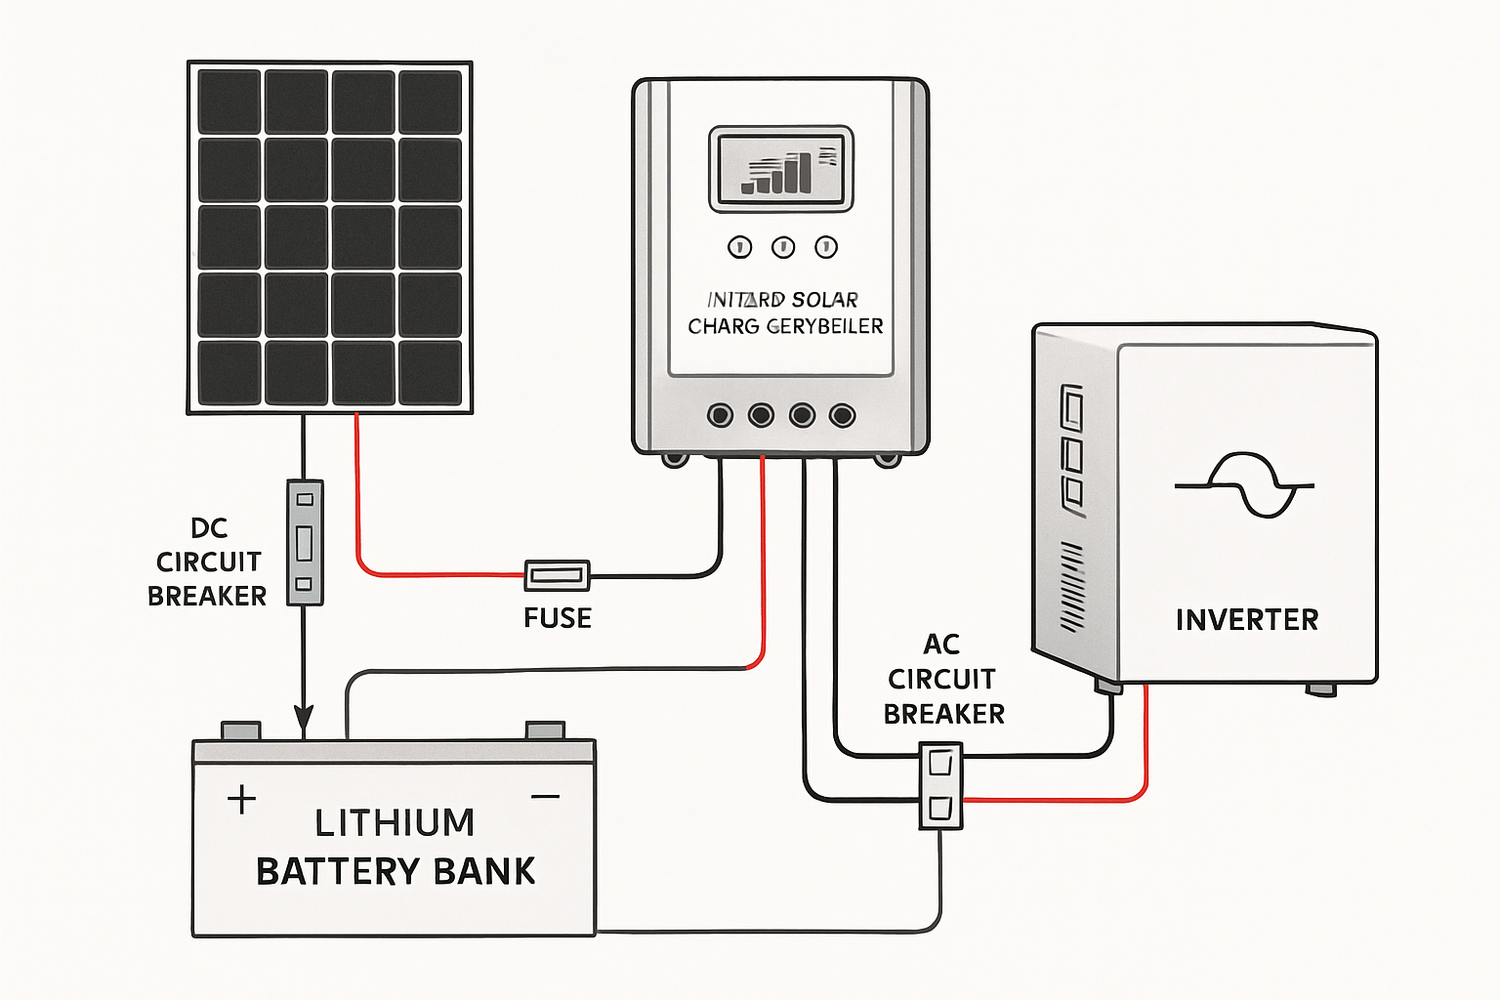
Fuses and DC circuit breakers are critical safety devices. They protect your wiring from overheating and your equipment from damage in the event of a short circuit or overcurrent event. A breaker or fuse should be installed on:
- The positive line between the solar panels and the controller.
- The positive line between the controller and the battery bank.
- The positive line from the battery bank to your inverter.
Step-by-Step Hybrid Charge Controller Installation
A systematic approach ensures a safe and correct installation. The sequence of connections is critical for the controller's proper initialization and the system's overall safety.
The Correct Connection Sequence
Always follow this order for a safe and effective charge controller installation:
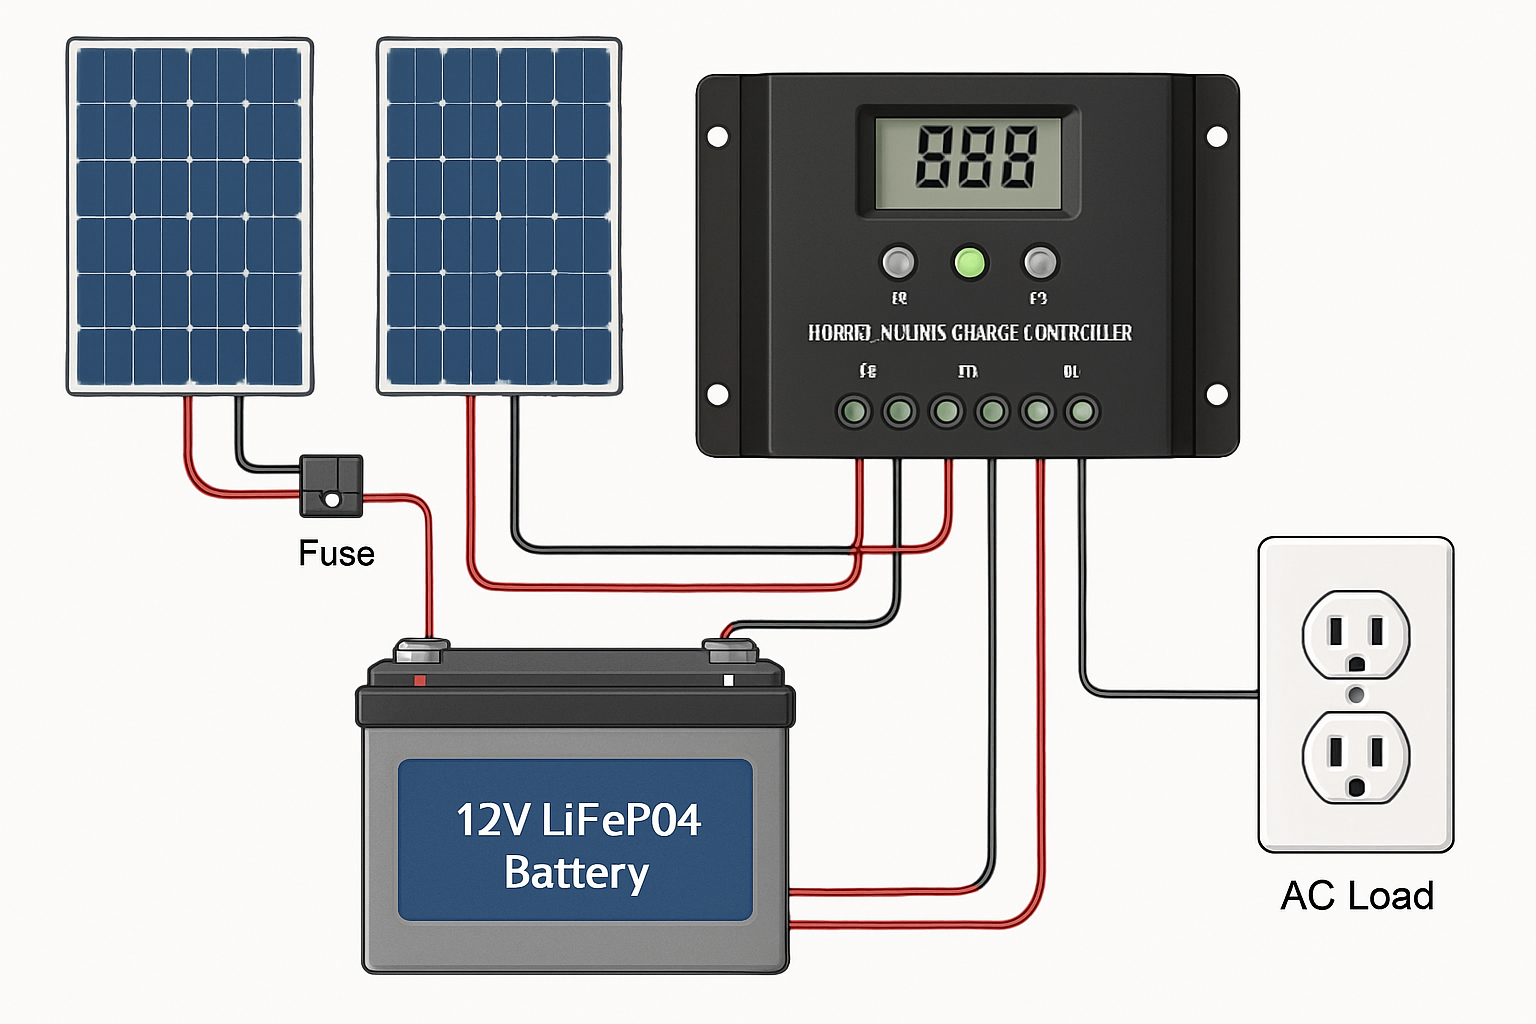
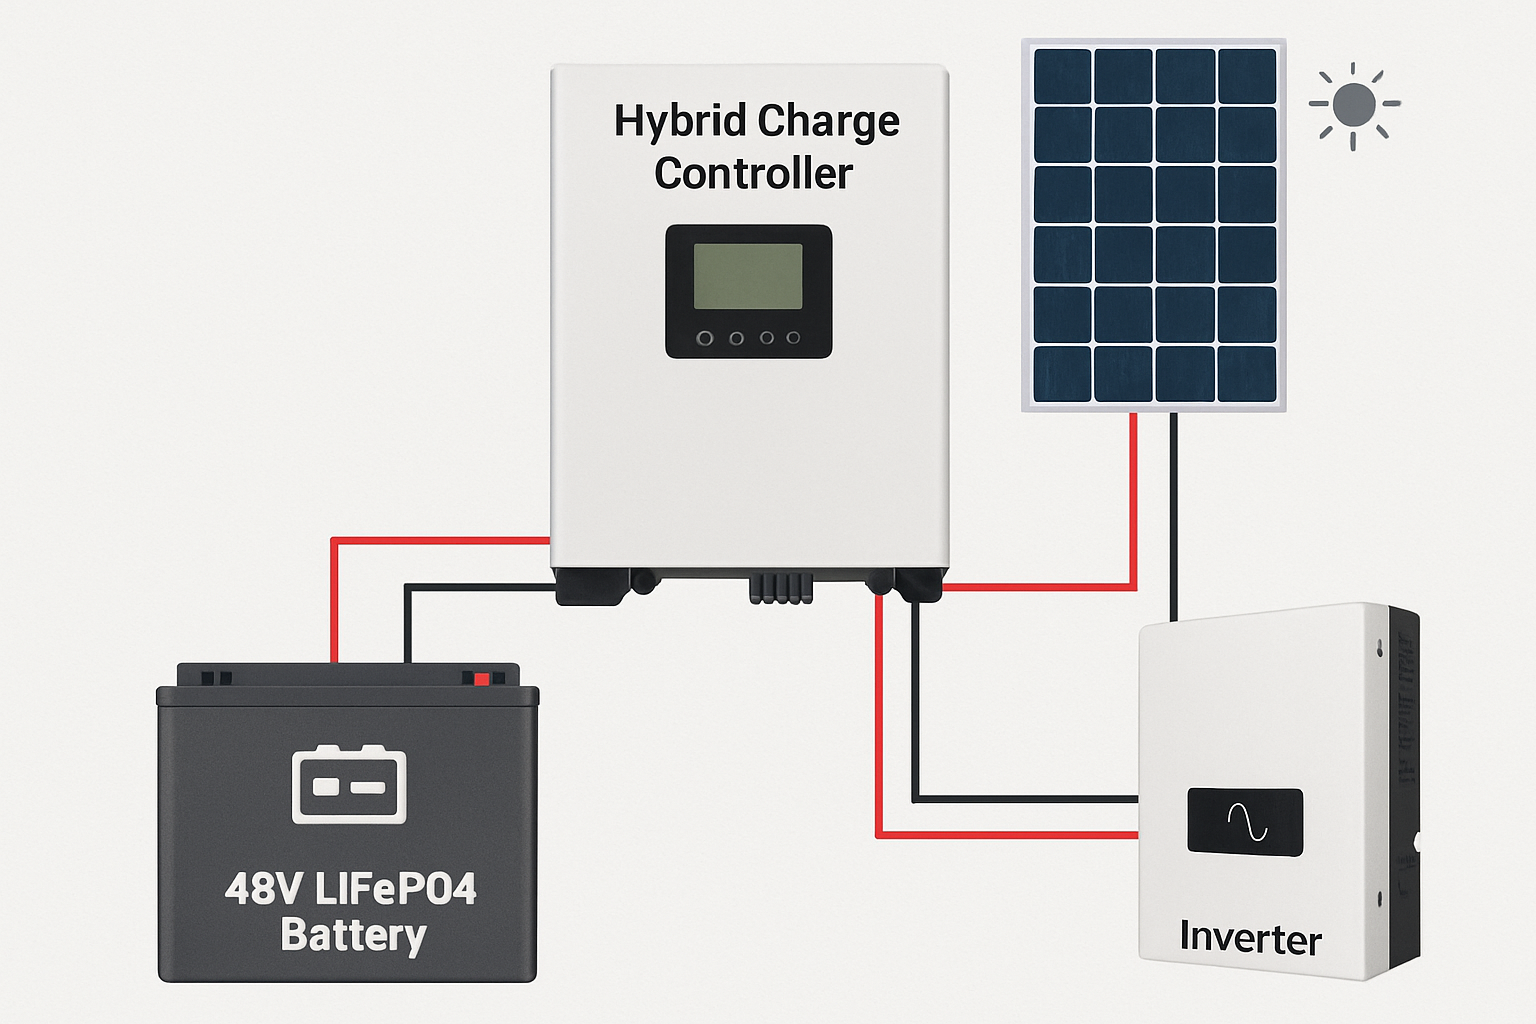
- Connect Battery to Controller: Connect the positive and negative terminals of the battery bank to the corresponding battery terminals on the charge controller. This powers the controller and sets the system voltage.
- Connect Solar Panels to Controller: With the panels covered or the breaker in the off position, connect the positive and negative wires from the solar array to the PV input terminals on the controller.
- Connect DC Load (If Applicable): If you are using the controller's DC load output, connect your DC appliances to the load terminals.
- Confirm Operation: Uncover the panels or turn on the PV breaker. The controller's display should indicate that the battery is charging.
Integrating with Lithium (LiFePO4) Batteries
Lithium iron phosphate (LiFePO4) batteries are a superior choice for solar energy storage due to their long cycle life and high efficiency. However, they require specific charging parameters. When wiring a hybrid controller to a LiFePO4 battery, you must configure the controller's settings. Typical settings for a 12V LiFePO4 battery are around 14.4V for the bulk/absorption stage and 13.6V for the float stage. Disabling the 'equalization' setting is also crucial, as this feature is designed for lead-acid batteries and can damage lithium chemistry.
Grounding for Safety and Performance
Proper system grounding is essential for protecting against lightning strikes and electrical faults. All exposed metal components of your system, including panel frames, mounts, and the controller chassis, must be connected to an equipment grounding conductor. This conductor provides a safe path for fault current to travel to the earth. Grounding requirements can be complex and are dictated by local electrical codes; consulting a qualified electrician is highly recommended.
Achieving Peak System Performance
With the controller correctly wired, the final step is to optimize its operation. A well-wired system is the foundation, but intelligent management unlocks its full potential. The International Energy Agency (IEA) notes that as renewable energy integration grows, active monitoring and control become essential for stability and efficiency. According to a report from the System Integration of Renewables, power system flexibility is key to managing the variability of solar and wind power. This principle applies directly to your home energy system. By leveraging data and advanced features, you can ensure your system operates at its peak. Another IEA report, Getting Wind and Solar onto the Grid, further emphasizes that system operators need robust tools to manage distributed energy resources effectively. For a deeper look into how different components affect overall system output, the Ultimate Reference for Solar Storage Performance provides valuable data on how factors like battery chemistry and inverter efficiency contribute to the final energy yield. The insights from the IEA's Integrating Solar and Wind analysis also show that strategic integration measures are necessary to handle challenges at higher levels of renewable energy penetration.
Your Foundation for Energy Independence
Correctly wiring your hybrid charge controller is more than a technical task; it's the critical step that ensures your investment in solar energy storage is safe, efficient, and reliable. By following the principles of connecting the battery first, using properly sized wires, and implementing essential safety devices, you create a robust foundation for your energy independence. A well-installed controller maximizes energy harvest, extends battery life, and provides peace of mind for years to come.
Disclaimer: This article is for informational purposes only and does not constitute professional electrical advice. Always adhere to local electrical codes and consult with a qualified electrician for any solar installation.
Frequently Asked Questions
What happens if I wire the solar panels to the controller before the battery?
Connecting the solar panels first can send high, unregulated voltage to the controller's output terminals, which are not designed to handle it. This can permanently damage the controller's internal circuitry. The controller needs to sense the battery voltage first to establish its correct operating parameters.
How do I choose the right size fuse for my solar charge controller?
A fuse or breaker should be rated to handle about 125% of the maximum continuous current of the circuit. For the solar panel circuit, this is 1.25 times the panel's short-circuit current (Isc). For the battery circuit, it's 1.25 times the controller's maximum output current. Always check the manufacturer's documentation for specific recommendations.
Can I use one hybrid charge controller for two different battery banks?
No, a single charge controller is designed to monitor and charge a single, unified battery bank. It uses one set of sensors to read the bank's voltage and temperature. Attempting to charge two separate banks with different characteristics would lead to improper charging for both, potentially damaging them and creating a safety risk.


Leave a comment
All comments are moderated before being published.
This site is protected by hCaptcha and the hCaptcha Privacy Policy and Terms of Service apply.