


With rising energy costs and growing environmental awareness, more people are turning to solar power as a clean, renewable way to generate electricity. Installing a solar energy system can reduce or even eliminate your dependence on the grid while saving you money. While large installations often require professional help, a wide range of do-it-yourself (DIY) solar projects are attainable for the handy homeowner. This guide provides a comprehensive overview for beginners, covering everything from the fundamental principles to the final installation steps, helping you harness the power of the sun for your home, RV, or cabin.
Understanding the Basics of Solar Power
Before embarking on a DIY project, it's essential to grasp the core concepts of how solar energy works. Solar power is the conversion of energy from the sun into usable electricity, a process made possible by technology that has become increasingly accessible and affordable.
How Do Solar Panels Work?
Solar panels function based on the photovoltaic (PV) effect. According to Anern, solar panels are made of many smaller units called photovoltaic cells, which are typically made from silicon. When sunlight (photons) strikes these cells, it excites electrons, causing them to flow and create a direct current (DC) of electricity. This DC electricity is then sent to an inverter, a crucial component that converts it into alternating current (AC), the standard form of electricity used to power appliances in our homes. Any excess energy can be stored in batteries or, in some systems, fed back into the utility grid.
Essential Components of a Solar Power System
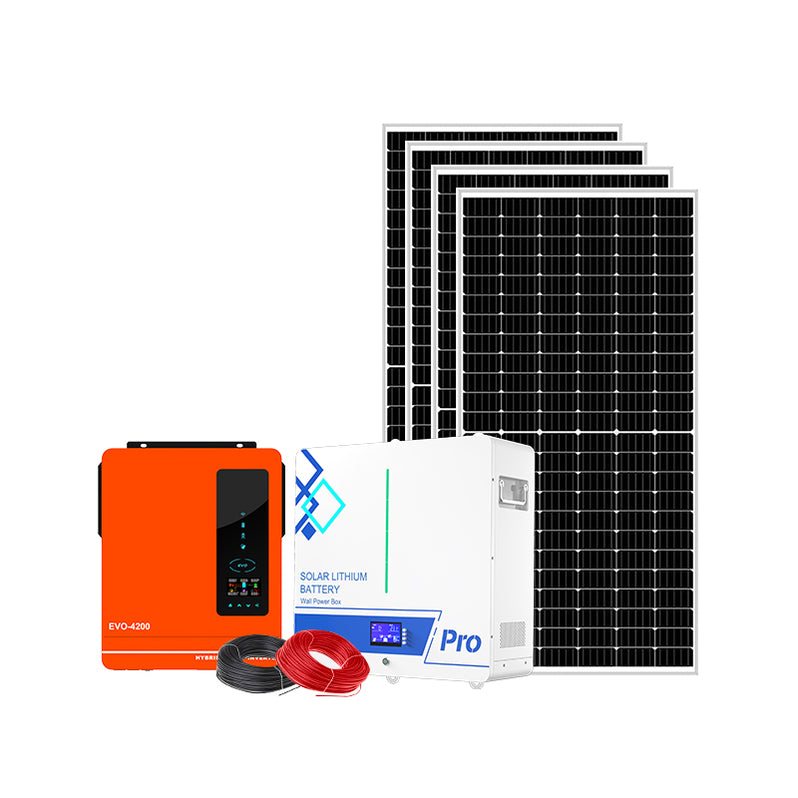
A complete solar power system is more than just the panels. Whether you're buying a kit or sourcing parts individually, a typical residential setup includes several key components. According to GoGreenSolar.com, these include:
- Solar Panels: Capture sunlight and convert it into DC electricity.
- Inverter: Converts DC electricity from the panels into usable AC power. For grid-tied systems, the inverter synchronizes the solar power with the grid.
- Racking and Mounting: The framework that securely attaches the solar panels to a roof or ground structure.
- Charge Controller: In systems with batteries, this device protects the batteries from overcharging by regulating the voltage and current from the solar panels.
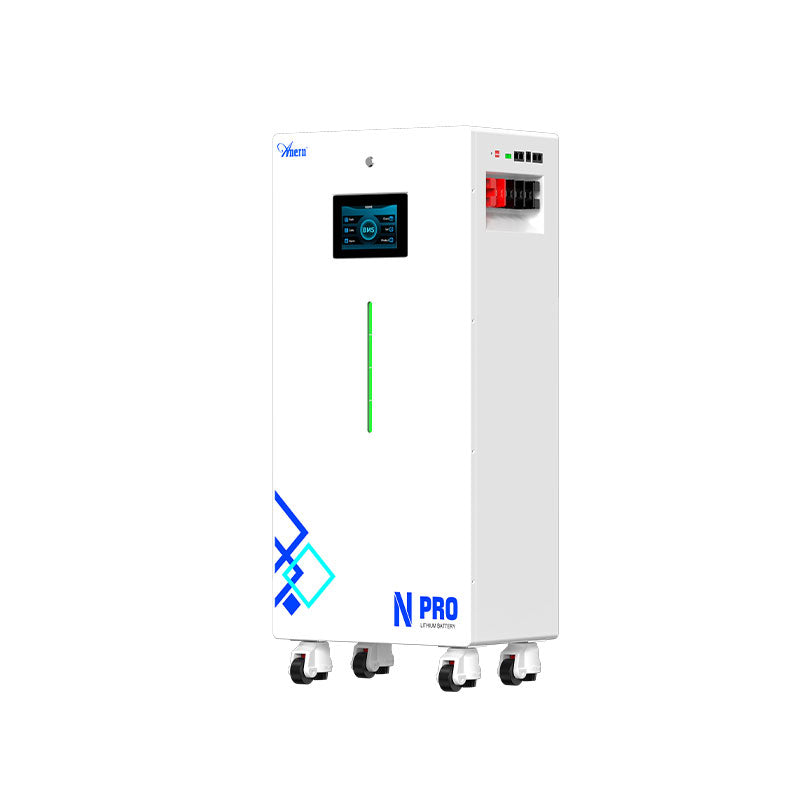
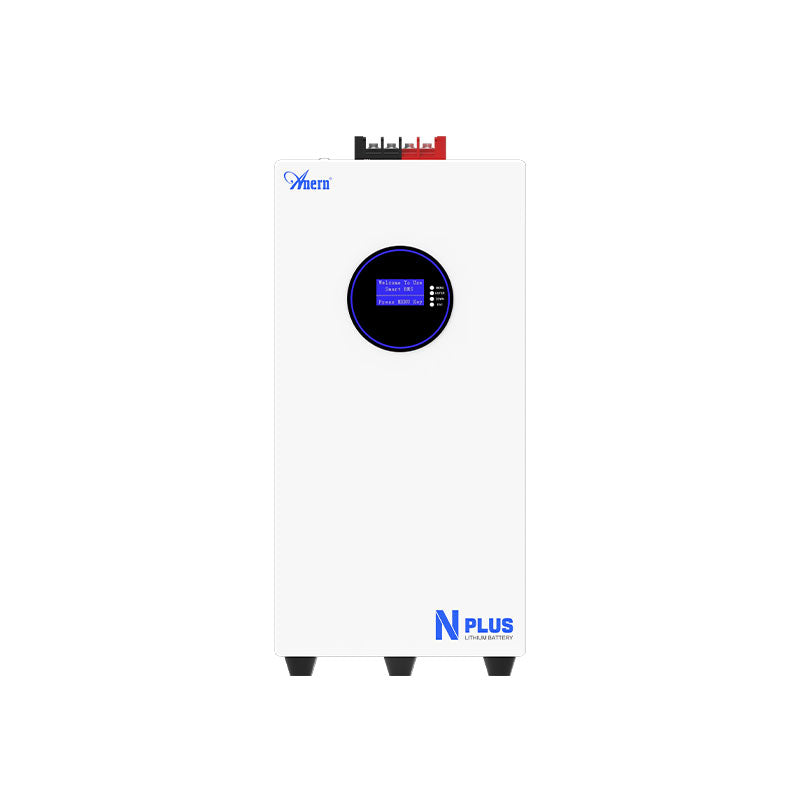
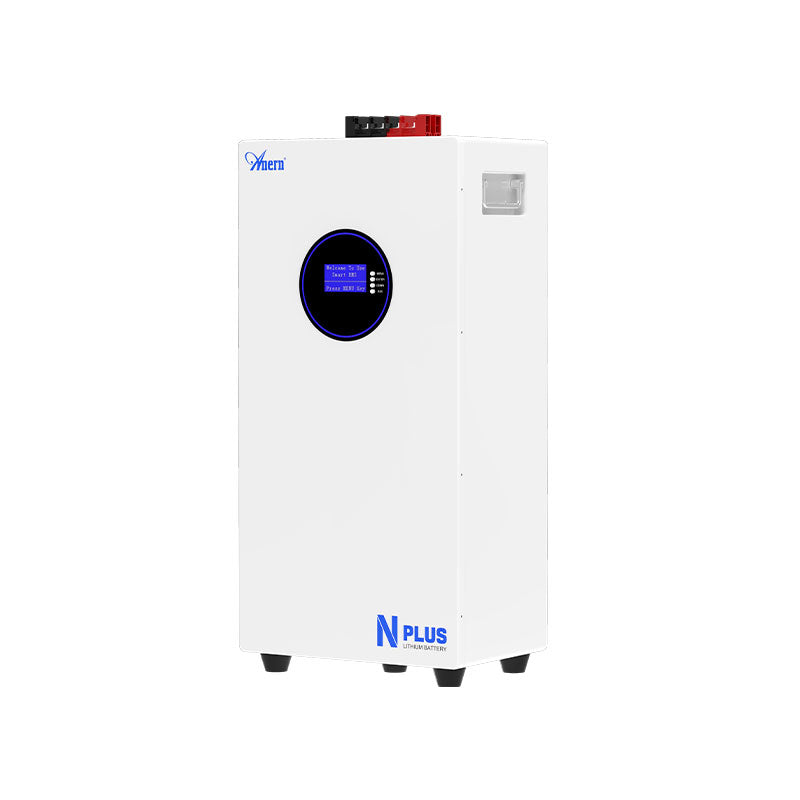
- Batteries (Optional but crucial for Off-Grid): Store excess energy for use at night, on cloudy days, or during power outages. Lithium-ion batteries, particularly LiFePO4, are popular choices for their longevity and efficiency.
Types of Solar Panels
There are a few main types of solar panels available, each with its own advantages and disadvantages.
- Monocrystalline Solar Panels: Made from a single silicon crystal, these are the most efficient panels, often exceeding 20%. They perform well in low-light conditions and have a long lifespan, but they are also the most expensive option.
- Polycrystalline Solar Panels: Made from multiple silicon fragments melted together, these panels are more affordable but slightly less efficient (around 15-17%) than monocrystalline panels.
- Thin-Film Solar Panels: These are lightweight, flexible, and the least expensive, but also the least efficient (around 11%). Their flexibility makes them suitable for various applications, including unconventional surfaces.
A more recent development is the bifacial solar panel, which can capture sunlight from both sides, increasing energy production, especially when installed over a reflective surface.
Planning Your DIY Solar Project
Thorough planning is the most critical phase of any DIY solar project. A well-thought-out plan ensures you build a system that meets your needs safely and efficiently. For those looking for extensive resources, the DIY Solar Forum offers valuable links to manuals and websites for beginners.
Step 1: Assess Your Energy Needs
The first and most important step is to understand your household's energy consumption. This evaluation ensures you invest in a correctly sized system, maximizing your return. A good starting point is to review your electricity bills from the past year to determine your average monthly and annual usage in kilowatt-hours (kWh). The U.S. Energy Information Administration states that the average American home consumes about 899 kWh per month, which can serve as a useful benchmark. When sizing your system, also consider future needs, such as purchasing an electric vehicle or new appliances.
To dive deeper into this topic, see our article: Understanding Your Home's Energy Needs Before Going Solar.
Step 2: Evaluate Your Property for Solar Potential
Next, assess your property to find the best location for your solar panels. In the Northern Hemisphere, a south-facing roof is ideal for maximum sun exposure. The roof should be in good condition, with at least 10 years of life remaining to avoid the cost of removing and reinstalling panels for a roof replacement. Also, check for any obstructions like trees or tall buildings that could cast shadows on your panels, as even partial shading can significantly reduce energy output.
Step 3: Choose Your System Type
There are several designs for DIY solar power systems, each suited for different purposes.
- Grid-Tied: This is the most popular setup for homes. The system is connected to the public utility grid, allowing you to draw power when your panels aren't producing and, in many areas, sell excess energy back to the utility through net metering. These systems do not typically require batteries.
- Off-Grid: These systems operate independently of the grid and are ideal for remote cabins, RVs, or anyone seeking complete energy independence. Battery storage is essential for an off-grid system to provide power at night or during cloudy weather.
- Hybrid: A hybrid system is connected to the grid but also includes battery storage. This offers the best of both worlds: you can save money through net metering while also having backup power during a blackout.
For beginners, deciding between a smaller, portable solution and a larger, permanent one can be challenging. To help you decide, see our article: Solar Generator vs. Off-Grid System: Which is Right for a Beginner?
Step 4: Sizing Your System and Selecting Components
To calculate the size of the system you need, you can use a simple formula. As explained by Electrical Technology, you first determine your daily energy consumption (in kWh) and divide it by the "peak sun hours" for your location. This gives you the required system size in kilowatts (kW). Once you have the system size, you can calculate the number of panels needed by dividing the system size by the wattage of your chosen panels. A professional installer can help with a precise calculation, but this provides a good starting point. Many find it wise to oversize the system slightly to account for future needs and less-than-ideal weather.

The DIY Solar Installation Process
Installing a solar panel system involves construction and high-voltage electrical work. While a DIY approach can save you thousands in labor costs, it should only be attempted by those with experience in electrical wiring. A good compromise is to buy the equipment and mount the panels yourself, then hire a certified electrician to make the final connections.
For a complete walkthrough, see our detailed article: How to Install Your First Solar Panel System: A Step-by-Step DIY Guide.
Pre-Installation: Permits and Safety
Before you begin, you must obtain the necessary permits from your local building department and, if applicable, your Homeowner’s Association (HOA). For grid-tied systems, you will also need an interconnection agreement with your utility company. Safety is paramount. Ensure you have the proper gear, including a safety harness for roof work, gloves, and safety glasses.
Installation Steps Overview
- Install Mounting and Racking: This is the foundation of your array. For roof-mounted systems, this involves securing mounts to the rafters and attaching the rails that will hold the panels.
- Install the Inverter(s): For systems with a central inverter, it should be mounted in a cool, ventilated location. If using microinverters, they are attached to the back of each panel before mounting.
- Mount the Solar Panels: Securely bolt the panels to the racking system. This step is best done with a helper.
- Wire the System: This is the most technical step. Wires are run from the panels to the inverter and then to your home’s main electrical panel. If you are not confident in your skills, it is highly recommended to hire a licensed electrician for this part.
Post-Installation: Inspections and Operation
After the physical installation, your system must be inspected by local authorities to ensure it is compliant with building and electrical codes. Once it passes inspection, you can submit the final paperwork to your utility company to receive Permission to Operate (PTO), officially connecting your system to the grid.
Beginner-Friendly Entry Points to Solar
For those new to solar, starting with a large-scale system can be daunting. Thankfully, there are many accessible entry points to get familiar with the technology.
- DIY Solar Kits: Many companies offer complete DIY solar panel kits that include all the necessary components, simplifying the process of sourcing parts. These kits are available for various needs, from small RV setups to larger home systems.
- Portable Solar Generators: A solar generator is an all-in-one, plug-and-play solution that integrates a battery, inverter, and charge controller into a single portable unit. For beginners, this is often the ideal starting point, offering a manageable and affordable way to explore solar power without the complexity of a permanent installation.
- Small-Scale Projects: Building a simple solar-powered device is a rewarding way to learn the basics. As detailed in a guide from Reclaim Design, you can build a solar oven from reclaimed materials to cook food using only the sun's energy. Other simple projects include building a solar water heater or a solar-powered USB charger.
Costs, Incentives, and ROI
The cost of a solar installation varies based on system size, equipment quality, and location. In 2025, a typical 7.2 kW residential system costs around $21,816 before incentives. However, various government programs can significantly reduce this cost. The most notable is the Federal Solar Tax Credit, which allows homeowners to deduct 30% of the system's cost from their federal income taxes. Many states and local utilities offer additional rebates and incentives. With these savings, a solar system becomes a wise financial investment, often paying for itself in the long run through reduced or eliminated electricity bills.
Maintaining Your DIY Solar System
Solar panels are remarkably durable and require very little maintenance. The primary task is keeping them clean from dirt, leaves, and other debris that can obstruct sunlight. For most homeowners, a simple rinse with a garden hose a few times a year is sufficient. It is also important to periodically inspect wiring and connections for any damage or corrosion. Many modern systems come with monitoring software that allows you to track energy production and will alert you to any performance issues, helping you identify and troubleshoot problems early.
Conclusion
Embarking on a DIY solar journey is an empowering step towards energy independence, a lower carbon footprint, and long-term financial savings. Whether you start small with a portable solar generator or take on a full home installation, the process is more accessible than ever for beginners. By carefully planning your project, understanding the components, and prioritizing safety, you can successfully harness the clean, abundant power of the sun. As many guides suggest, with a bit of research and a hands-on approach, building your own solar system is a rewarding and worthwhile endeavor. [10 DIY Solar Panel Installation Guides For Installing Your Own Solar Power System - Life Off-Grid, The Best Solar Energy Books for Beginners - BookAuthority]
