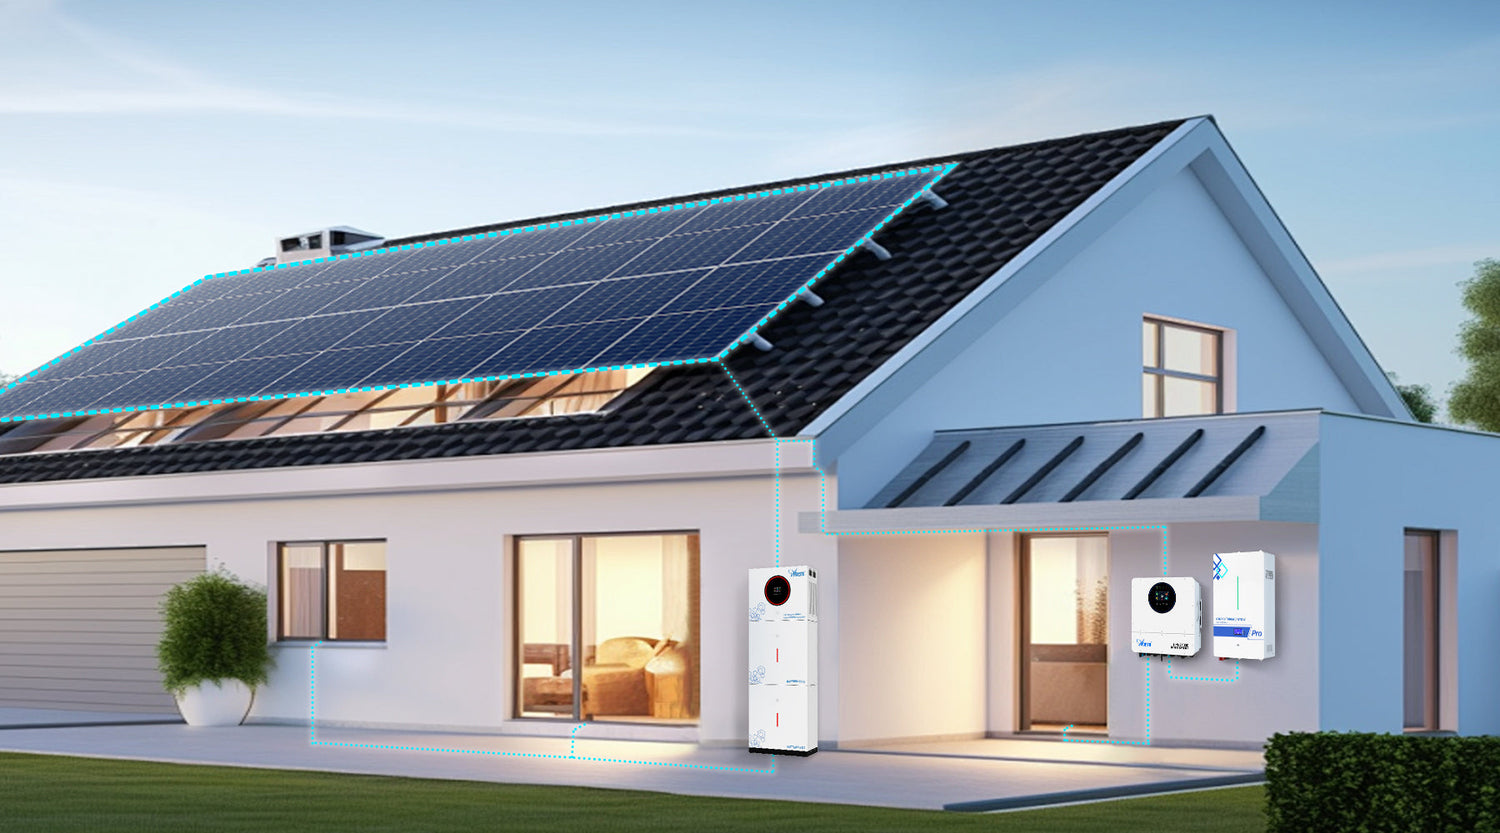
In my analysis of solar project economics, the industry's focus is often on module efficiency and inverter technology. However, the racking and mounting system—the physical foundation of the entire solar asset—is a critical and evolving segment that has a profound impact on a project's total installed cost, long-term bankability, and risk profile. From our perspective, racking is no longer a commodity; it's an engineered system central to the industry's drive to lower the Levelized Cost of Energy (LCOE).
Beyond Structure: Racking's Role in Project Bankability
The first point I make to investors is that a project's financing and insurability are directly tied to the quality of its mounting system. It's not just about holding panels to a roof; it's about underwriting the asset for 25+ years.
- Certification as a Prerequisite: A key development has been the maturation of standards like **UL 2703**, which covers not just the mechanical strength but also the electrical bonding and grounding of the system. For a project to be considered "bankable," using a UL 2703-listed system is now a non-negotiable requirement for financiers and insurers.
- Engineering and Wind Tunnel Analysis: Leading manufacturers now invest heavily in wind tunnel testing and sophisticated structural analysis. This data provides the engineering stamps and load calculations necessary to satisfy local building codes and mitigate the risk of weather-related failures, a crucial aspect of any project's risk assessment.
Essentially, the mounting system is the physical manifestation of a project's structural integrity, a factor that is heavily scrutinized during due diligence.
The Supply Chain: Aluminum, Steel, and Logistics
From a supply chain perspective, the racking industry is a fascinating case study in material dynamics and logistics. Aluminum extrusions dominate the market due to their high strength-to-weight ratio and corrosion resistance. However, price volatility in the global aluminum market has a direct and immediate impact on racking costs, a key component of the Balance of System (BOS) price.
We are also seeing innovation in materials, with some companies exploring high-strength steel or composite materials to reduce costs. Furthermore, the logistics of shipping long aluminum rails is a significant cost factor, which is driving one of the industry's most important trends: the move toward rail-less and integrated mounting solutions.
Market Trends: The Drive to Reduce Soft Costs
In mature solar markets, the "soft costs"—particularly labor—can account for over half of the total residential installation cost. In my analysis, the most significant innovations in racking today are squarely aimed at reducing the time installers spend on the roof.
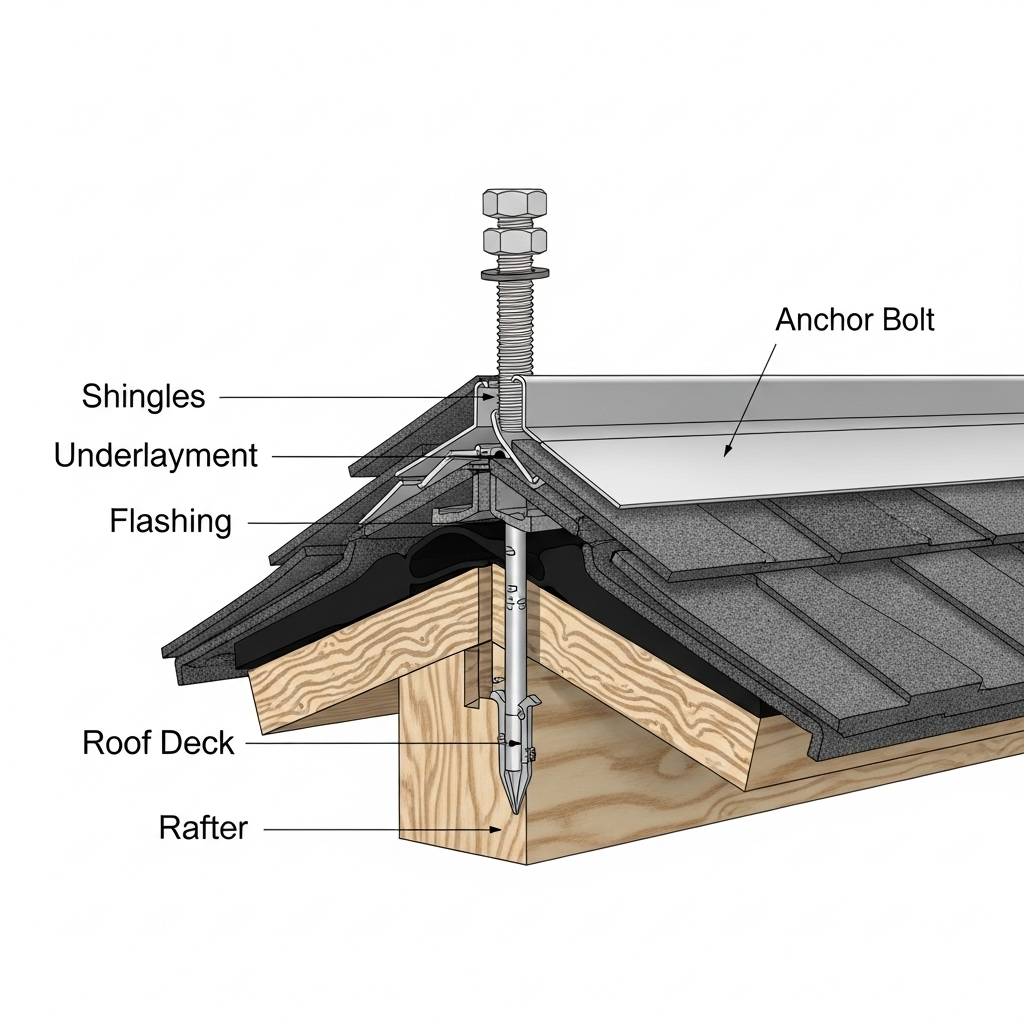
- Rail-Less and Shared-Rail Systems: These designs reduce the material volume and weight, but more importantly, they can significantly cut down on installation steps. By attaching directly to roof anchors, they eliminate the time-consuming process of aligning and leveling long rails.
- Integrated Grounding and Tool-Less Clamps: Innovations like grounding clips that bond the module to the rail as it's clamped, or clamps that can be installed without power tools, shave precious minutes off each panel installation. Scaled across a large project, this translates into substantial labor cost savings.
- Digital Design Integration: Racking manufacturers are increasingly providing software that integrates with solar design platforms. This allows for automated engineering and the generation of precise bills of materials and permit-ready plans, streamlining the pre-installation workflow.
This focus on labor reduction is a sign of a maturing industry where manufacturing efficiencies are well-established, and the next frontier of cost reduction lies in installation efficiency.
| Racking Technology | Primary Market Driver | Impact on Project Economics | Key Risk Factor |
|---|---|---|---|
| Traditional Rail-Based | Proven reliability and flexibility | Higher material and labor costs | Logistics of long components |
| Rail-Less Systems | Reduced labor time and material cost | Lower installed cost (BOS) | Requires precise rafter alignment |
| Ballasted (Flat Roof) | Avoids roof penetrations | Higher material cost (ballast) and structural load | Requires roof load capacity verification |
| Integrated Mounting | Ultimate reduction in components and labor | Potentially lowest LCOE | Tied to specific module manufacturer |
Conclusion: The Foundation of a Low-Cost Energy Future
In conclusion, the solar mounting system is far more than a simple commodity. It is a highly engineered product at the intersection of material science, structural engineering, and supply chain logistics. From our market perspective, the continued innovation in this sector is a critical enabler of the solar industry's cost reduction roadmap. By making installations faster, safer, and more reliable, the humble racking system plays a foundational role in accelerating the transition to a global clean energy economy.


Leave a comment
All comments are moderated before being published.
This site is protected by hCaptcha and the hCaptcha Privacy Policy and Terms of Service apply.