


A DIY solar panel installation can reduce utility costs and improve energy independence, but it needs careful planning. Solar equipment is not just another home appliance; it is an electrical power system that must match your loads, local rules, roof or ground conditions, and safety requirements.
This guide gives a practical roadmap for planning a home solar project, choosing core components, and knowing when professional help is the safer choice.
Section 1: Before You Begin: Sizing and Assessment
Good planning prevents most solar installation problems. Before buying panels, confirm your energy needs, your site's solar potential, and your local permit or utility requirements.
Sizing Your System: How Much Power Do You Need?
Start with your electricity bills. Find your average monthly and daily kWh use. If your home uses 30kWh per day and your location gets about 5 peak sun hours, a rough starting estimate is a 6kW solar array before losses and seasonal adjustments.
For systems with battery backup, also calculate the essential loads you want during an outage. This solar energy storage system buyer's guide explains how battery capacity, inverter size, and daily energy use fit together.
Site Assessment: Is Your Home Solar-Ready?
For rooftop systems, check roof age, structure, orientation, shading, and available space. Panels need secure mounting and clear sun exposure. For ground-mounted systems, review available land, cable distance, wind exposure, and maintenance access.
The U.S. Department of Energy's solar photovoltaic system design basics provides a clear overview of panels, inverters, storage, and mounting choices.
Understanding Permits and Regulations
Most grid-tied systems require permits, inspections, and utility interconnection approval. Some locations also have HOA rules, fire access setbacks, rapid shutdown requirements, and equipment listing requirements. Start the paperwork early, and use a qualified professional for grid-tied wiring, service panel work, and any unclear electrical requirement.
Section 2: The Core Components of Your Solar Setup
A solar system works only when its components are correctly matched. Panels, inverter, battery, charge controller, mounting, wiring, and protection devices all affect safety and performance.
Solar Panels: The Heart of Your System
Solar panels convert sunlight into DC electricity. Compare panel wattage, efficiency, dimensions, warranty, and performance in heat or partial shade. Higher-wattage panels can reduce the number of modules needed, but layout and inverter compatibility still matter.
Inverters: Converting DC to AC Power
The inverter converts DC electricity into AC electricity for household loads. Grid-tied systems, off-grid systems, and hybrid battery systems use different inverter designs. The U.S. Department of Energy explains that solar inverters convert DC electricity into AC power and can also support monitoring and grid services.
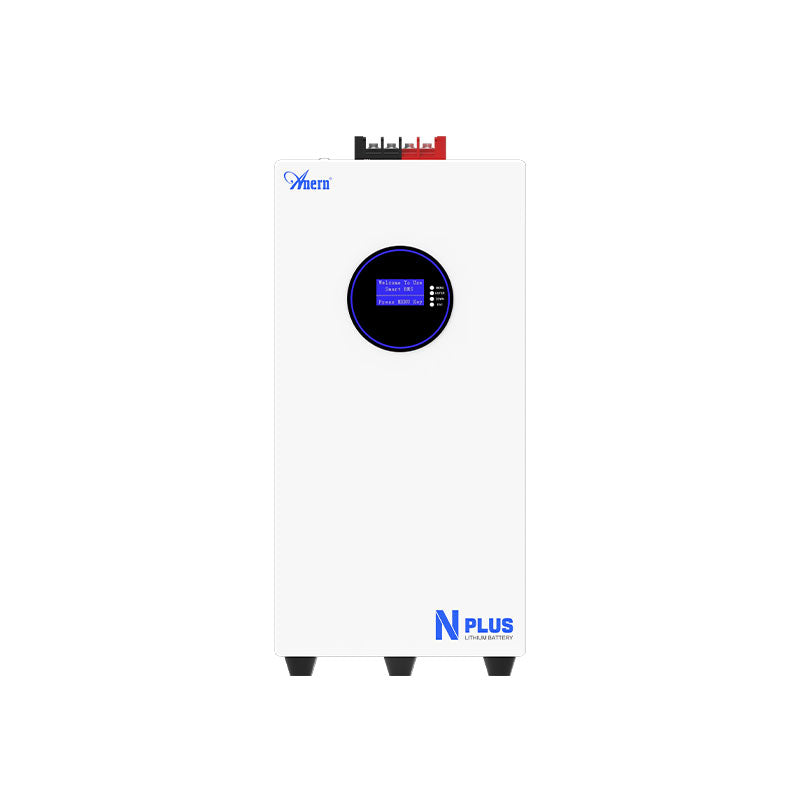
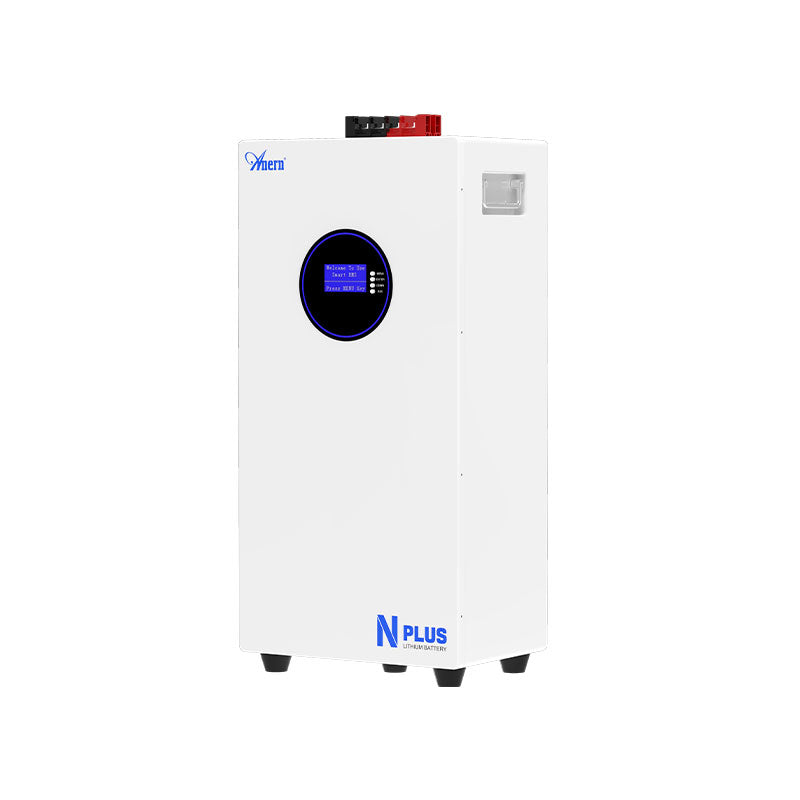
Energy Storage: The Key to Energy Independence
Battery storage allows you to use solar energy after sunset or during outages. LiFePO4 batteries are common in solar storage because they offer long cycle life, stable chemistry, and low maintenance. If you are planning battery backup, confirm usable kWh, BMS current limits, inverter compatibility, and low-temperature charging protection.
Section 3: A Step-by-Step Solar Panel Setup Guide
The steps below are an overview, not a substitute for local code, manufacturer instructions, or professional electrical work.
Mounting the Racking System
Racking must be attached securely to roof structure or ground supports. Roof penetrations need proper flashing and waterproofing. Ground mounts need correct anchoring for wind and soil conditions. Poor mounting can cause leaks, panel movement, or storm damage.
Installing the Solar Panels
Panels are heavy and fragile, so installation usually requires at least two people. Use approved clamps, correct torque values, and manufacturer-specified mounting zones. Keep walkways and service access clear where local rules require them.
Wiring and Electrical Connections
Solar wiring must be rated for voltage, current, sunlight exposure, and outdoor conditions. Use proper connectors, strain relief, conduit where needed, and over-current protection. Wiring mistakes can cause voltage drop, overheating, arc faults, or inverter shutdowns. This solar wiring mistakes guide covers common issues to avoid.
Section 4: Commissioning and Maintaining Your System
System Commissioning and Inspection
Commissioning confirms polarity, grounding, labeling, disconnects, rapid shutdown, inverter settings, and monitoring before the system is energized. Grid-tied systems usually require an official inspection and utility approval before operation.
Monitoring and Maintenance
Use monitoring software to watch production and detect faults early. Keep panels reasonably clean, check for shading changes, inspect visible wiring, and review battery status. For battery systems, monitor temperature, state of charge, and any BMS alarms.
Avoiding Common Pitfalls
- Do not size the system from panel watts alone; calculate daily kWh and peak loads.
- Do not ignore permits or utility interconnection rules.
- Do not mix incompatible batteries, inverters, or charge settings.
- Do not work inside a service panel unless you are qualified.
- Do not assume a battery system is safe without proper protection and ventilation.
Your Path to Energy Independence
A DIY solar project can be rewarding when the scope is realistic and the safety boundaries are clear. Plan from real energy use, choose certified components, follow local rules, and bring in a qualified electrician for grid interconnection, service panel work, or high-power battery systems.
