Switching to solar energy is a significant step toward energy independence and managing electricity costs. The process involves more than just placing panels on a roof; it's a structured sequence of events requiring careful planning and execution. Understanding each step helps set clear expectations from the initial conversation to the moment your system powers on. This text explains the complete residential solar installation process, providing a clear roadmap for your project.
Phase 1: Consultation and System Design
The first phase is about creating a blueprint for a system that meets your specific energy needs and property characteristics. This foundational stage ensures the final installation is efficient, effective, and tailored to you.
Initial Assessment and Energy Audit
The process begins with a detailed conversation about your energy goals. Are you looking to offset your entire electricity bill, or do you need a reliable backup power source? Answering these questions helps define the project's scope. We will analyze your past electricity bills to understand your consumption patterns—when you use the most power and how much you use overall. A thorough site evaluation is also critical. This includes assessing your roof's age, condition, and orientation, as well as identifying any potential shading from trees or nearby structures that could impact solar production.
Custom Solar System Design
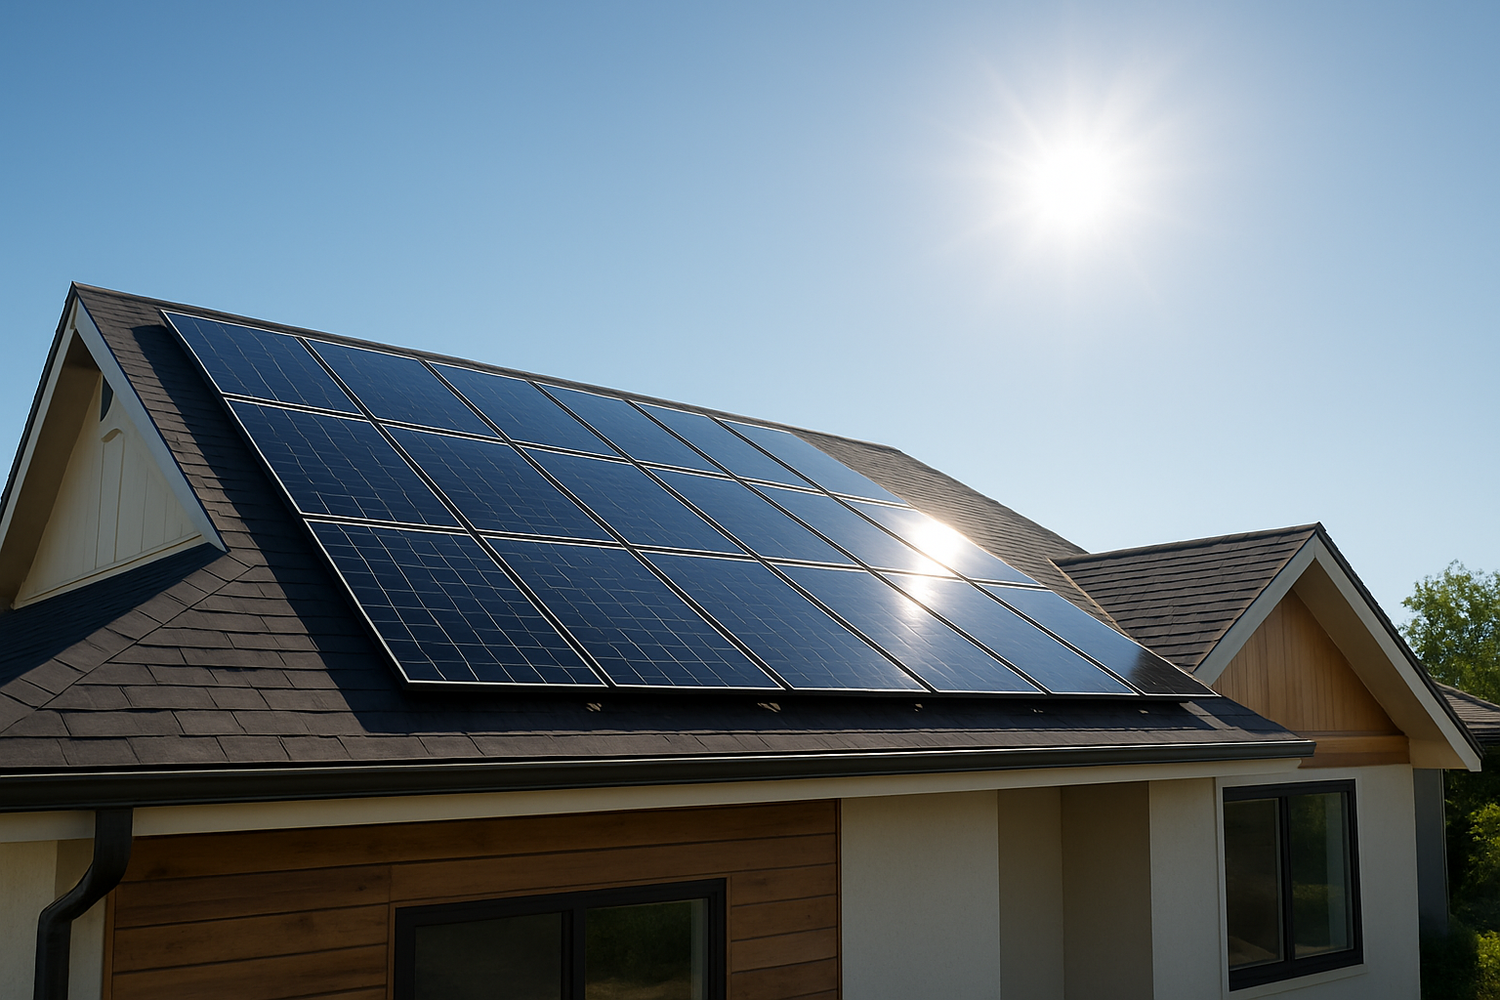
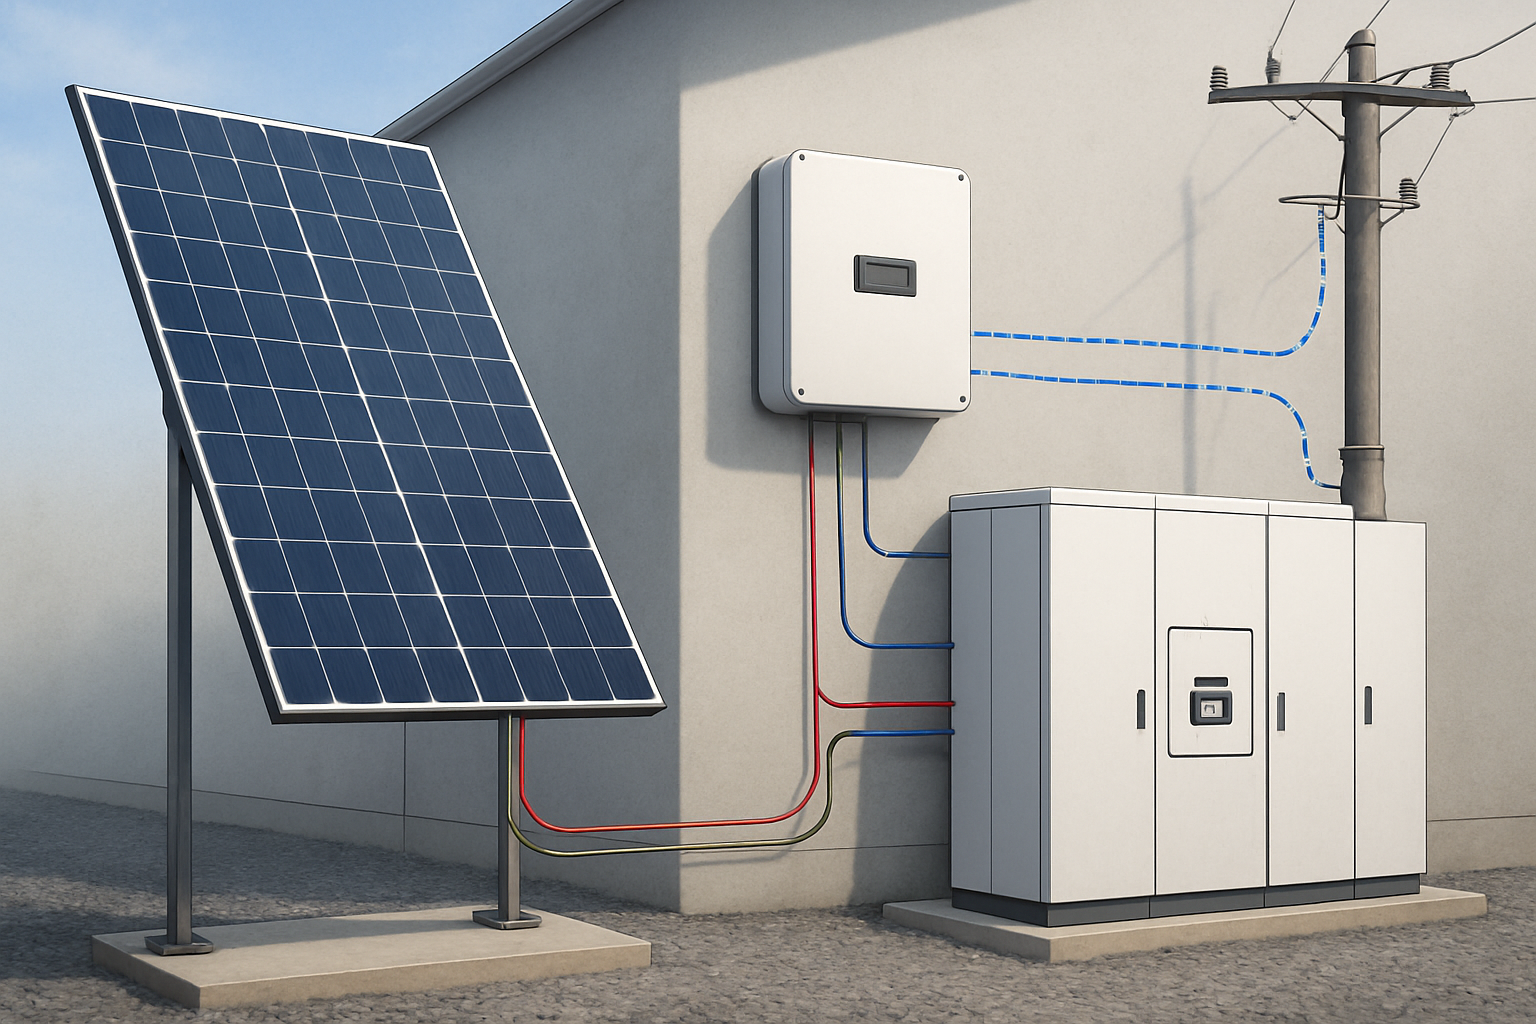
With the data from the assessment, a custom solar energy system is designed. This involves selecting the primary components: high-efficiency solar panels, a solar inverter to convert direct current (DC) to alternating current (AC), and the mounting hardware that will secure the system to your roof. The components associated with power delivery, such as inverters and wiring, are considered part of the “balance of system” (BOS).
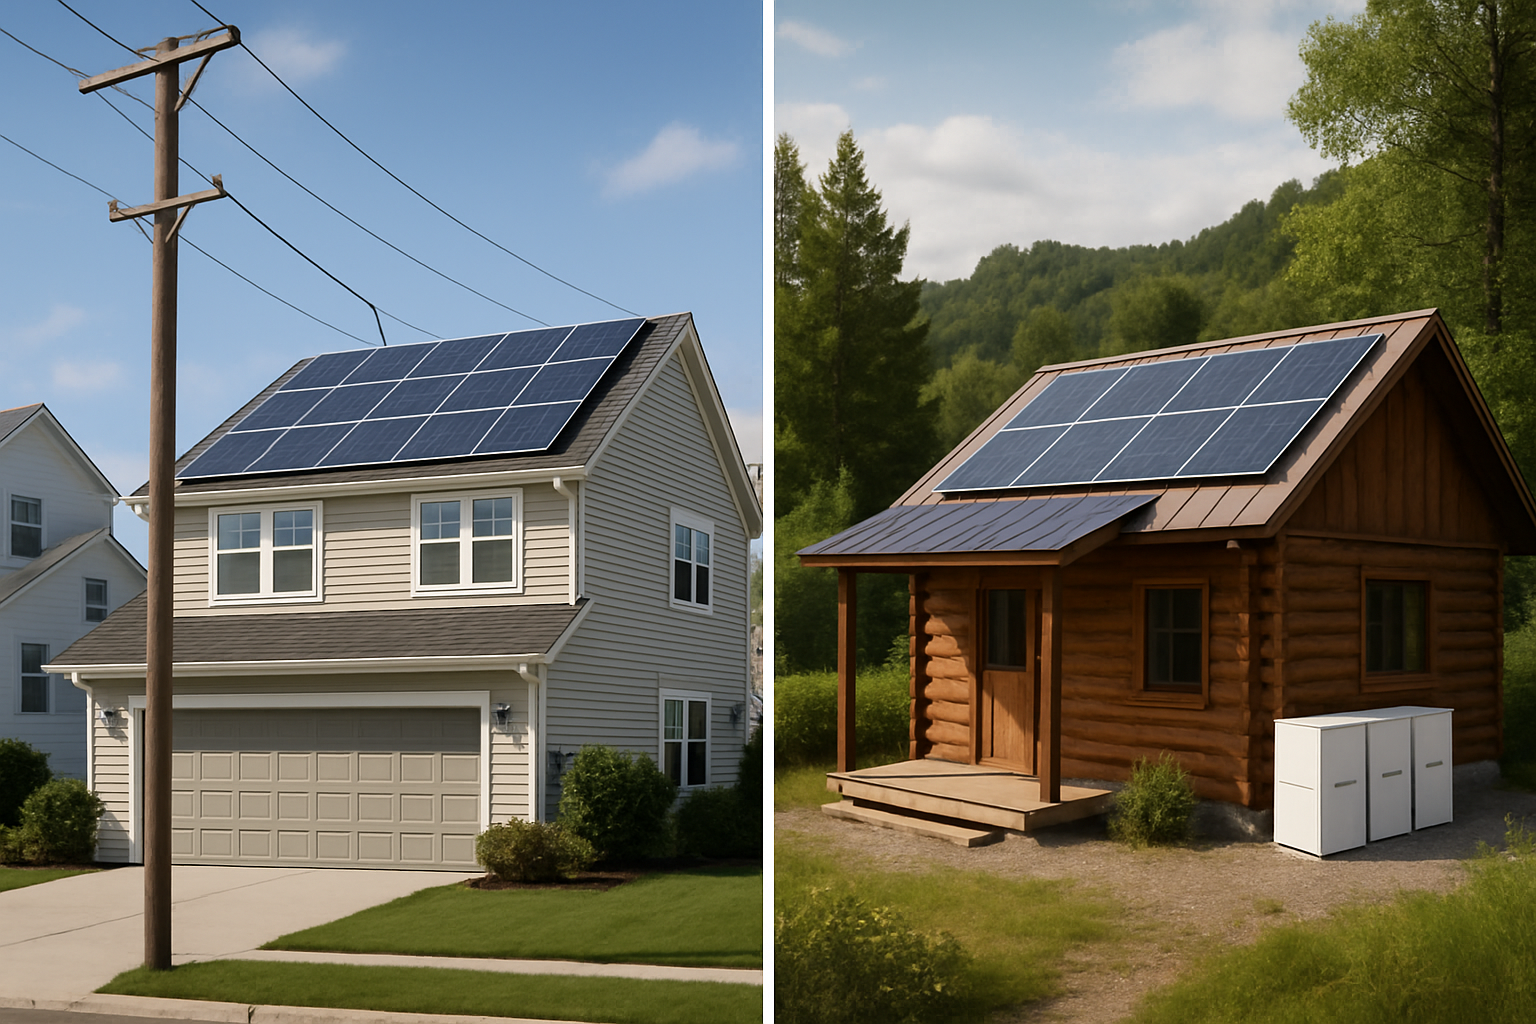
A crucial part of the design is deciding whether to include an energy storage system (ESS). Integrating a high-performance LiFePO4 (Lithium Iron Phosphate) battery allows you to store excess solar energy for use at night or during power outages. Our home energy storage systems combine lithium batteries and a hybrid inverter for a streamlined and reliable solution, giving you greater control over your power. You can learn more about Integrating LiFePO4 Storage During Solar Commissioning. The design will also specify whether it's a grid-tied system, which remains connected to the utility, or a completely independent off-grid solar solution. The choice impacts the installation steps, as detailed in Grid-Tied vs Off-Grid: How Installation Steps Differ. Finally, you receive a detailed proposal outlining the system's cost, projected energy production, and estimated savings. This proposal marks one of the first key moments in your project timeline. For more on this, see 9 Milestones From Quote to PTO in a Solar Install.
Phase 2: Engineering and Permitting
After you approve the system design, the project moves into a more administrative phase. This involves detailed engineering, securing the necessary permits, and getting approval from your local utility company. While less visible than the physical installation, this stage is vital for a smooth and compliant setup.
Securing Necessary Permits
Before any work begins, your solar installer will submit the system design to your local municipality to obtain building and electrical permits. These permits ensure that the installation will comply with local safety codes and regulations. The timeline for permit approval can vary significantly by location. While some people worry about this stage, an experienced installer knows how to prepare and submit paperwork efficiently to minimize wait times. It's helpful to understand the reality of this process, which is explored in Myth vs Reality: Permits and Inspections Delay Solar?. Avoiding common pitfalls here is key, as highlighted in 7 Costly Solar Install Delays and How to Avoid Them.
Utility Interconnection Agreement
For grid-tied systems, a formal application must be submitted to your utility company. This application requests permission to connect your solar panel system to the electrical grid. The utility reviews the design to ensure it meets their technical and safety requirements. Approval of this agreement is a prerequisite for activating your system and benefiting from programs like net metering, where you can earn credits for sending excess power back to the grid.
Phase 3: The Physical Solar Panel Setup
With permits and approvals in hand, the physical installation can begin. This is often the quickest and most exciting part of the process, as you see the components of your system come together on your property. A typical residential installation is often completed in just a few days.

Preparing the Site and Roof
The installation crew starts by preparing the work area and implementing safety measures. They will confirm the roof is structurally sound and ready for the mounting hardware. This preparation is part of a critical pre-installation checklist that ensures everything is ready for a seamless setup. For a complete overview, check the Ultimate Pre-Install Checklist: Permits, Roof, Inverter, App. The team will mark out the exact placement of the racking that will hold the solar panels.
Mounting and Wiring the System
First, the crew installs the racking system. These durable metal racks are attached securely to the roof rafters and are designed to withstand the elements for decades. Once the racking is in place, the solar panels are mounted onto it. The crew then runs the electrical wiring that connects the panels together and carries the DC electricity they produce down to the location of your inverter. The solar inverter is a core component that converts this DC power into usable AC power for your home.
Integrating the Energy Storage System (ESS)
If your system includes a battery, it will be installed at this stage, typically in a garage or utility area. Our integrated ESS solutions are designed for straightforward installation, combining the LiFePO4 battery and hybrid inverter into a single unit. This not only simplifies the setup but also ensures all components work together perfectly from day one. A properly integrated system is essential for achieving true energy independence, a concept covered in the ESS-Ready Solar Blueprint: Panels, Hybrid Inverter, Go Live.
Phase 4: Inspection and Commissioning
After the last panel is secured and the final wire is connected, the system isn't quite ready to be turned on. It must first pass a series of inspections to ensure it is safe, compliant, and ready to be connected to the grid.
Municipal and Utility Inspections
An inspector from your local city or county building department will visit your property to verify that the installation was performed according to the approved plans and meets all electrical and building codes. After the municipal inspection is passed, the utility company will conduct its own review. They may perform a final on-site check or simply process the paperwork to grant final Permission to Operate (PTO).
System Activation
Receiving PTO from the utility is the final green light. This is the moment you've been waiting for. Your installer will come to your home for the final commissioning, turn on the system, and you will officially start generating your own clean electricity. The journey from signing a contract to this point is a significant one, and you can learn more about it in our Beginner's Roadmap: From Contract to Solar Activation. For a deeper look at what happens between your initial deposit and this final step, see What Actually Happens Between Deposit and Flip-the-Switch?.
Typical Solar Installation Timeline
While every project is unique, the following table provides a general estimate of the timeline for each phase. Keep in mind that permitting and utility processing times can cause significant variations.
| Phase | Key Activities | Typical Duration |
|---|---|---|
| 1. Consultation & Design | Energy audit, proposal review, contract signing | 1–2 weeks |
| 2. Permitting & Engineering | Submitting plans, waiting for municipal and utility approval | 2–8 weeks |
| 3. Installation | Racking, panels, wiring, inverter and ESS setup | 1–3 days |
| 4. Inspection | Review by city/county and utility company | 1–4 weeks |
| 5. Commissioning | Receiving Permission to Operate (PTO) and system activation | 1–4 weeks |
For more detailed timelines, you can review a Case Study: 6-Week Residential Solar Install Timeline or get a Precise Solar Install Timeline You Can Trust.
Phase 5: Monitoring and System Maintenance
Your solar energy system is now active, but the relationship doesn't end there. Modern systems come with tools to monitor performance and require minimal upkeep to ensure they operate at peak efficiency for years to come.
System Monitoring
Most solar systems include monitoring software that connects to your home's Wi-Fi. Through a simple app on your phone or computer, you can track your system's real-time energy production, see how much power your home is consuming, and monitor the battery's state of charge. This data empowers you to make smarter energy usage decisions. You can learn more about what to expect from After Installation: What Your Monitoring App Tells You Daily.
Maintenance and Upkeep
Solar panel systems are remarkably durable and require very little maintenance. Since they have no moving parts, mechanical failures are rare. It is a good idea to periodically clean the panels if you live in a dusty area or notice a drop in production. The high-quality components used in our systems, such as reliable solar inverters and long-lasting LiFePO4 batteries, are designed for longevity and consistent performance, further reducing maintenance needs.
Your Path to Energy Independence
The solar installation process is a well-defined sequence of steps, from initial design and permitting to installation and activation. Each phase is a deliberate move toward a future where you have greater control over your energy. By choosing a partner with deep experience in scalable energy solutions—from advanced LiFePO4 battery manufacturing to fully integrated storage systems—you ensure a seamless process and a reliable system built for the long term. This structured approach transforms a complex project into a manageable and rewarding upgrade for your home.
Disclaimer: The timelines and processes described are typical but can vary based on your location, utility provider, and project complexity. This information is for educational purposes and does not constitute financial or legal advice.


Leave a comment
All comments are moderated before being published.
This site is protected by hCaptcha and the hCaptcha Privacy Policy and Terms of Service apply.