













A clean solar panel is a productive panel, but surface-level cleaning is only part of the maintenance equation. To ensure your off-grid system delivers reliable power for years, a deeper, more technical inspection is necessary. This blueprint provides a systematic approach to evaluating your solar array, from its physical structure to its electrical output. A thorough inspection protects not just the panels, but the entire system, including your vital lithium battery storage, securing your energy independence.
The Foundation: Structural and Visual Checks
Before diving into electrical testing, a comprehensive visual and structural assessment can prevent major issues. Your array is exposed to the elements 24/7, so regular physical checks are your first line of defense.
Mounting System Integrity
The mounting rack is the skeleton of your solar array. Its failure can lead to catastrophic damage. Inspect all nuts and bolts to ensure they are tight. Look for any signs of corrosion, especially in coastal or humid environments. Also, confirm that the grounding wire is securely attached to the frame. A solid mechanical and electrical foundation is non-negotiable for both safety and performance.
Optimizing Panel Tilt and Orientation
The angle of your solar panels directly impacts their ability to capture sunlight. For off-grid systems, where every watt counts, optimizing this angle is critical. You can easily measure the tilt with a simple angle finder or a smartphone app. While a fixed angle set to your location's latitude is a good starting point, seasonal adjustments can yield significant gains, particularly in winter.
| Season | Recommended Tilt Angle Adjustment |
|---|---|
| Winter | Latitude + 15 degrees |
| Summer | Latitude - 15 degrees |
| Spring/Autumn | Latitude |
These adjustments help you capture more direct sunlight as the sun's path changes throughout the year, keeping your batteries topped off when you need it most.
Wiring and Connections
Faulty wiring is a primary cause of power loss and a serious fire hazard. Carefully inspect all accessible cables for signs of fraying, cracking, or damage from animals. Check connections inside the combiner box and at the inverter to ensure they are tight and free of corrosion. These components, often called the Balance of System (BOS), are as important as the panels themselves. As noted in the Solar Energy Perspectives report by the International Energy Agency (IEA), components like inverters, wiring, and protection devices are integral to the system's delivery process.
Beyond the Surface: Electrical Performance Testing
Visual inspections can't see everything. Electrical tests reveal the true health of your solar panels and help you diagnose underperformance issues that are otherwise invisible.
Understanding Key Electrical Parameters
Two fundamental measurements provide a quick snapshot of panel health: Open-Circuit Voltage (Voc) and Short-Circuit Current (Isc). You can measure these with a standard multimeter. Voc is the voltage a panel produces with no load, while Isc is the current it produces when shorted. Comparing these readings to the manufacturer's specifications (found on the panel's datasheet) can help you spot a completely failed or severely degraded panel. Always exercise extreme caution and use properly rated equipment when taking electrical measurements.
The Power of IV Curve Testing
For a definitive diagnosis, nothing beats IV (Current-Voltage) curve testing. An IV curve tracer plots the relationship between the current and voltage of a panel under existing sunlight conditions, creating a performance graph. This graph can instantly reveal subtle problems that a simple multimeter test would miss, such as:
- Mismatched Cells: Irregular 'steps' in the curve indicate some cells are underperforming.
- Degradation: A lower overall curve compared to a healthy panel shows age-related or damage-induced power loss.
- Shading Effects: Dips in the curve can pinpoint the impact of partial shading.
IV curve testing for solar panels is the most comprehensive health check available, moving from guesswork to data-driven analysis.
Analyzing the Data for Peak Performance
Collecting data is the first step. The next is turning that data into actionable insights to maintain and improve your system's output.
Comparing Field Data to Nameplate Specs
Your panels will rarely produce their nameplate power rating. That rating is determined under Standard Test Conditions (STC)—a lab environment with 1,000 W/m² of light at a cell temperature of 25°C. Real-world conditions are different.
| Condition | Standard Test Conditions (STC) | Real-World Conditions |
|---|---|---|
| Irradiance | 1,000 W/m² | Varies (0-1,100+ W/m²) |
| Cell Temperature | 25°C (77°F) | Can exceed 65°C (149°F) |
| Expected Output | Maximum Nameplate Rating | Typically 75-90% of Nameplate |
Higher temperatures reduce voltage and overall power. When comparing your field measurements (like Voc), always account for the ambient temperature. A panel that is hot to the touch will have a lower Voc than a cool panel, which is normal.
Logging and Tracking Performance Over Time
A detailed maintenance log is your best tool for identifying long-term trends. Record the date, weather conditions, cleaning status, and any electrical measurements you take. This historical data helps you distinguish between a sudden component failure and gradual degradation. Consistent performance tracking is a core part of managing a resilient energy system. For a deeper look into monitoring key metrics, an ultimate reference on solar storage performance can provide a framework for evaluating your entire system's efficiency, from generation to storage.
Integrating Inspection with Your Energy System
Your solar array doesn't operate in a vacuum. Its health directly influences your battery storage and other critical components.
How Array Health Impacts Your Lithium Battery
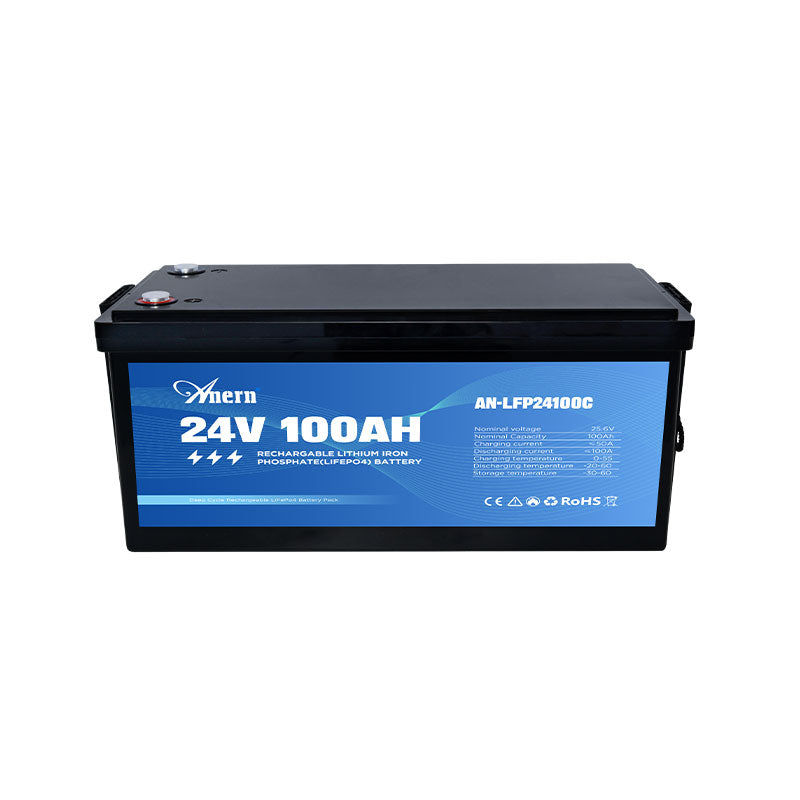
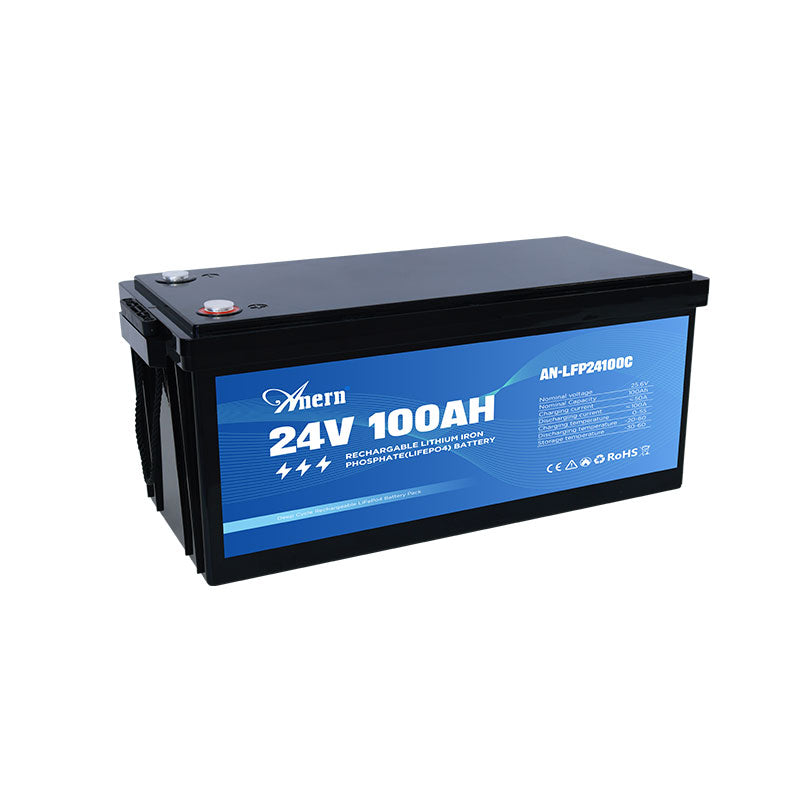
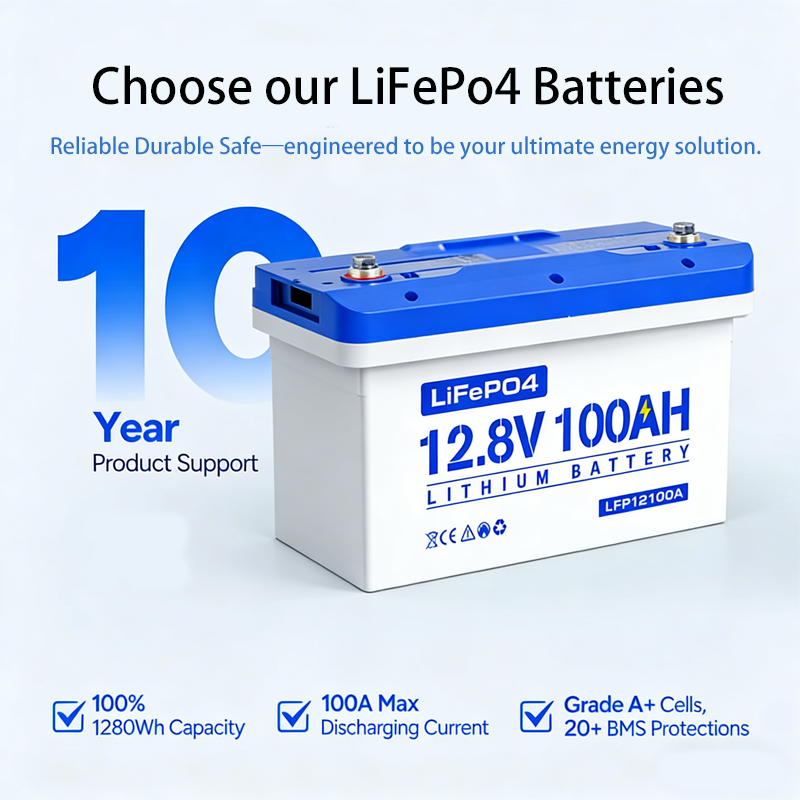
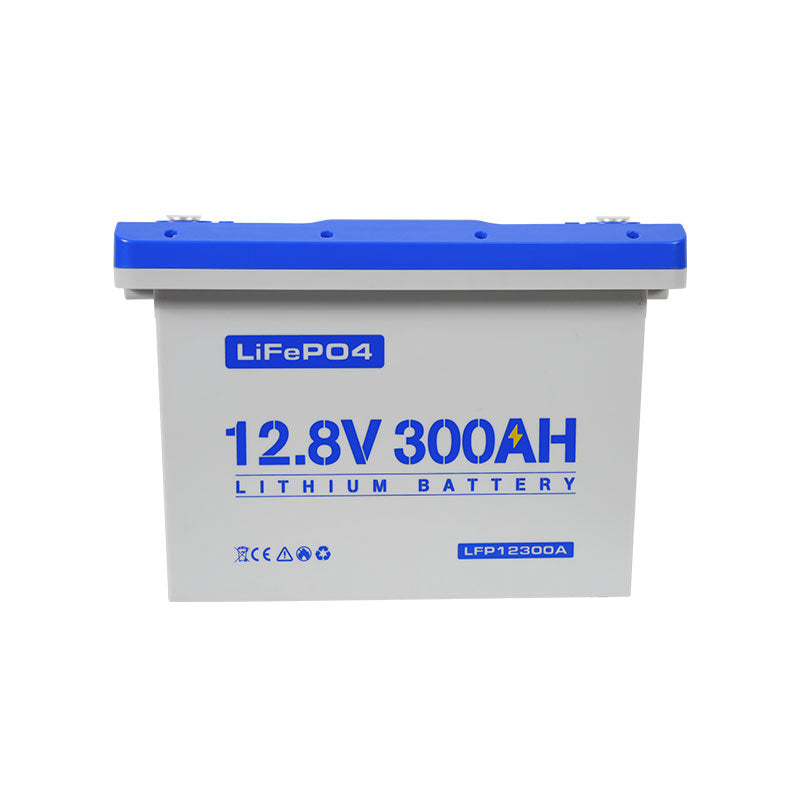
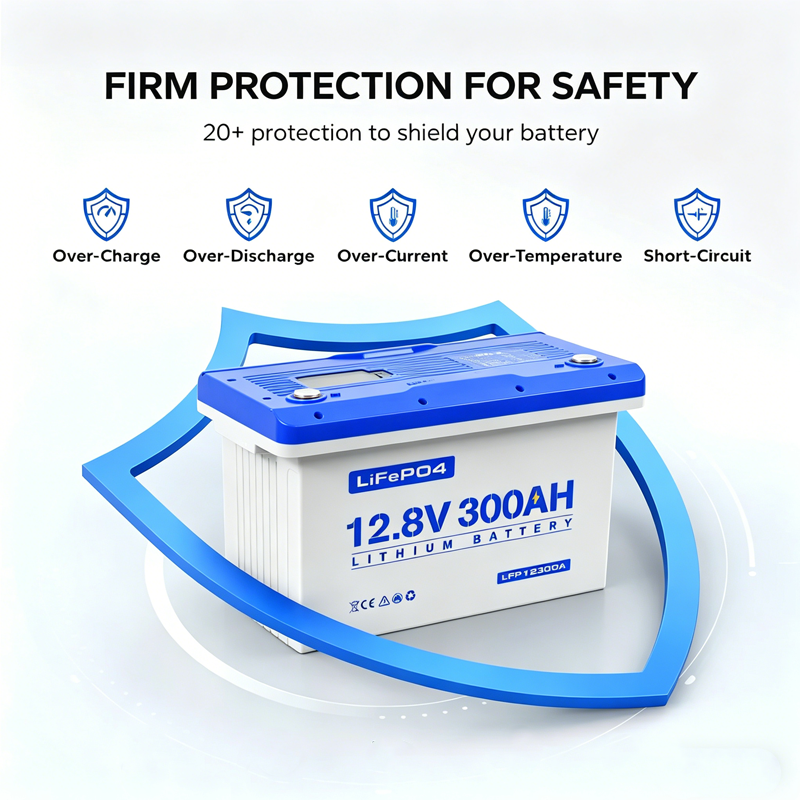
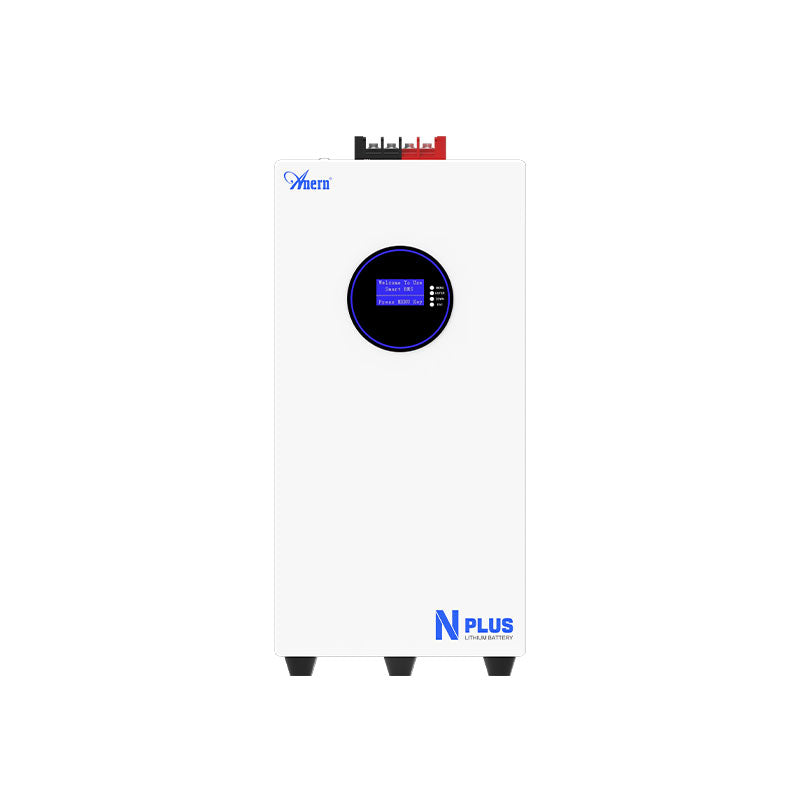
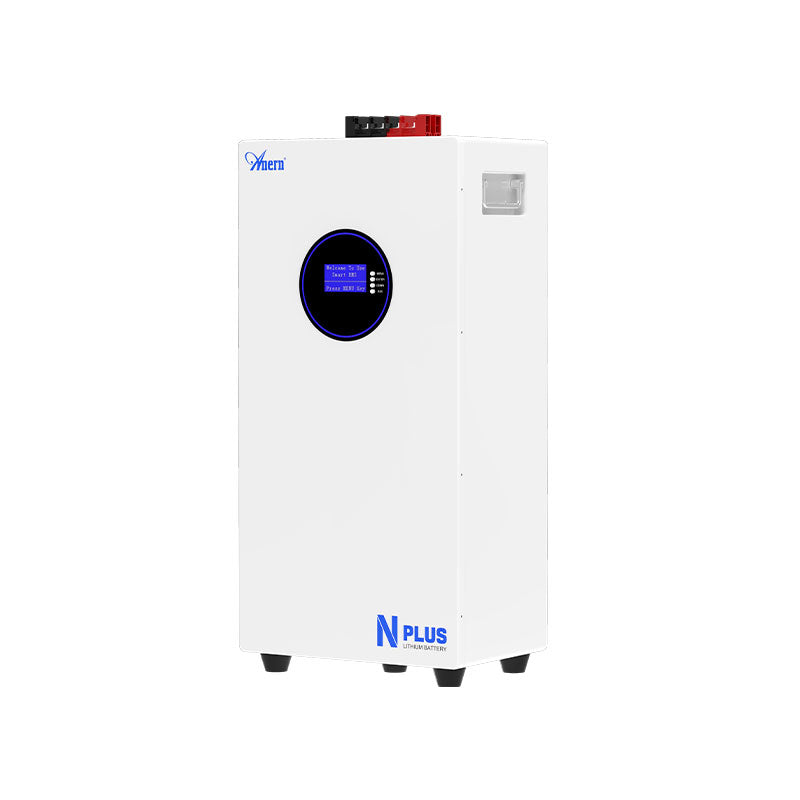
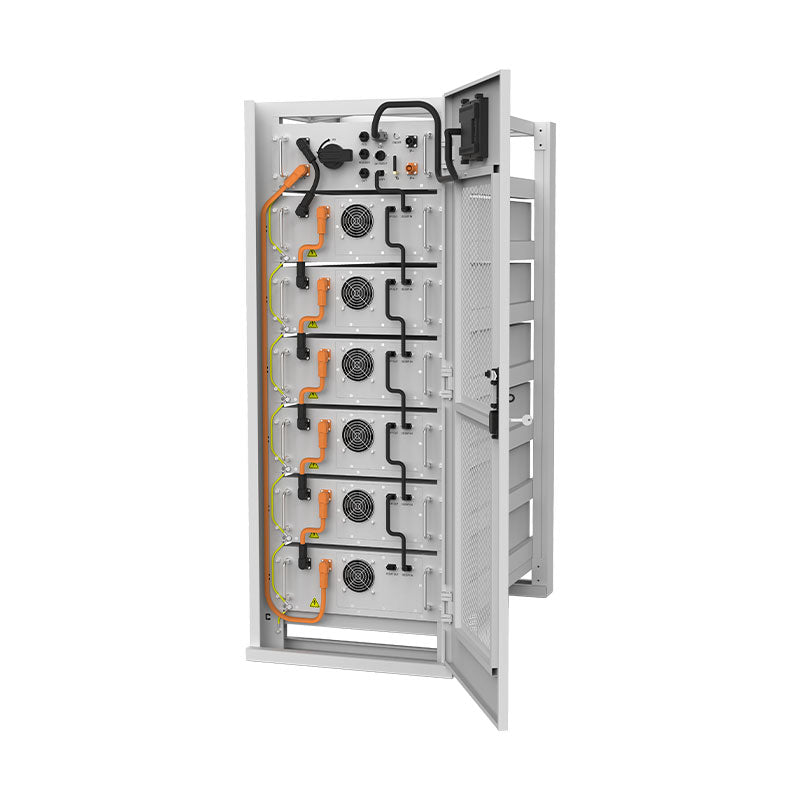
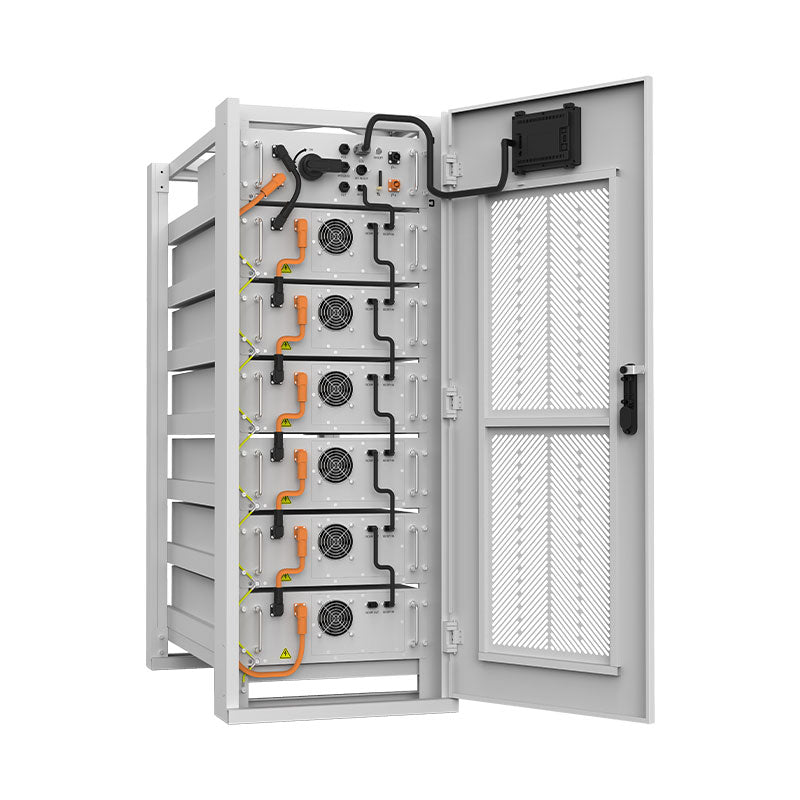
An underperforming solar array is a slow drain on your battery's health. If the panels can't generate enough power, your lithium iron phosphate (LiFePO4) battery may not receive a full, consistent charge. Chronic undercharging can reduce the battery's lifespan and limit your available energy. A healthy, well-maintained array ensures your battery gets the charge it needs, maximizing its longevity and your energy security. The IEA's Next Generation Wind and Solar Power report reinforces this, explaining how battery storage systems work with solar PV to increase energy self-consumption and create a more robust system.
The Role of Inverters and Charge Controllers
Your inverter and solar charge controller are the brains of the operation. Most modern units offer monitoring capabilities that provide a wealth of performance data. Regularly check the system's logs for error codes, unexpectedly low production numbers, or voltage irregularities. These digital clues can often be the first indication of a problem with the solar array, prompting you to perform a physical inspection.
Your Blueprint for Energy Resilience
Moving beyond a simple wash and rinse, this inspection blueprint empowers you to take full control of your off-grid power system. By systematically checking the structural, visual, and electrical health of your array, you transition from reactive fixes to proactive maintenance. This approach not only maximizes your daily energy harvest but also safeguards the longevity of your panels, inverter, and lithium battery bank. A well-inspected array is the cornerstone of true and lasting energy independence.
Frequently Asked Questions
How often should I perform a detailed inspection?
A full structural and electrical inspection is recommended annually. Visual checks of wiring and mounting security should be done every six months, or after any severe weather event like a major storm or heavy snowfall.
What tools do I need for a basic solar array inspection?
For a basic inspection, you will need a socket wrench set to tighten mounting bolts, a digital multimeter to check voltage and current, and an angle finder or a smartphone app for measuring panel tilt. Always ensure your tools, especially the multimeter, are rated for the voltages you are testing.
Is IV curve testing something I can do myself?
IV curve testing requires specialized equipment and a good understanding of electrical safety. While some enthusiasts purchase their own testers, it is typically a job for a qualified solar technician. If your system is significantly underperforming and basic checks reveal no issues, hiring a professional for an IV curve analysis is a worthwhile investment.
My panels are underperforming but look clean. What is the first electrical test I should do?
The first and easiest electrical test is to measure the Open-Circuit Voltage (Voc) of each panel or string of panels. This quick test, performed with a multimeter, can help you identify if a panel or an entire string is completely disconnected or has failed, as its voltage will be zero or significantly lower than the others.
